Generate Form W-9 PDFs with Power Automate and Smartsheet
By DocuGenerate
July 24, 2026
Introduction
Form W-9, “Request for Taxpayer Identification Number and Certification,” is an IRS form that businesses in the United States use to collect the legal name, address, and taxpayer identification number of vendors, freelancers, and independent contractors before paying them. The information reported on a W-9 is later used to prepare 1099 forms at tax time, which makes accurate and consistently formatted W-9 records an important part of any vendor onboarding process. Companies that work with a steady stream of new contractors often end up managing this data in a spreadsheet or a tool like Smartsheet, which makes it a natural candidate for automation.
In this tutorial, we’ll build a Power Automate flow that watches a Smartsheet sheet for new rows and automatically generates a filled-in W-9 PDF using DocuGenerate. Whenever a new vendor record is added to the sheet, whether by a team member entering it directly or by an import from another system, the flow merges that row’s data into a Word template and saves the finished PDF to Azure File Storage. The same pattern applies to any document that needs to be generated automatically from spreadsheet data, but a tax form is a good illustration because it involves a mix of individual and business filers, conditional fields, and a layout that must remain precise.
Preparing the DocuGenerate Template
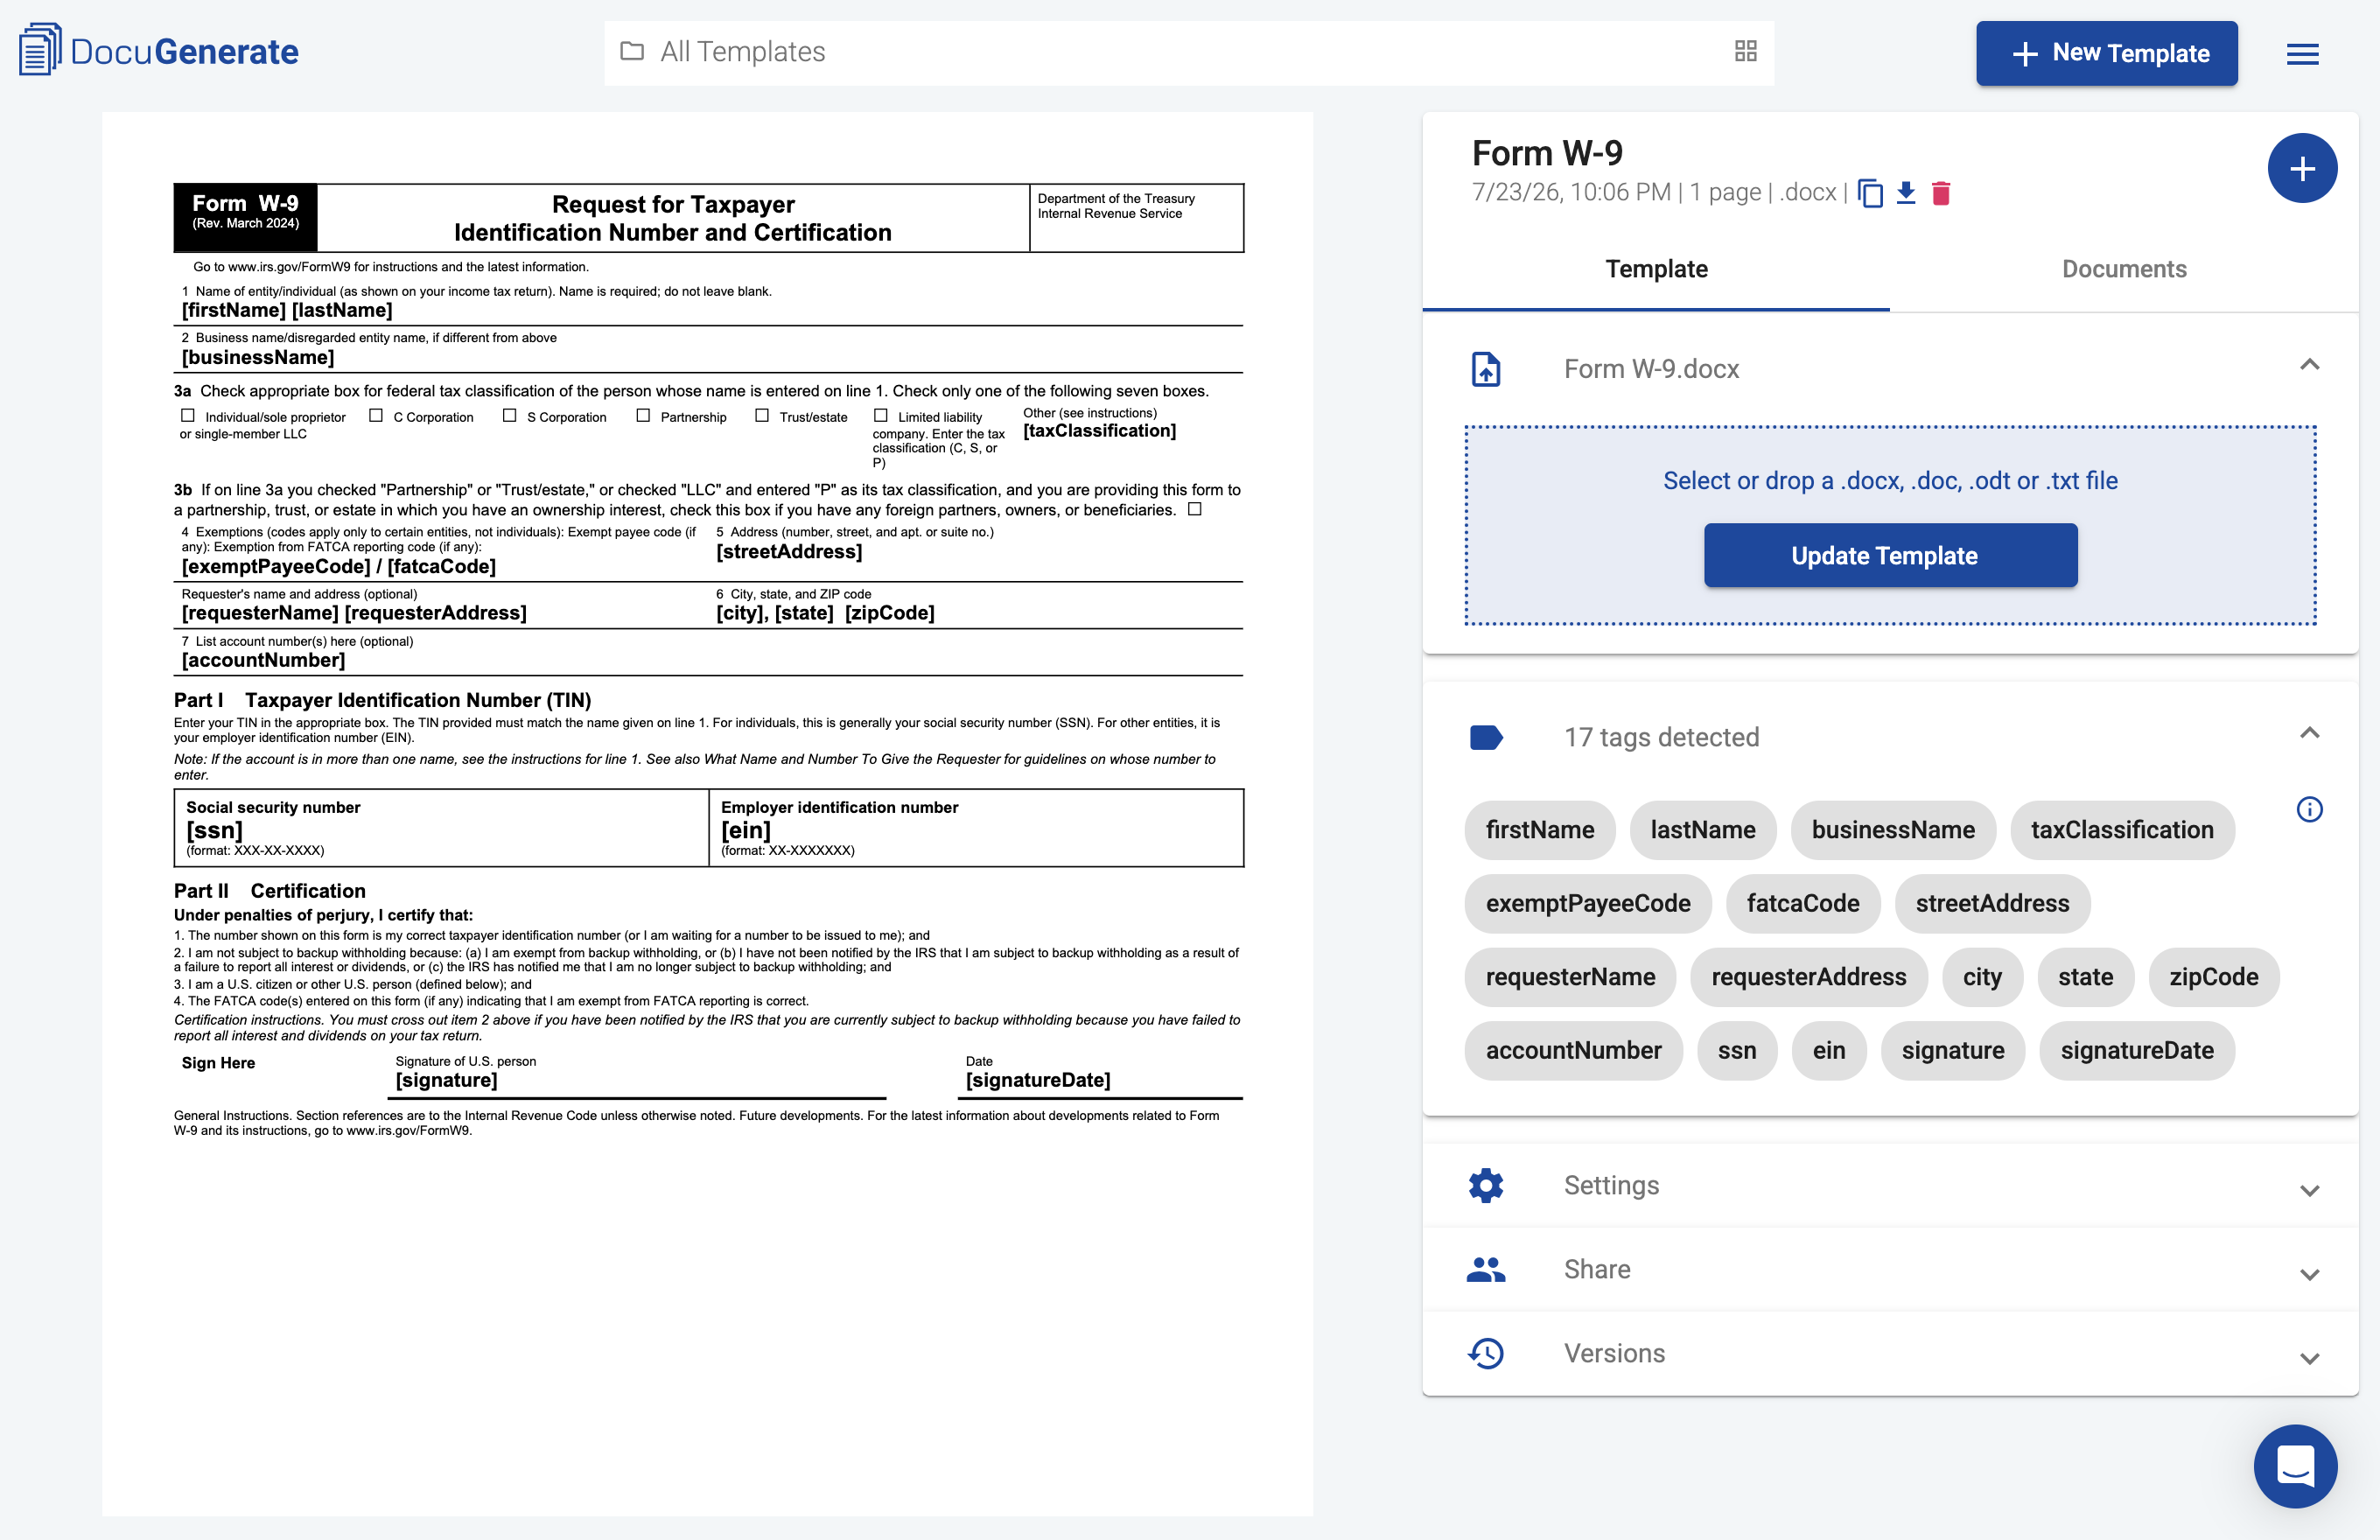
The first step is to create a Word template in DocuGenerate that mirrors the official W-9 layout. We started from the IRS Form W-9 and replaced each fillable field with a merge tag, then uploaded it as a new template named Form W-9.
The template contains 17 merge tags: firstName, lastName, businessName, taxClassification, exemptPayeeCode, fatcaCode, streetAddress, requesterName, requesterAddress, city, state, zipCode, accountNumber, ssn, ein, signature, and signatureDate. Most of these map directly to a labeled box on the form. taxClassification corresponds to the “Other” line in the federal tax classification section and holds a short description such as “C Corporation” or “Trust/estate,” while ssn and ein populate the two boxes in Part I depending on whether the filer is an individual or a business entity. You can download the Word template used in this tutorial and adapt it to your own layout.
Setting Up the Data Source in Smartsheet
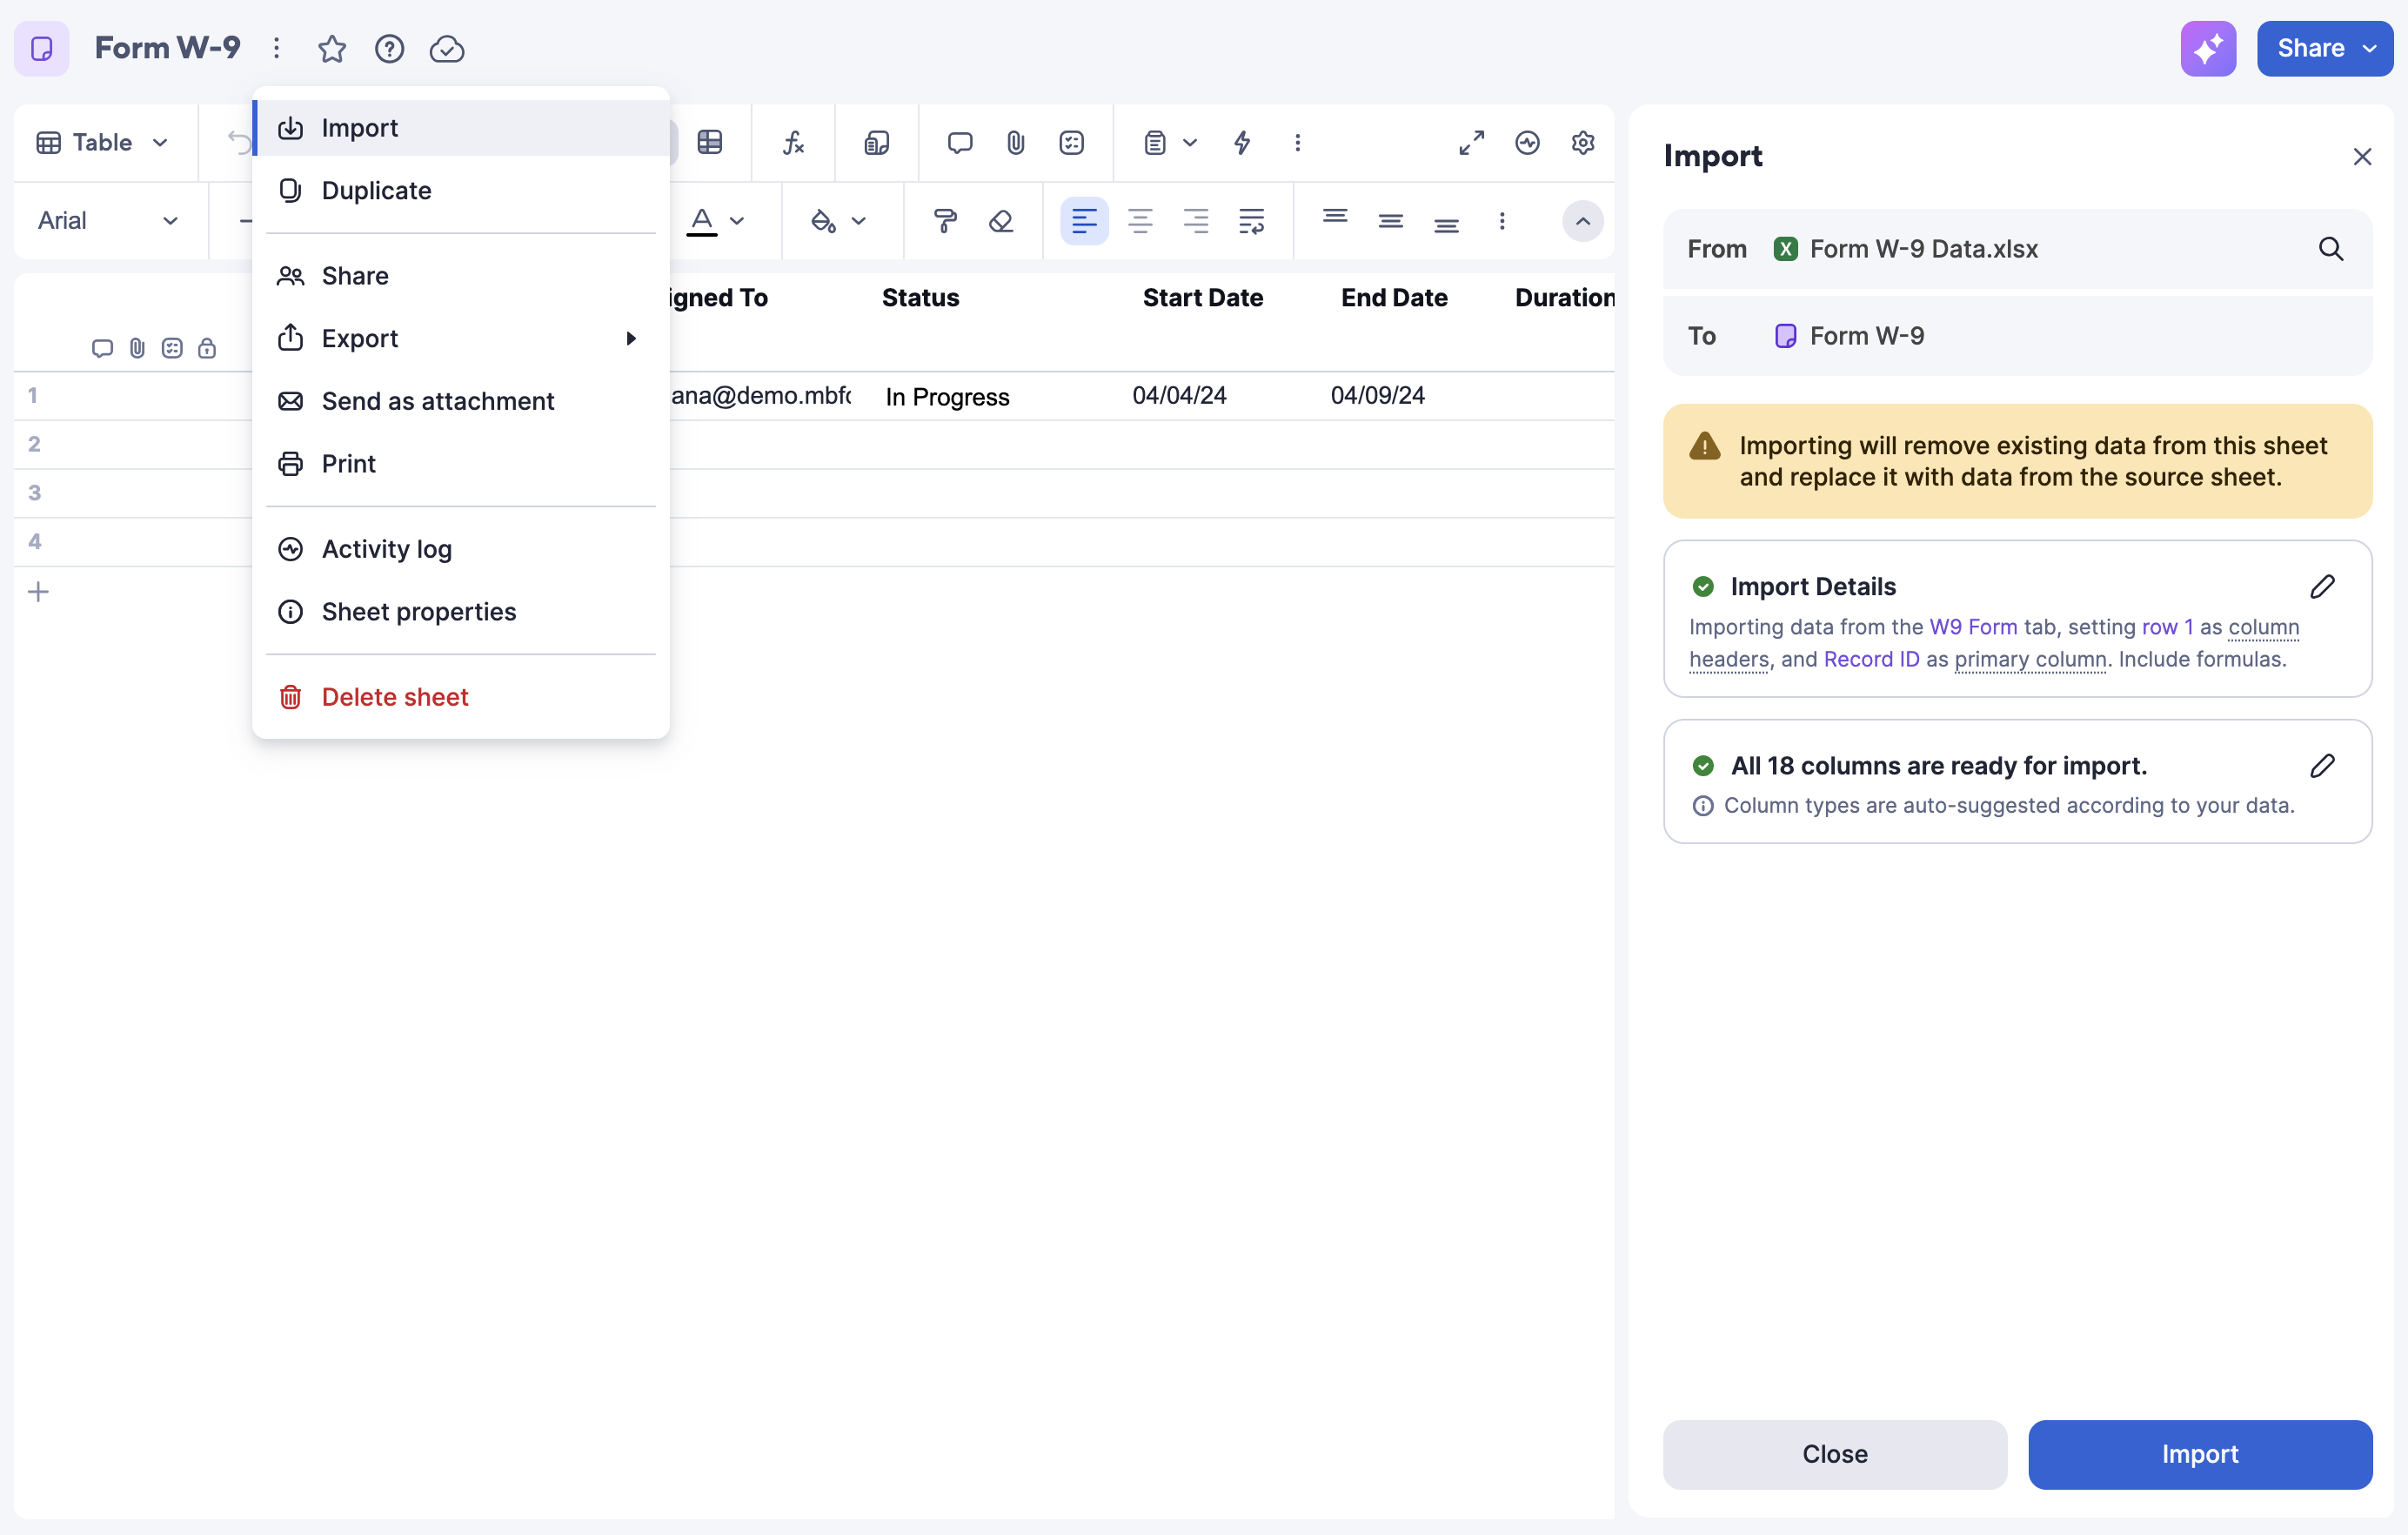
With the template in place, the next step is to prepare the sheet that will act as the trigger for our flow. In Smartsheet, click Create > Sheet > Table to create a new sheet, then rename it to Form W-9. Rather than typing sample rows in by hand, we’ll import them from an Excel file by opening the sheet menu and selecting Import. Keep in mind that importing replaces any existing data in the sheet with the data from the source file.
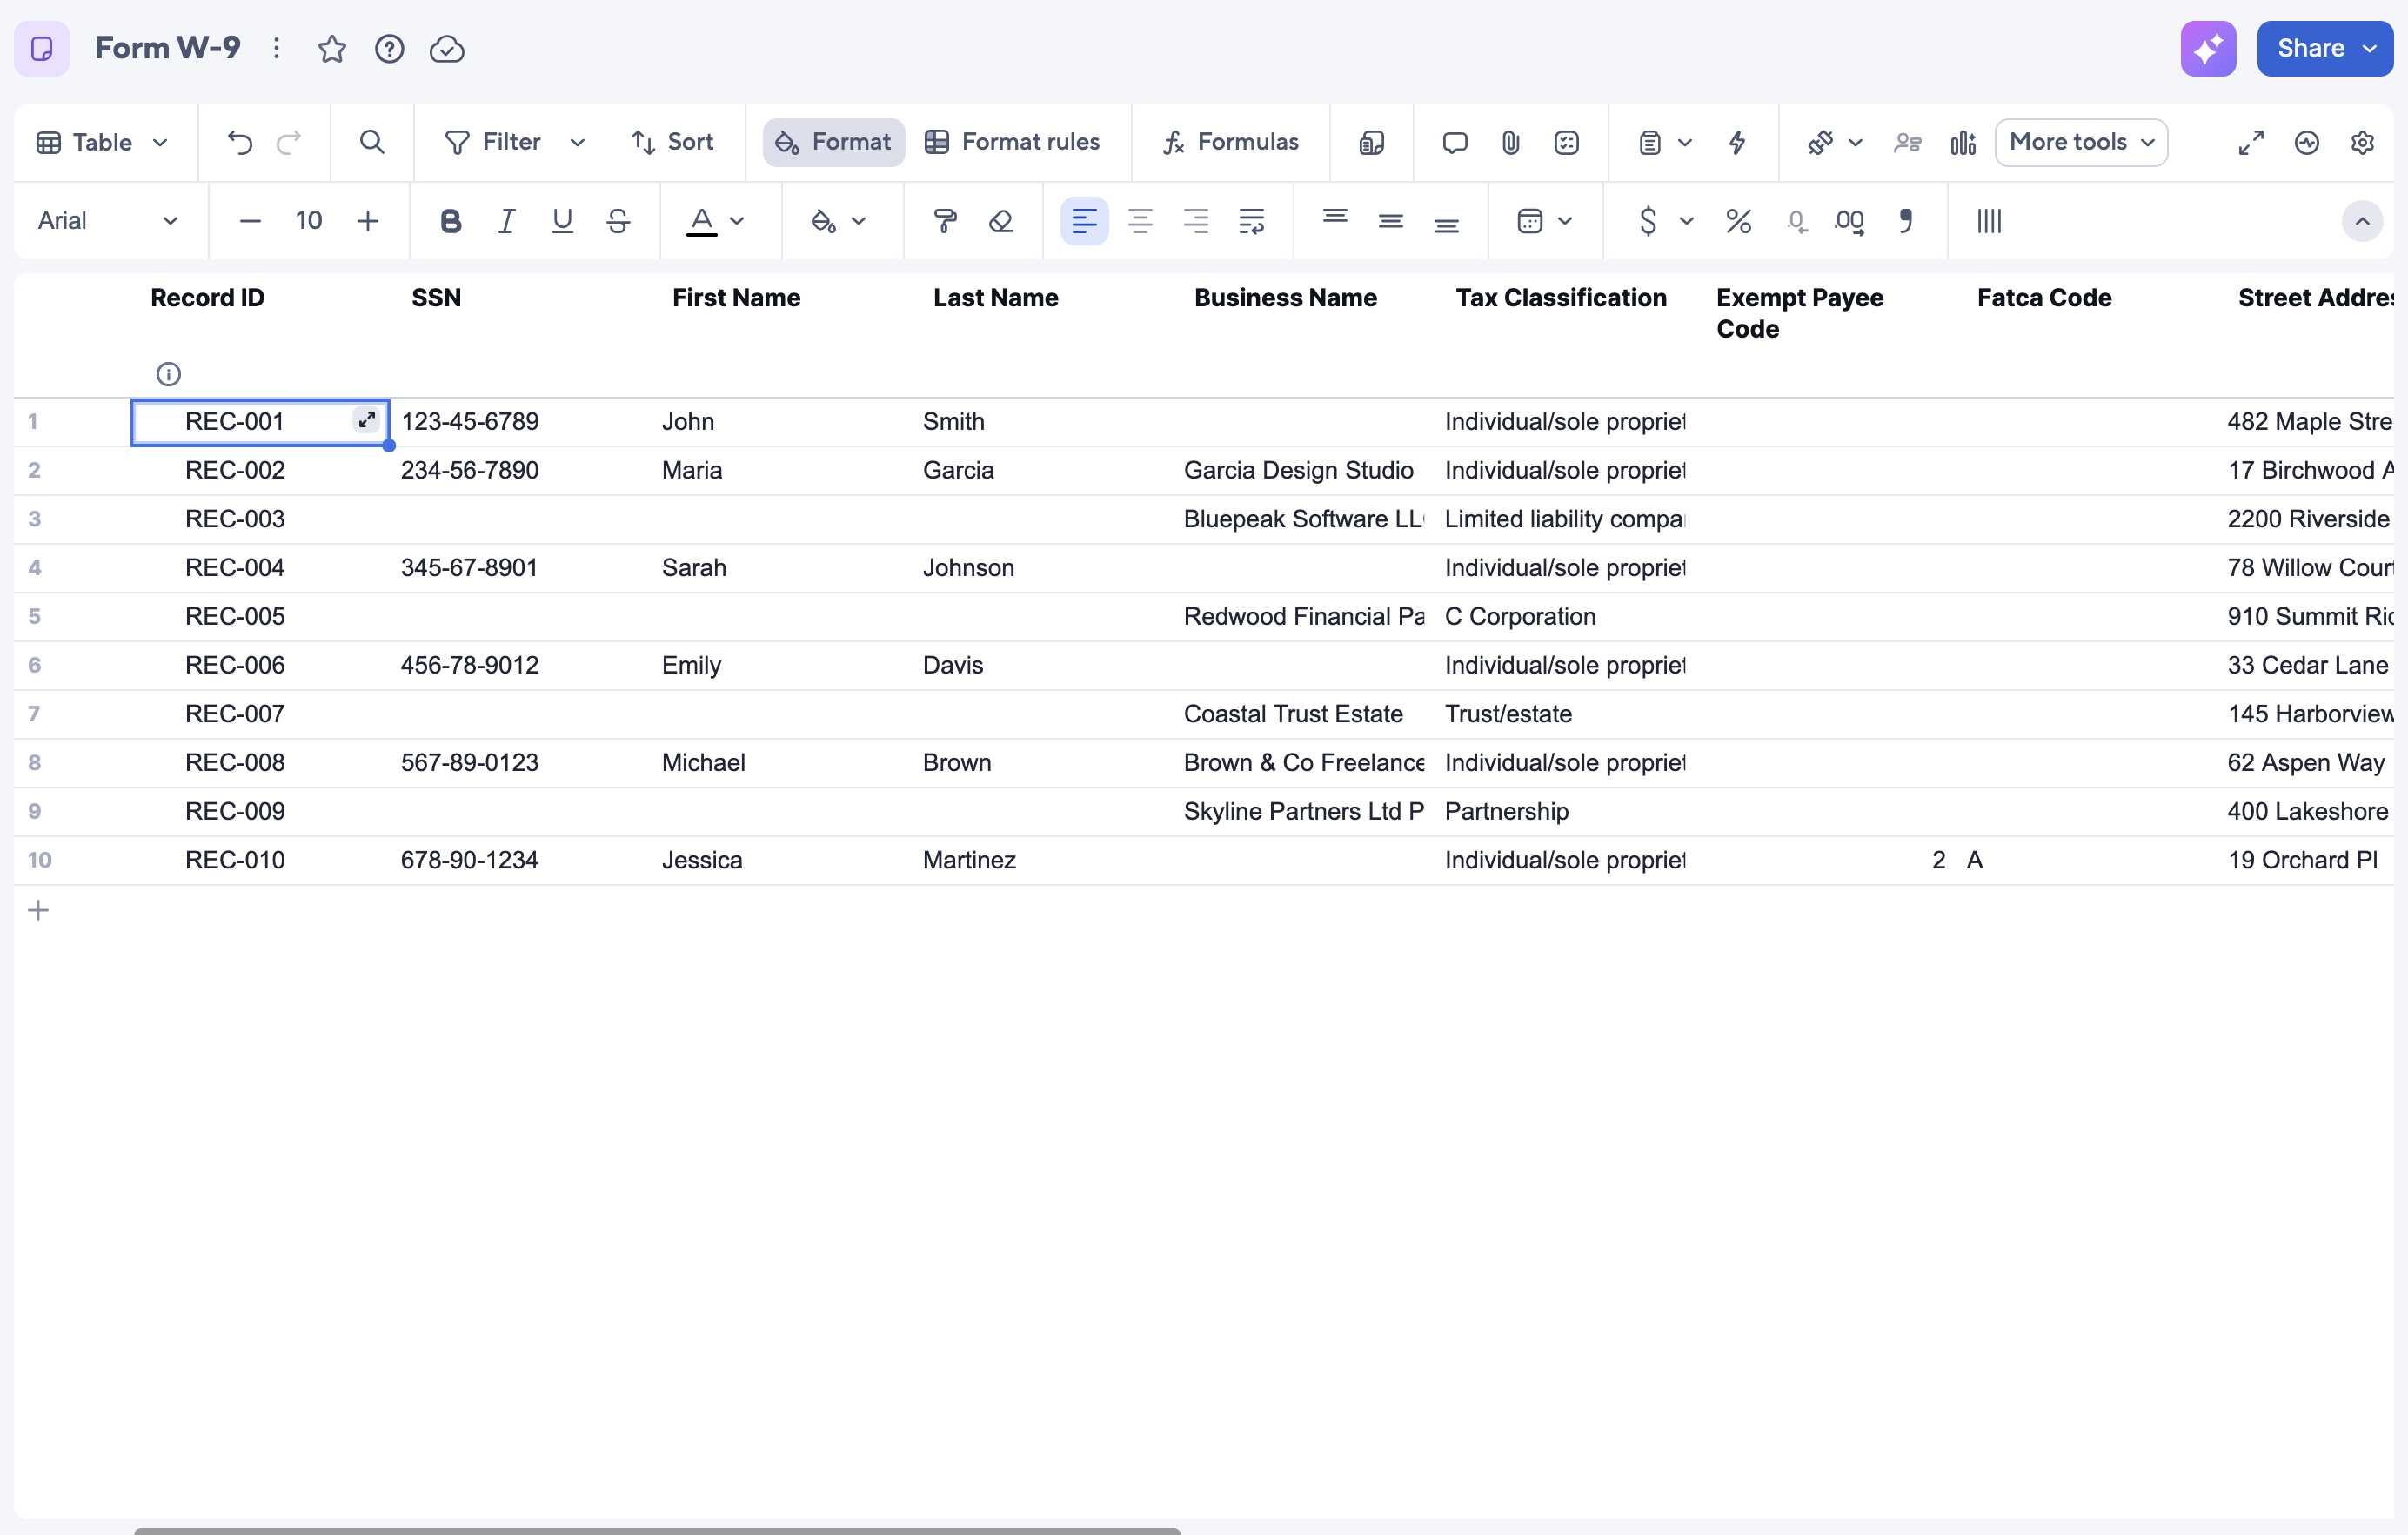
You can download the sample Excel file used for this import. It contains 10 rows matching the 18 columns that will map to the merge tags in the template: a Record ID column (REC-001 through REC-010) followed by one column for each field on the form. The data mixes individuals and business entities to exercise the different branches of the form: six individuals or sole proprietors with an SSN and no EIN, and four entities (an LLC, a C Corp, a trust/estate, and a partnership) with an EIN and no SSN. One row also has the Exempt Payee Code and FATCA Code columns populated, since those only apply in specific cases.
Building the Power Automate Flow
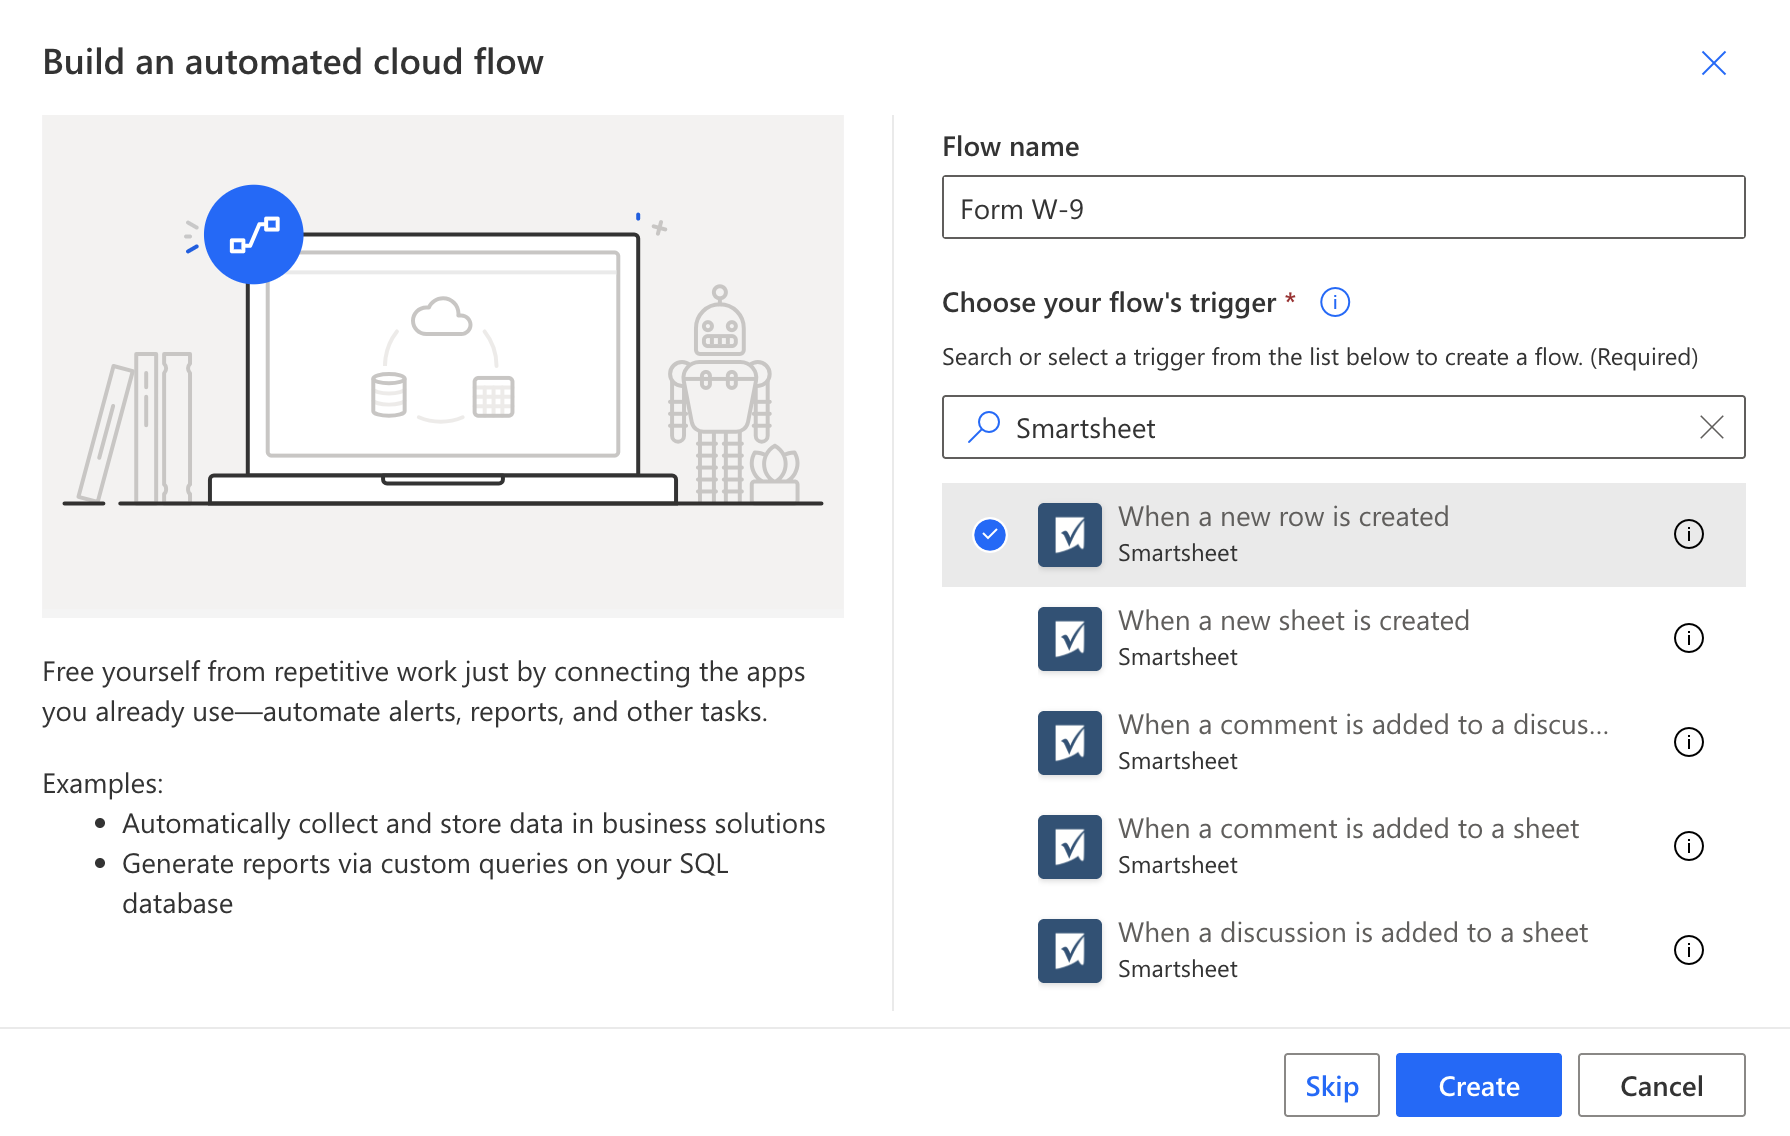
With the template and the data source ready, we can build the flow itself. In Power Automate, click New flow > Automated cloud flow. In the Build an automated cloud flow dialog, give the flow a name such as Form W-9, search for “Smartsheet” in the trigger list, and select When a new row is created.
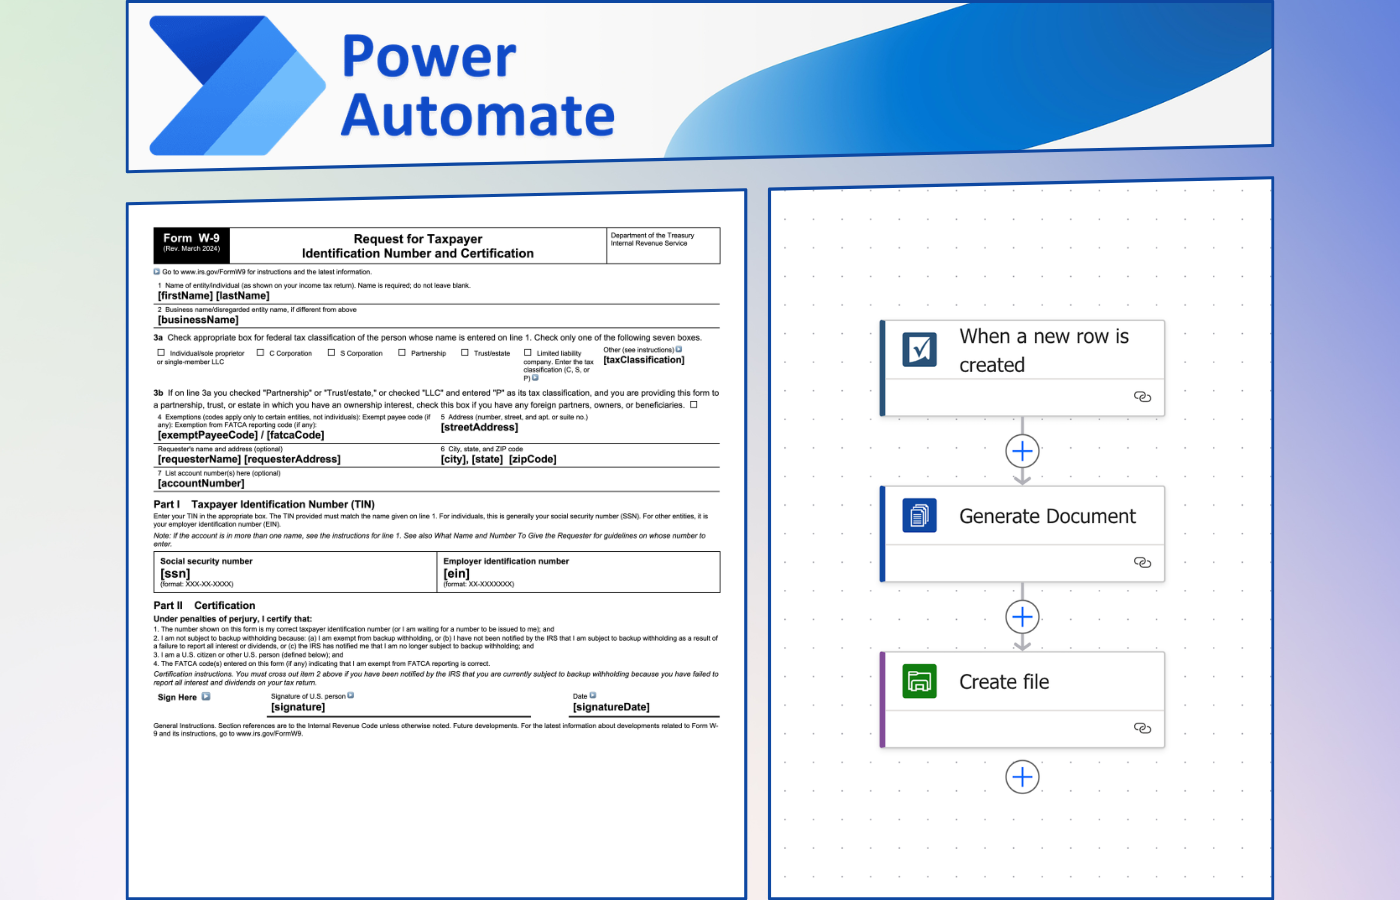
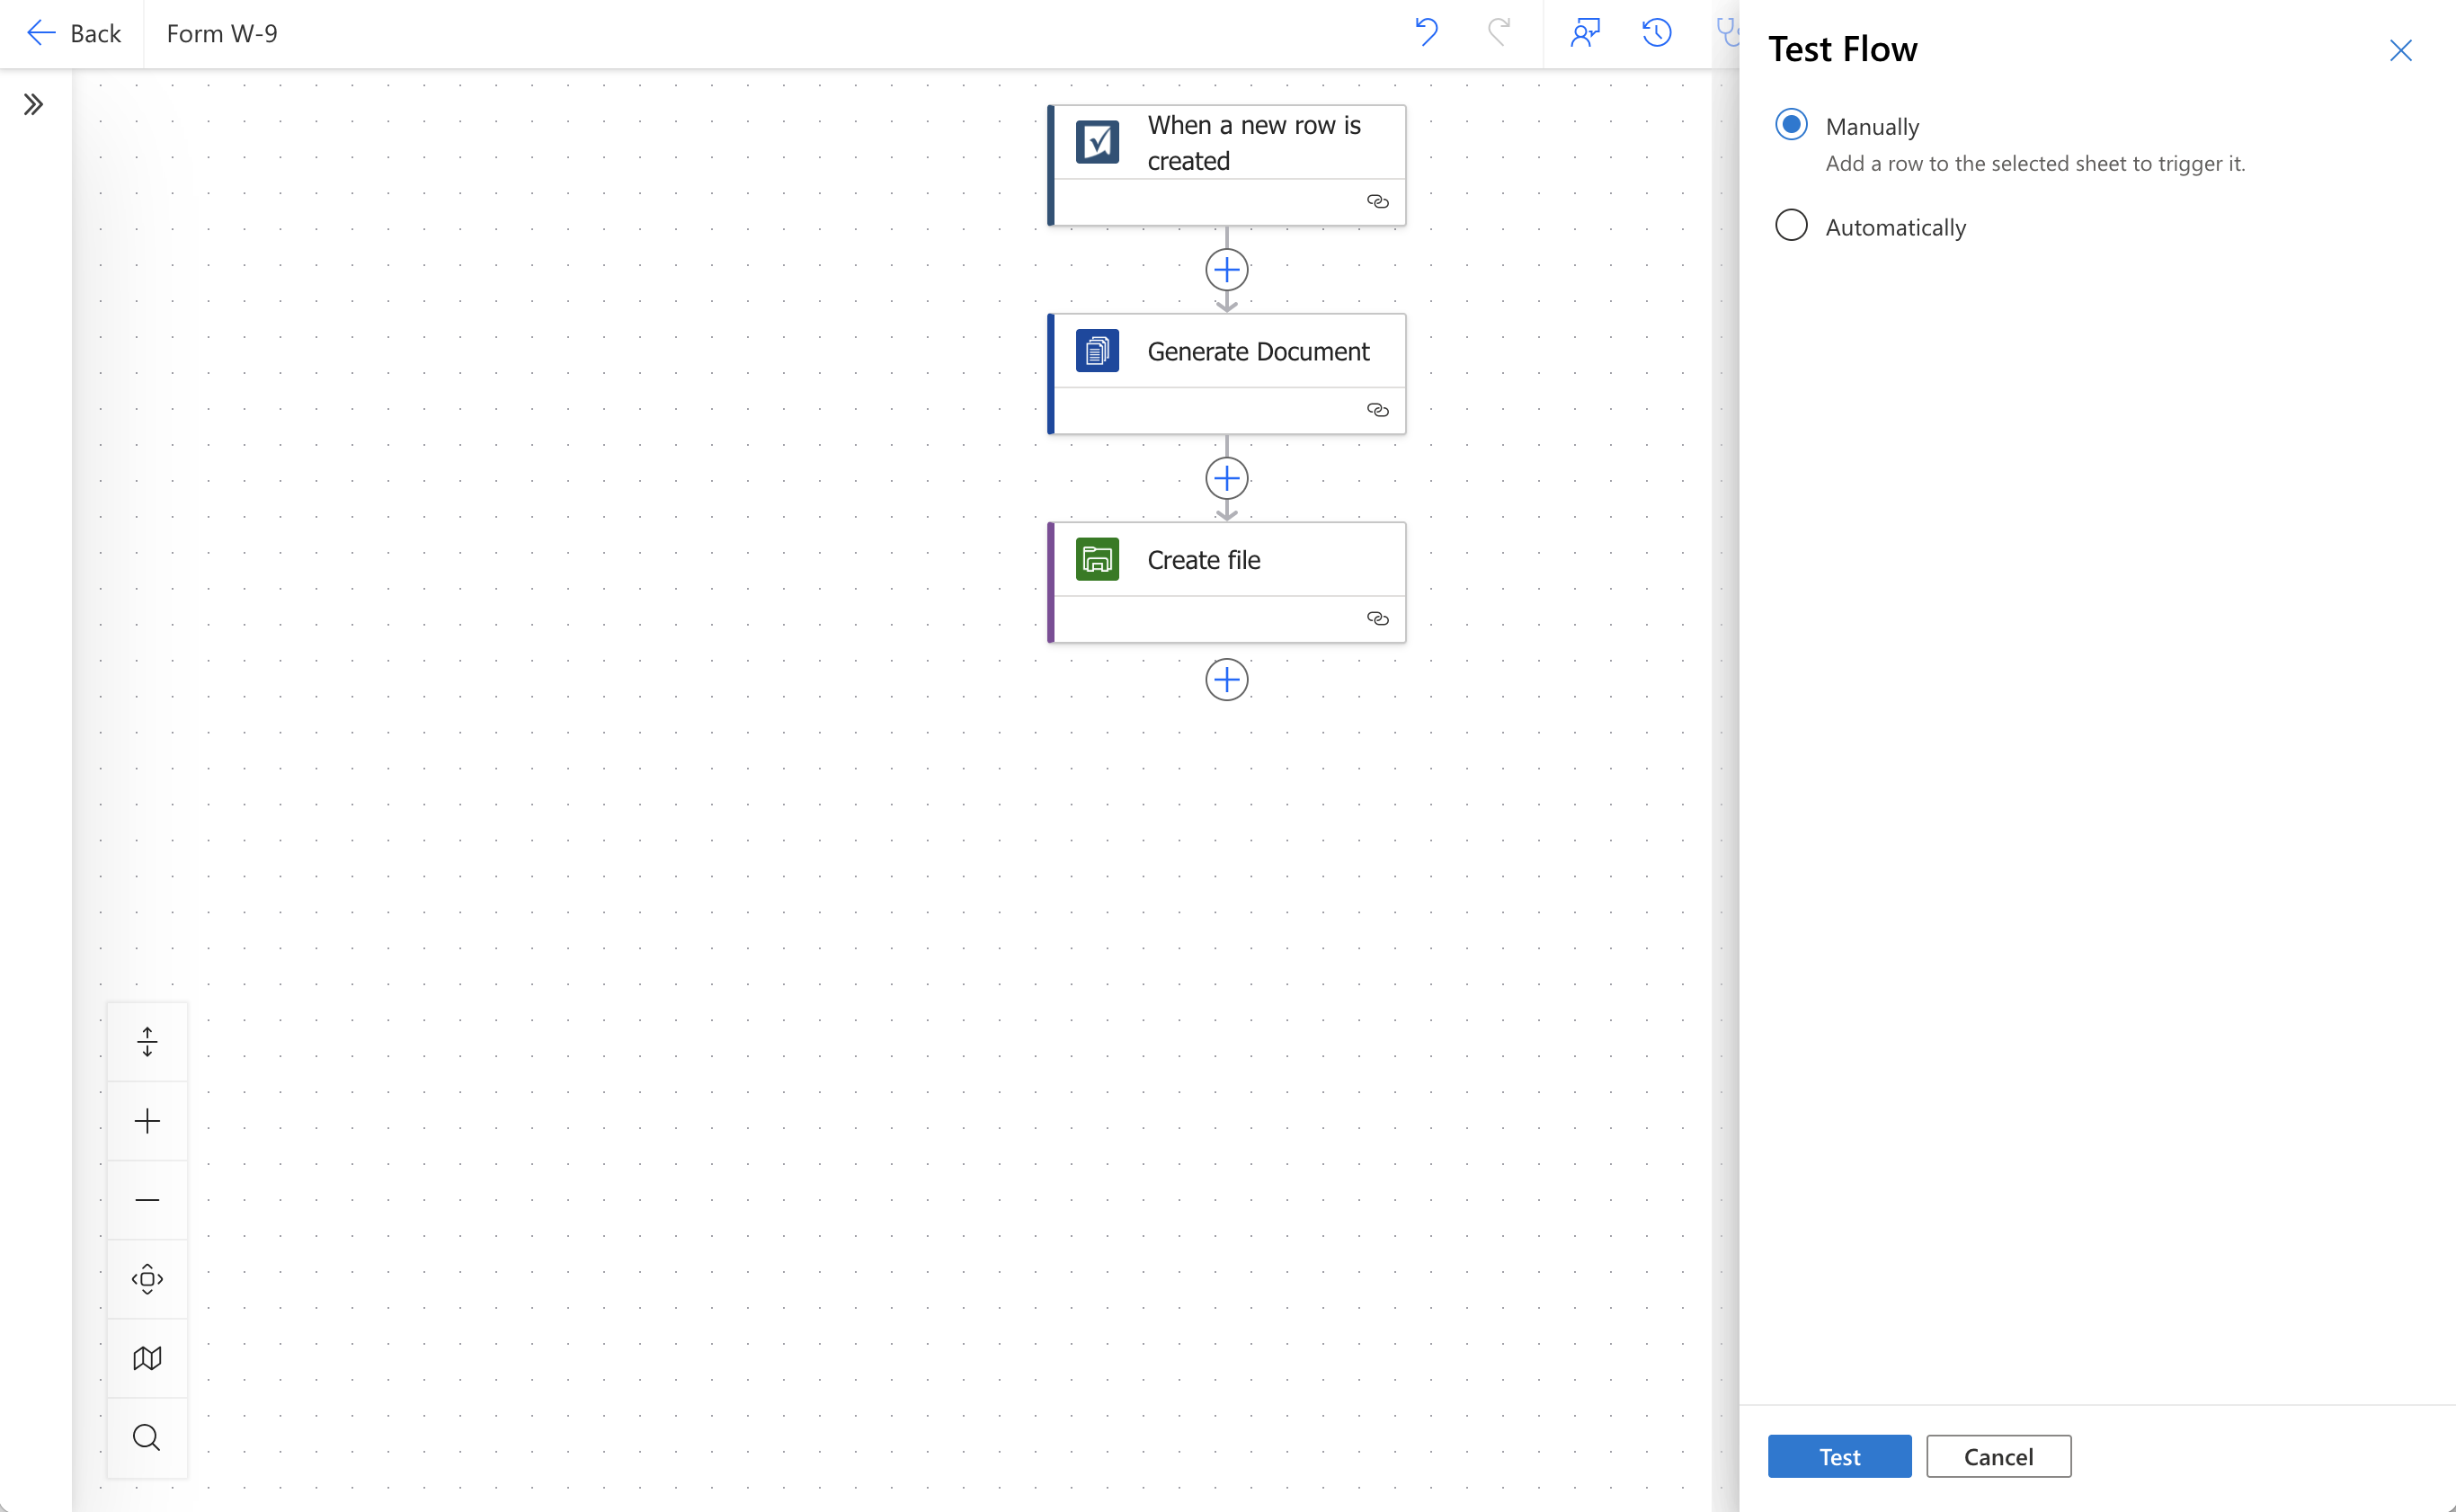
The flow we’ll build has three steps: a Smartsheet trigger that fires when a row is added, a DocuGenerate action that generates the PDF, and an Azure File Storage action that saves it. Let’s configure each one in turn.
Configuring the Smartsheet Trigger
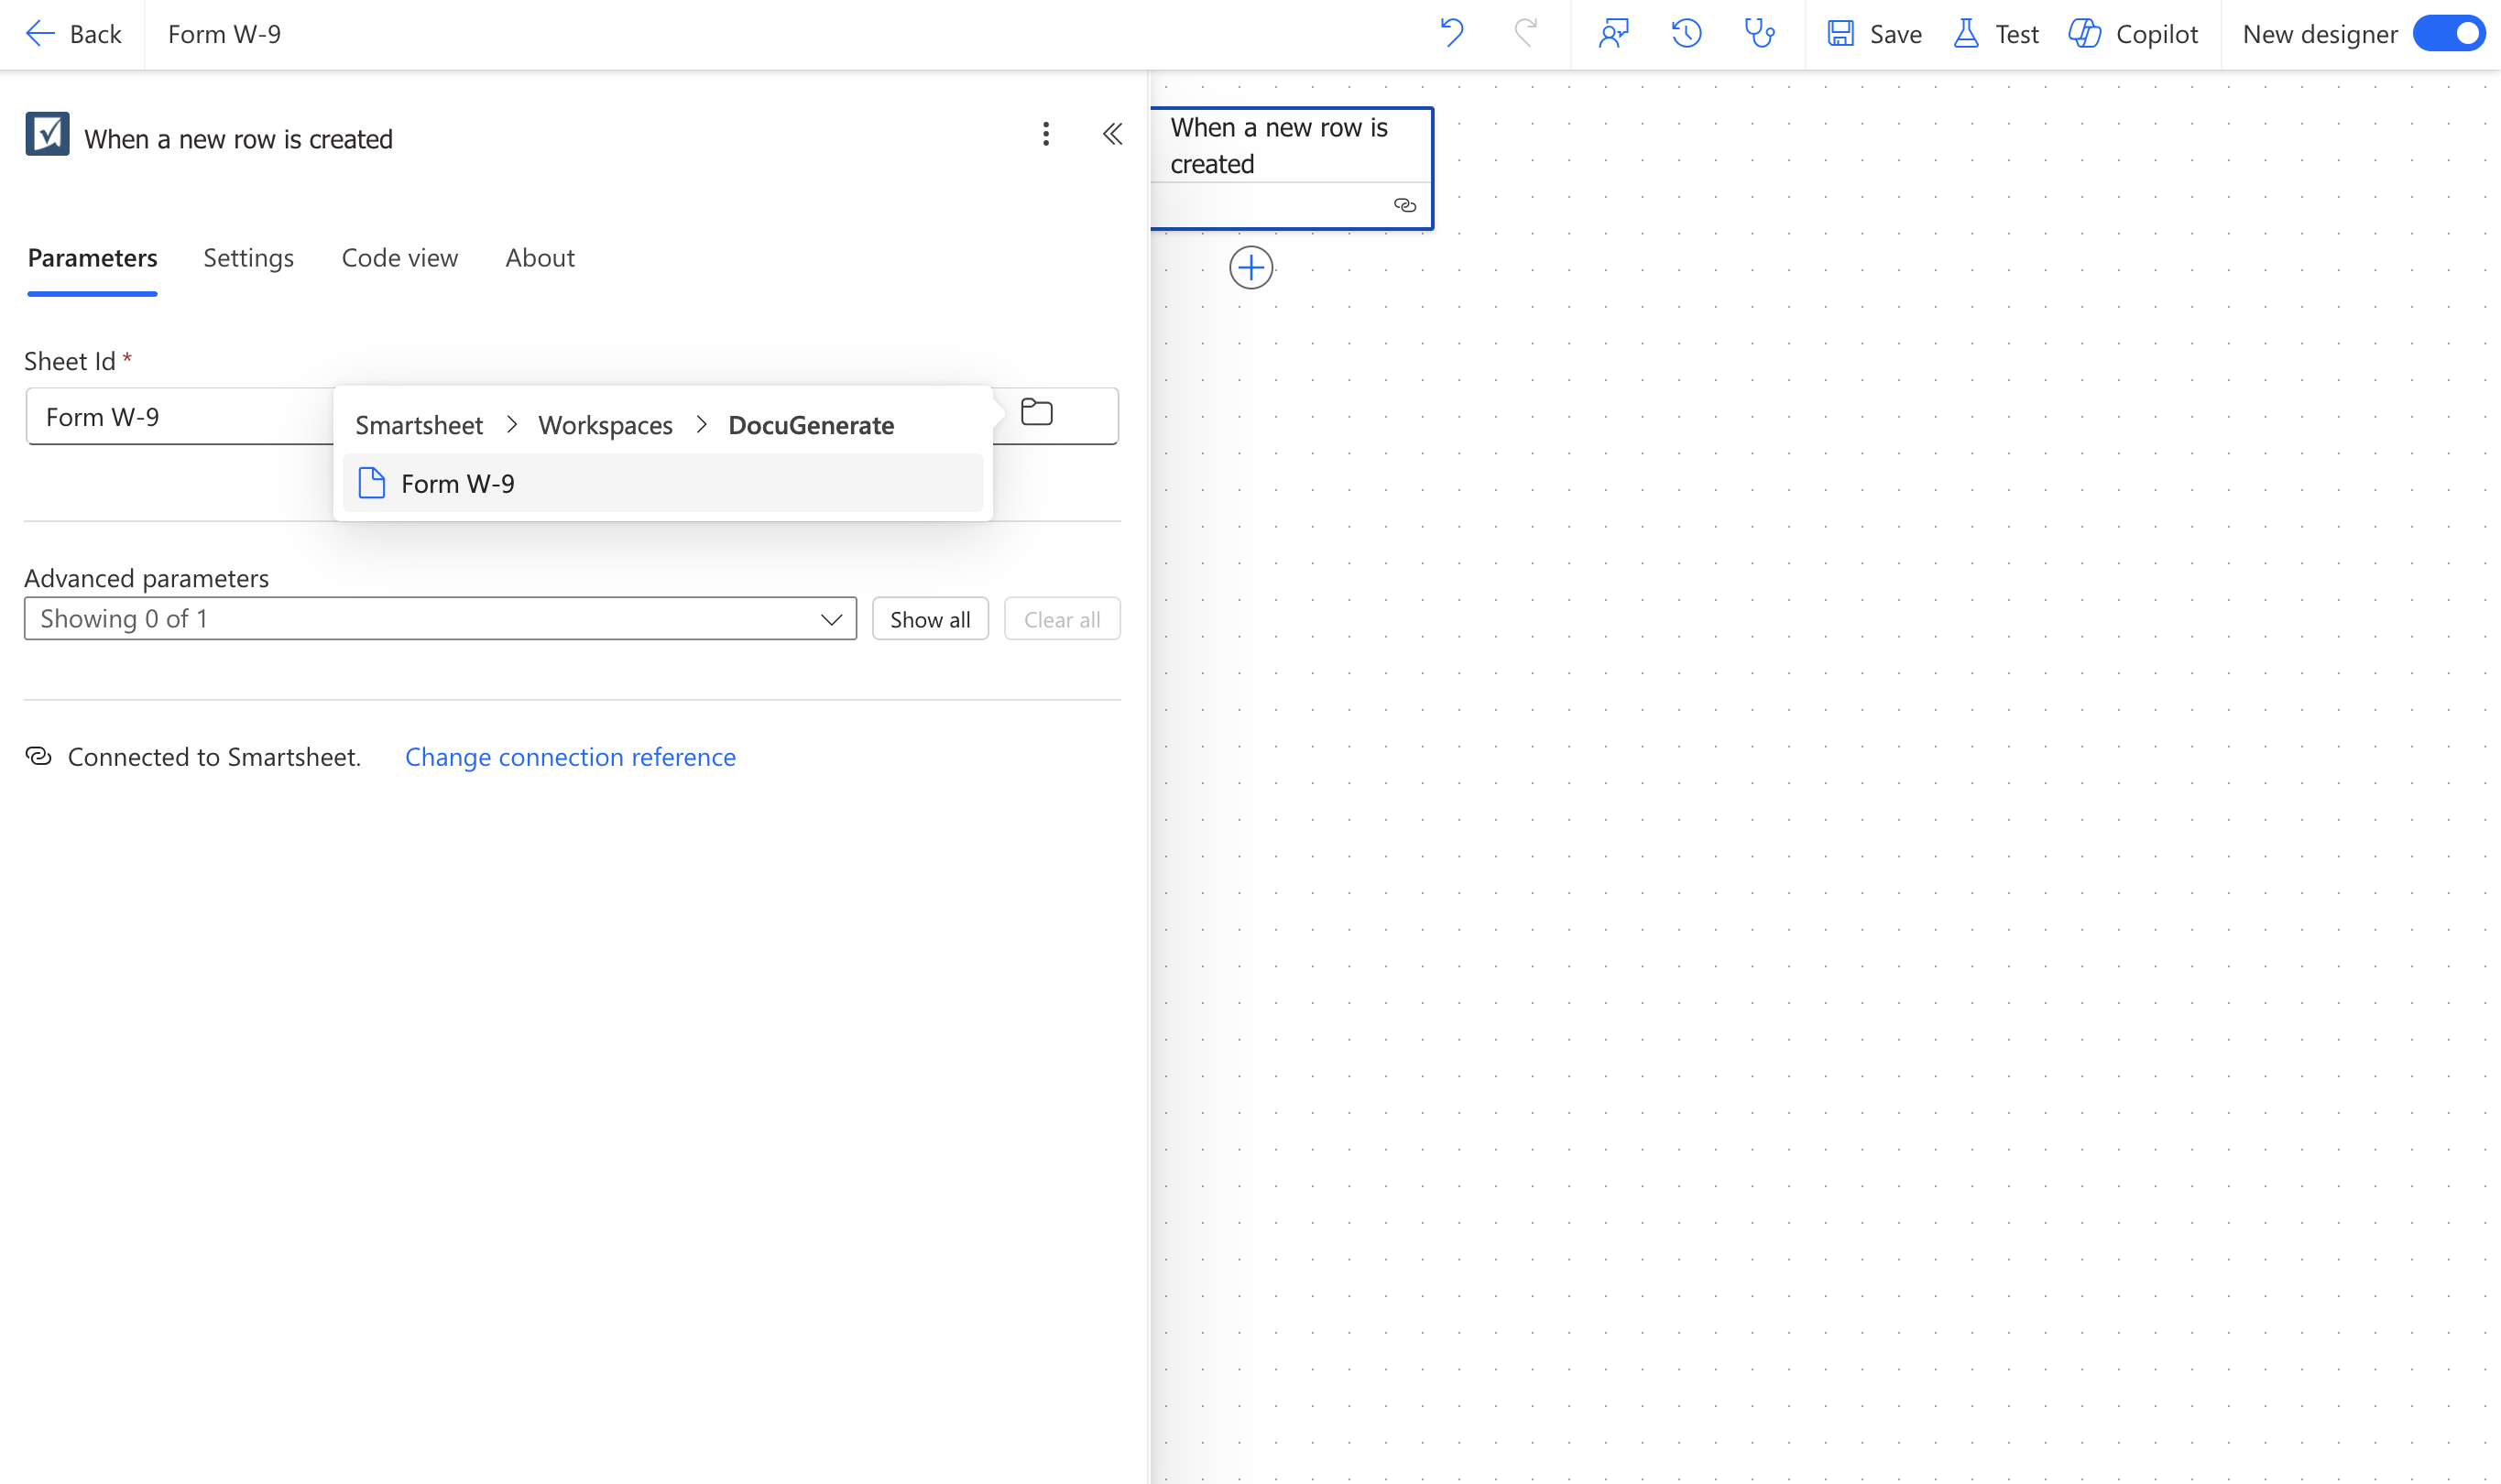
The When a new row is created trigger needs a connection to your Smartsheet account, which Power Automate will prompt you to create the first time you use it. Once connected, set the Sheet Id parameter to the Form W-9 sheet we created earlier.
Adding the Generate Document Action
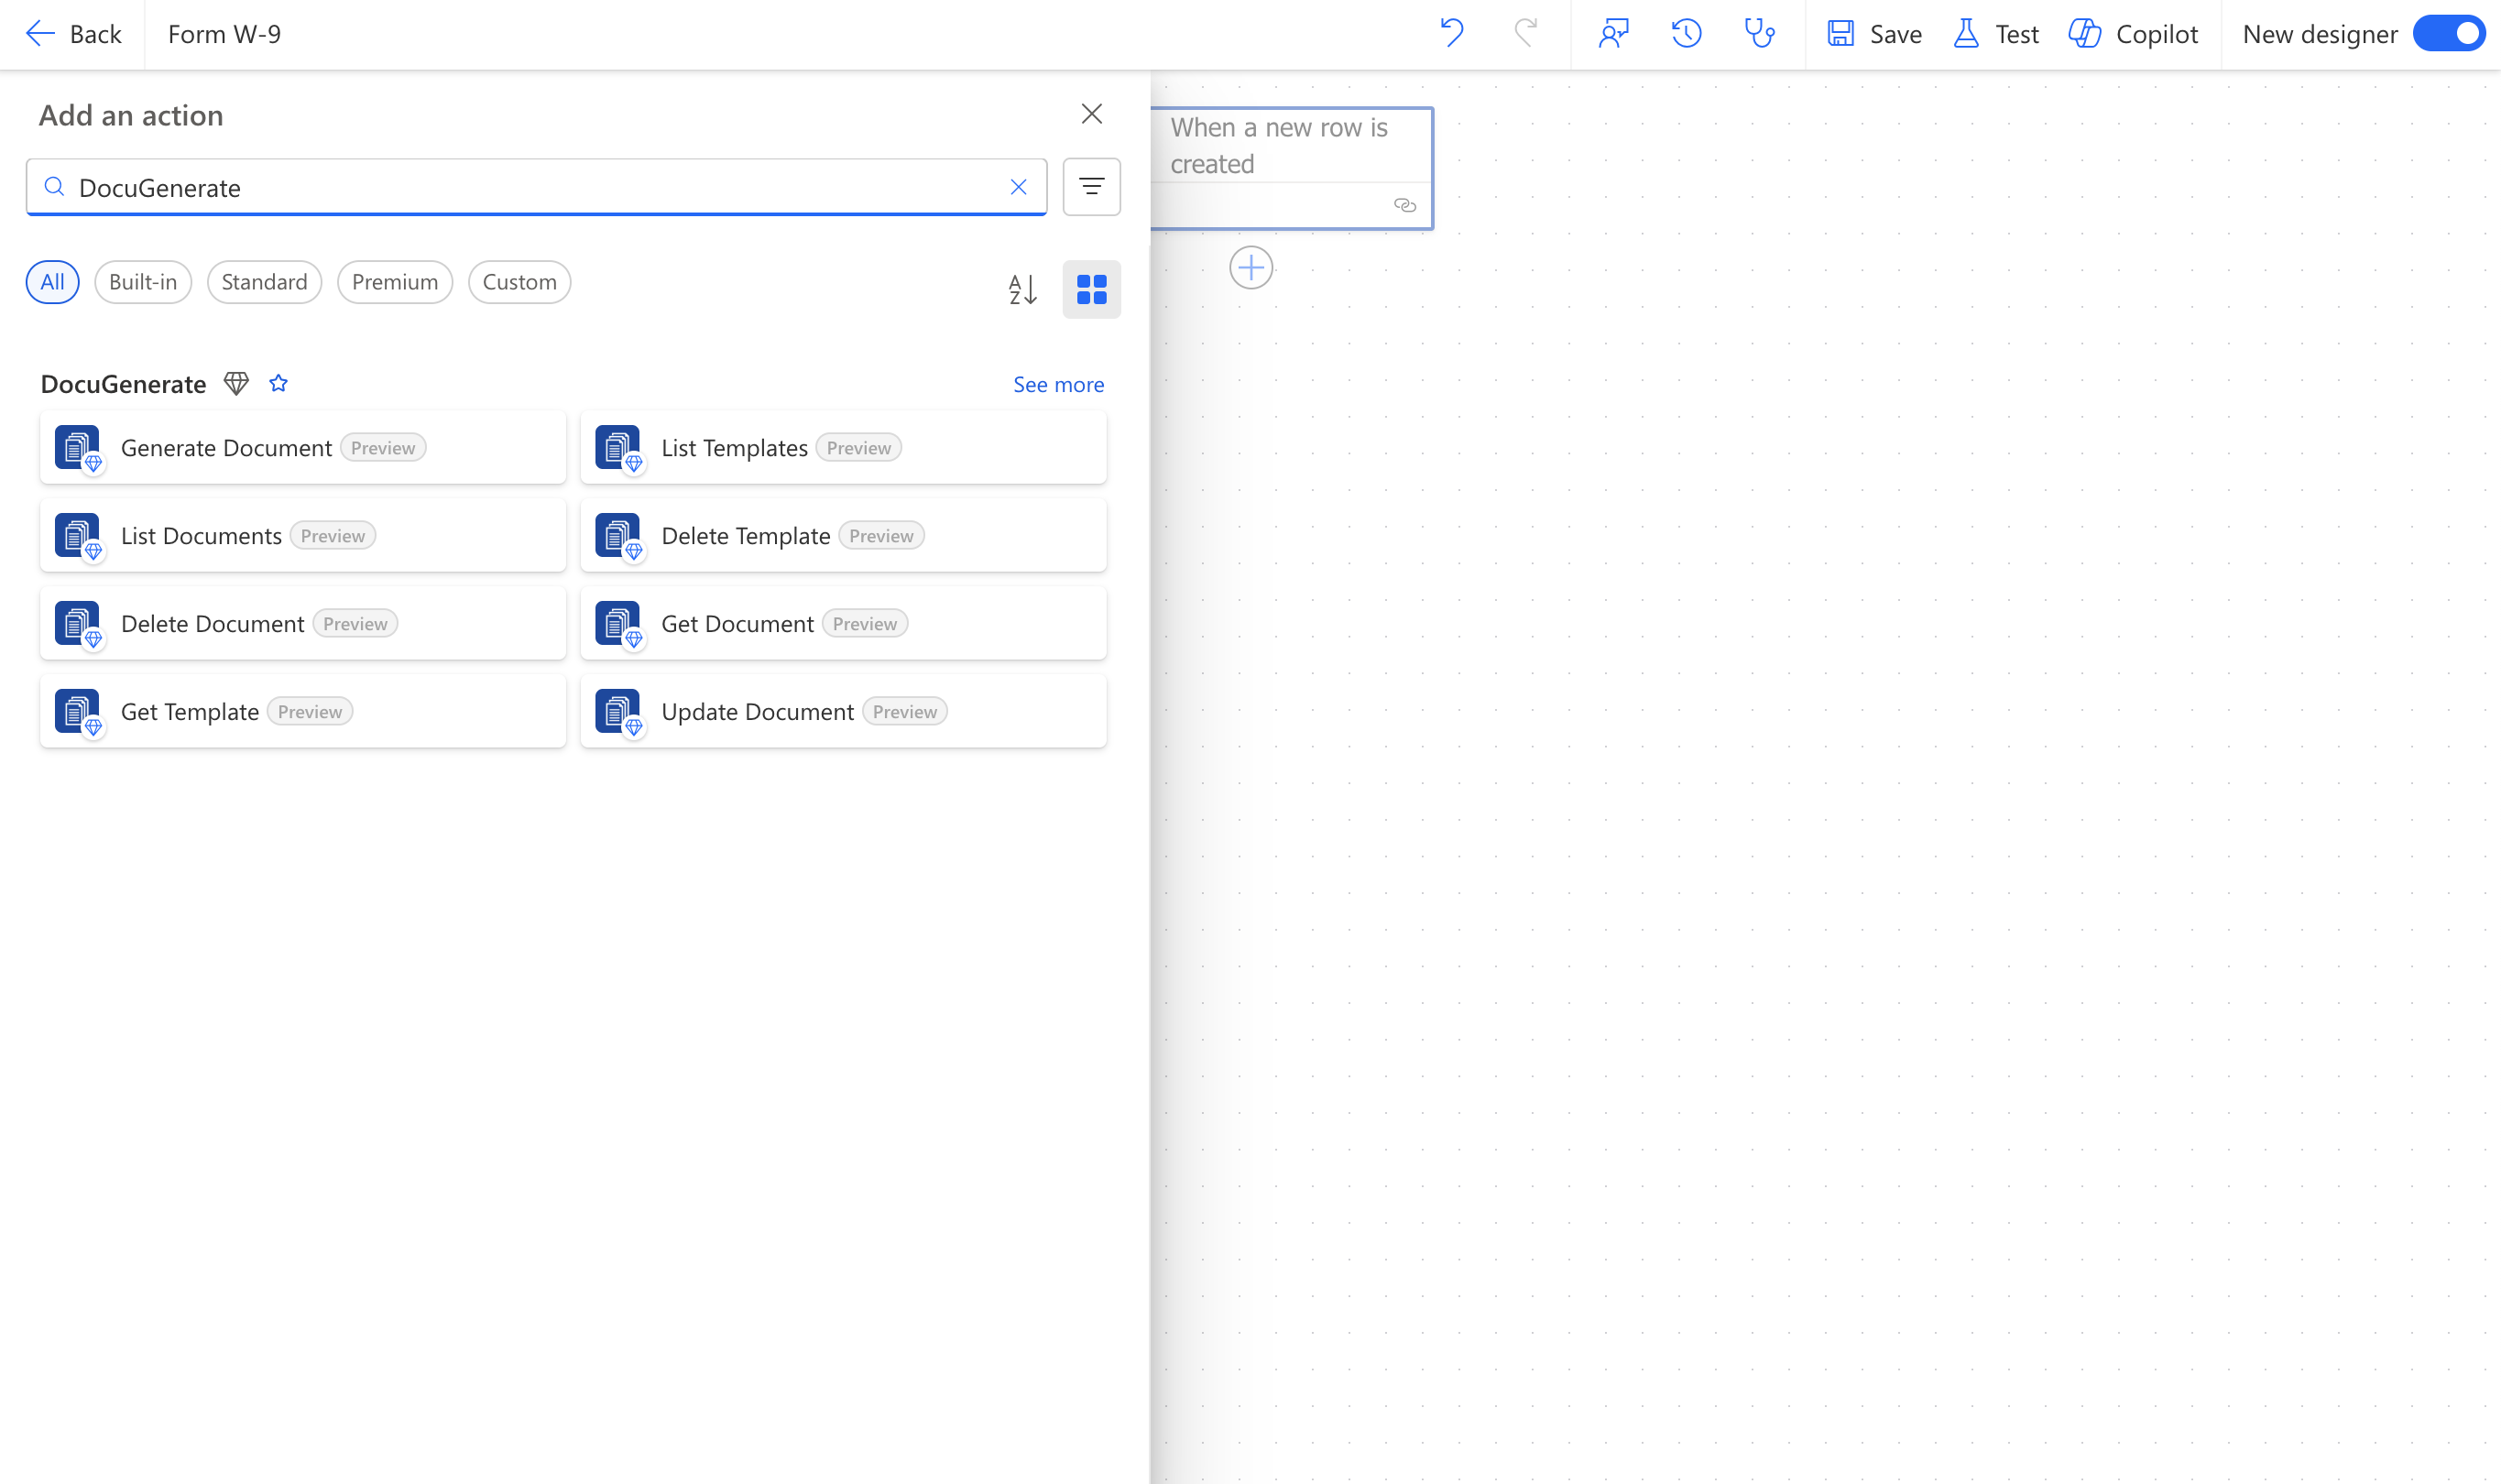
Next, click the + button below the trigger and search for “DocuGenerate” to see the list of available actions.
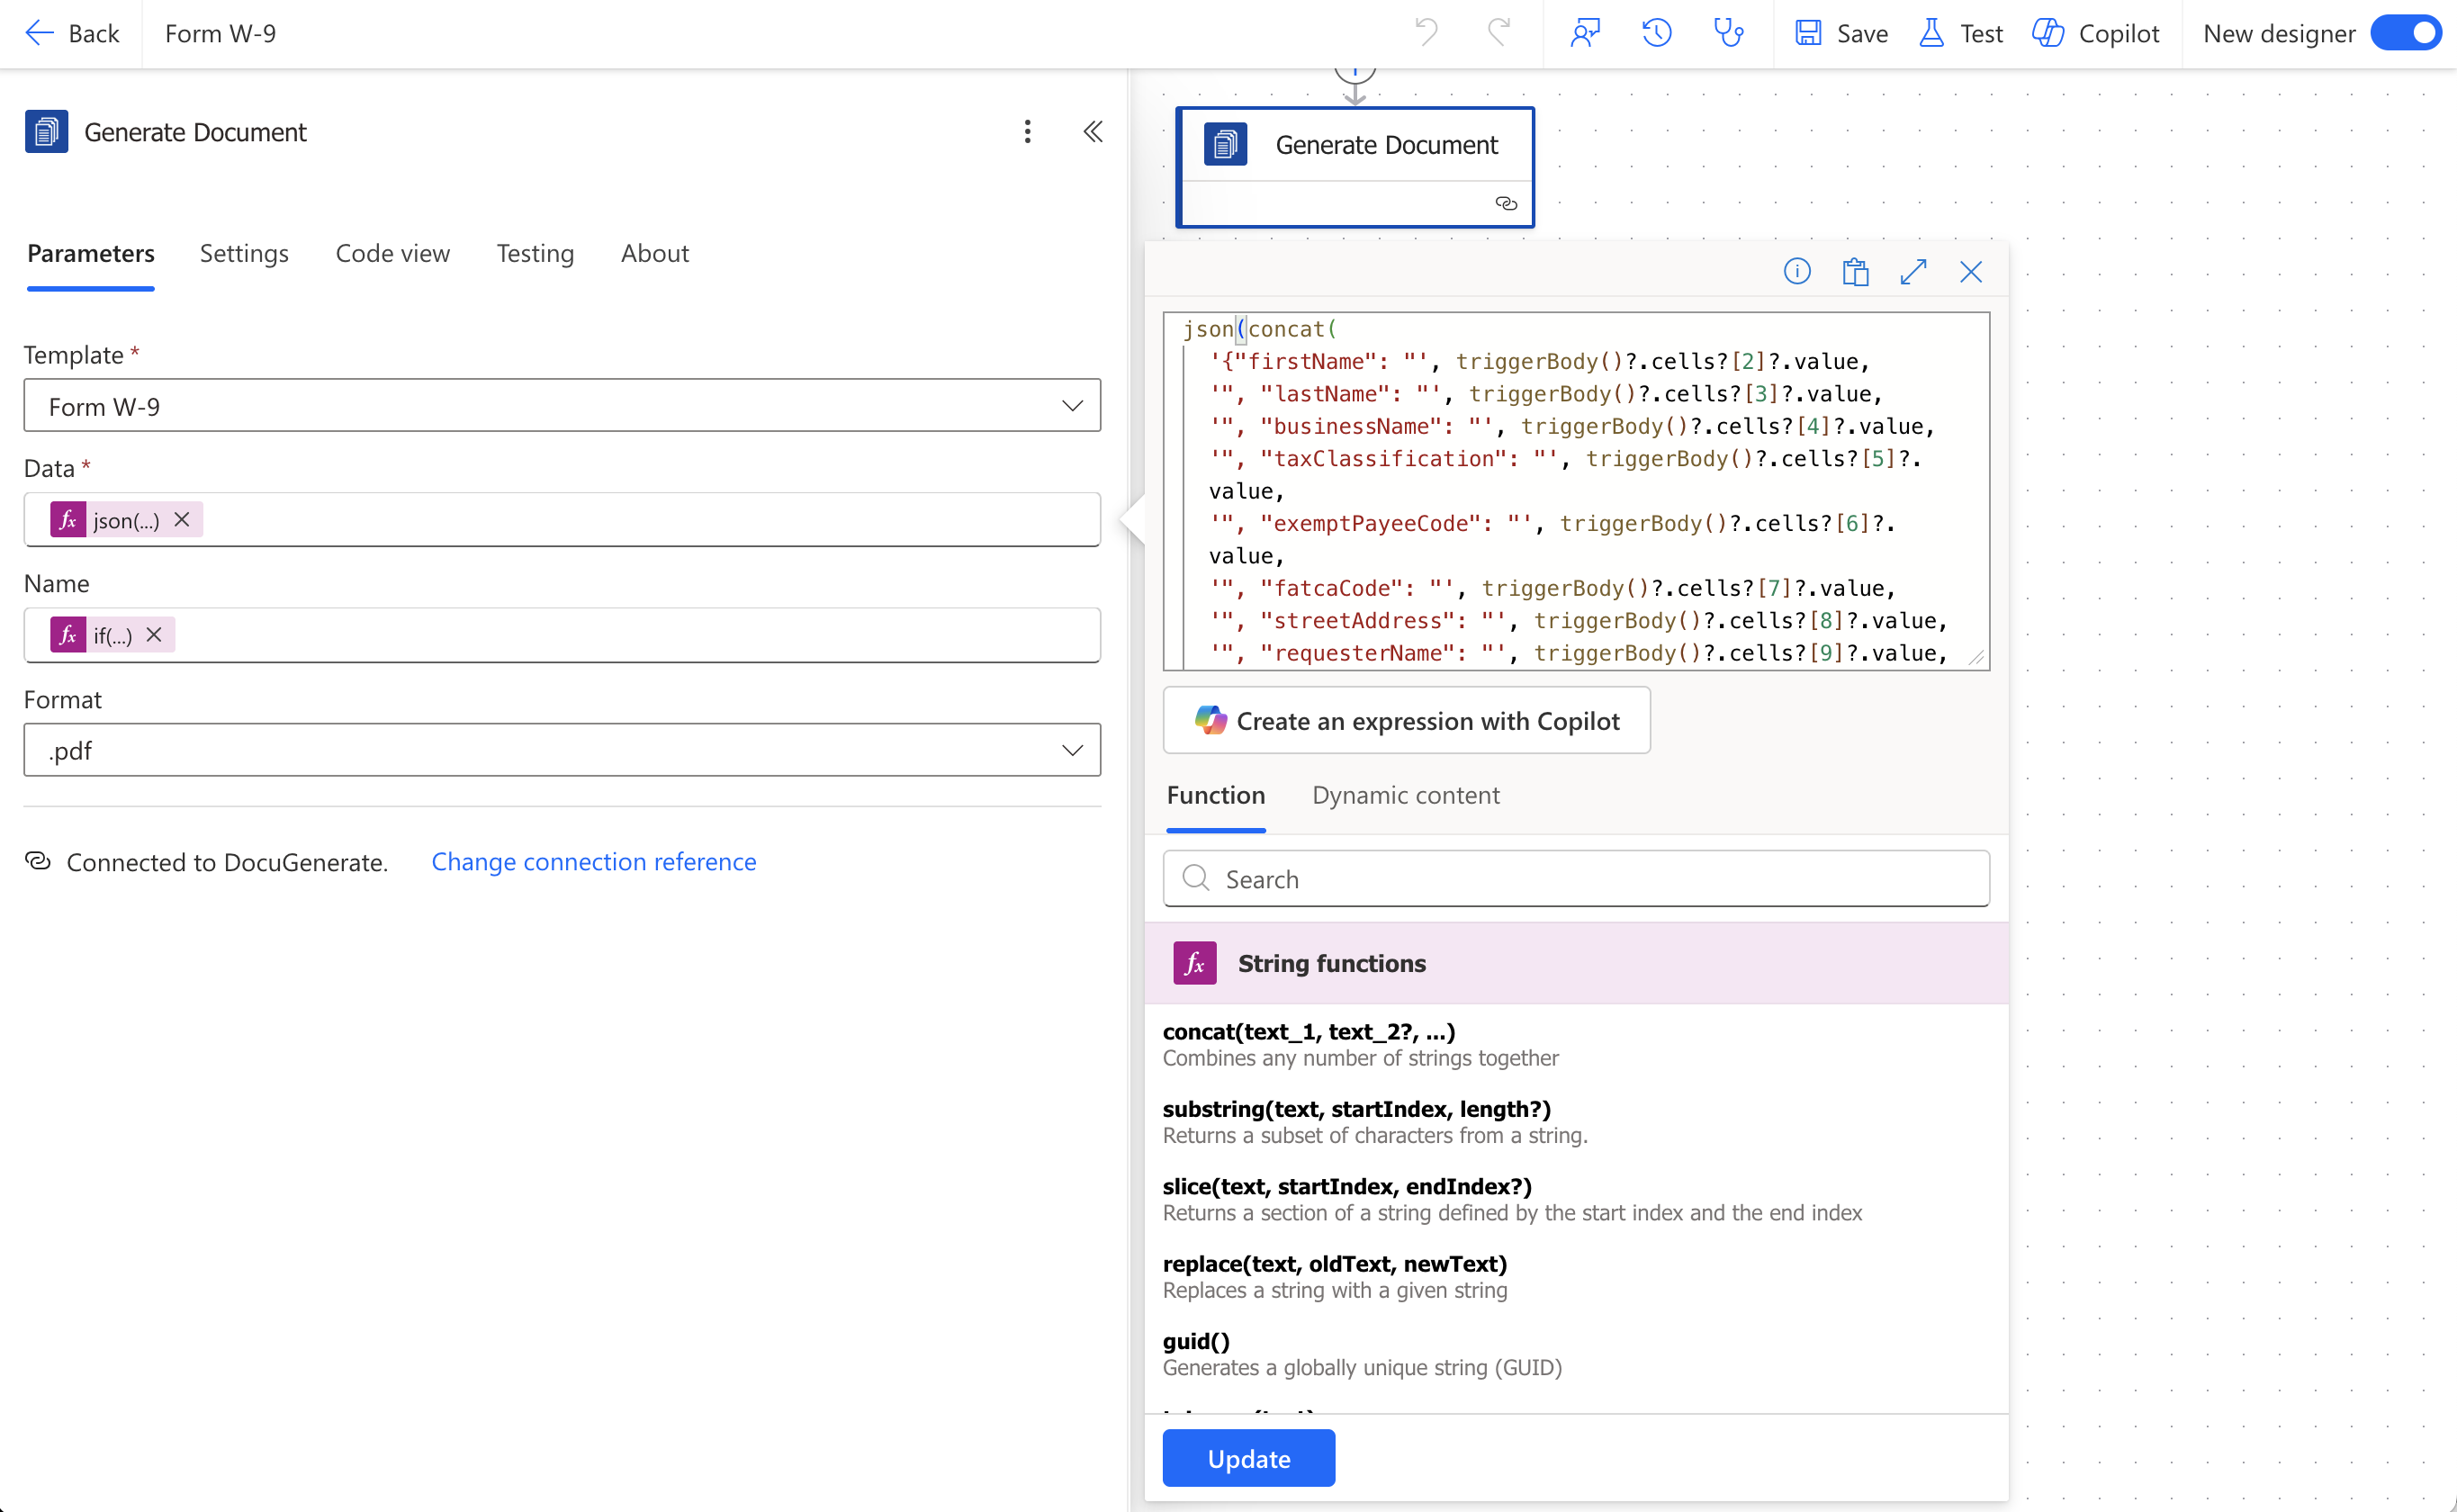
Select Generate Document. The first time you use a DocuGenerate action in your environment, you’ll be prompted to create a connection using your DocuGenerate API Key. Once connected, set the Template field to the Form W-9 template created in DocuGenerate.
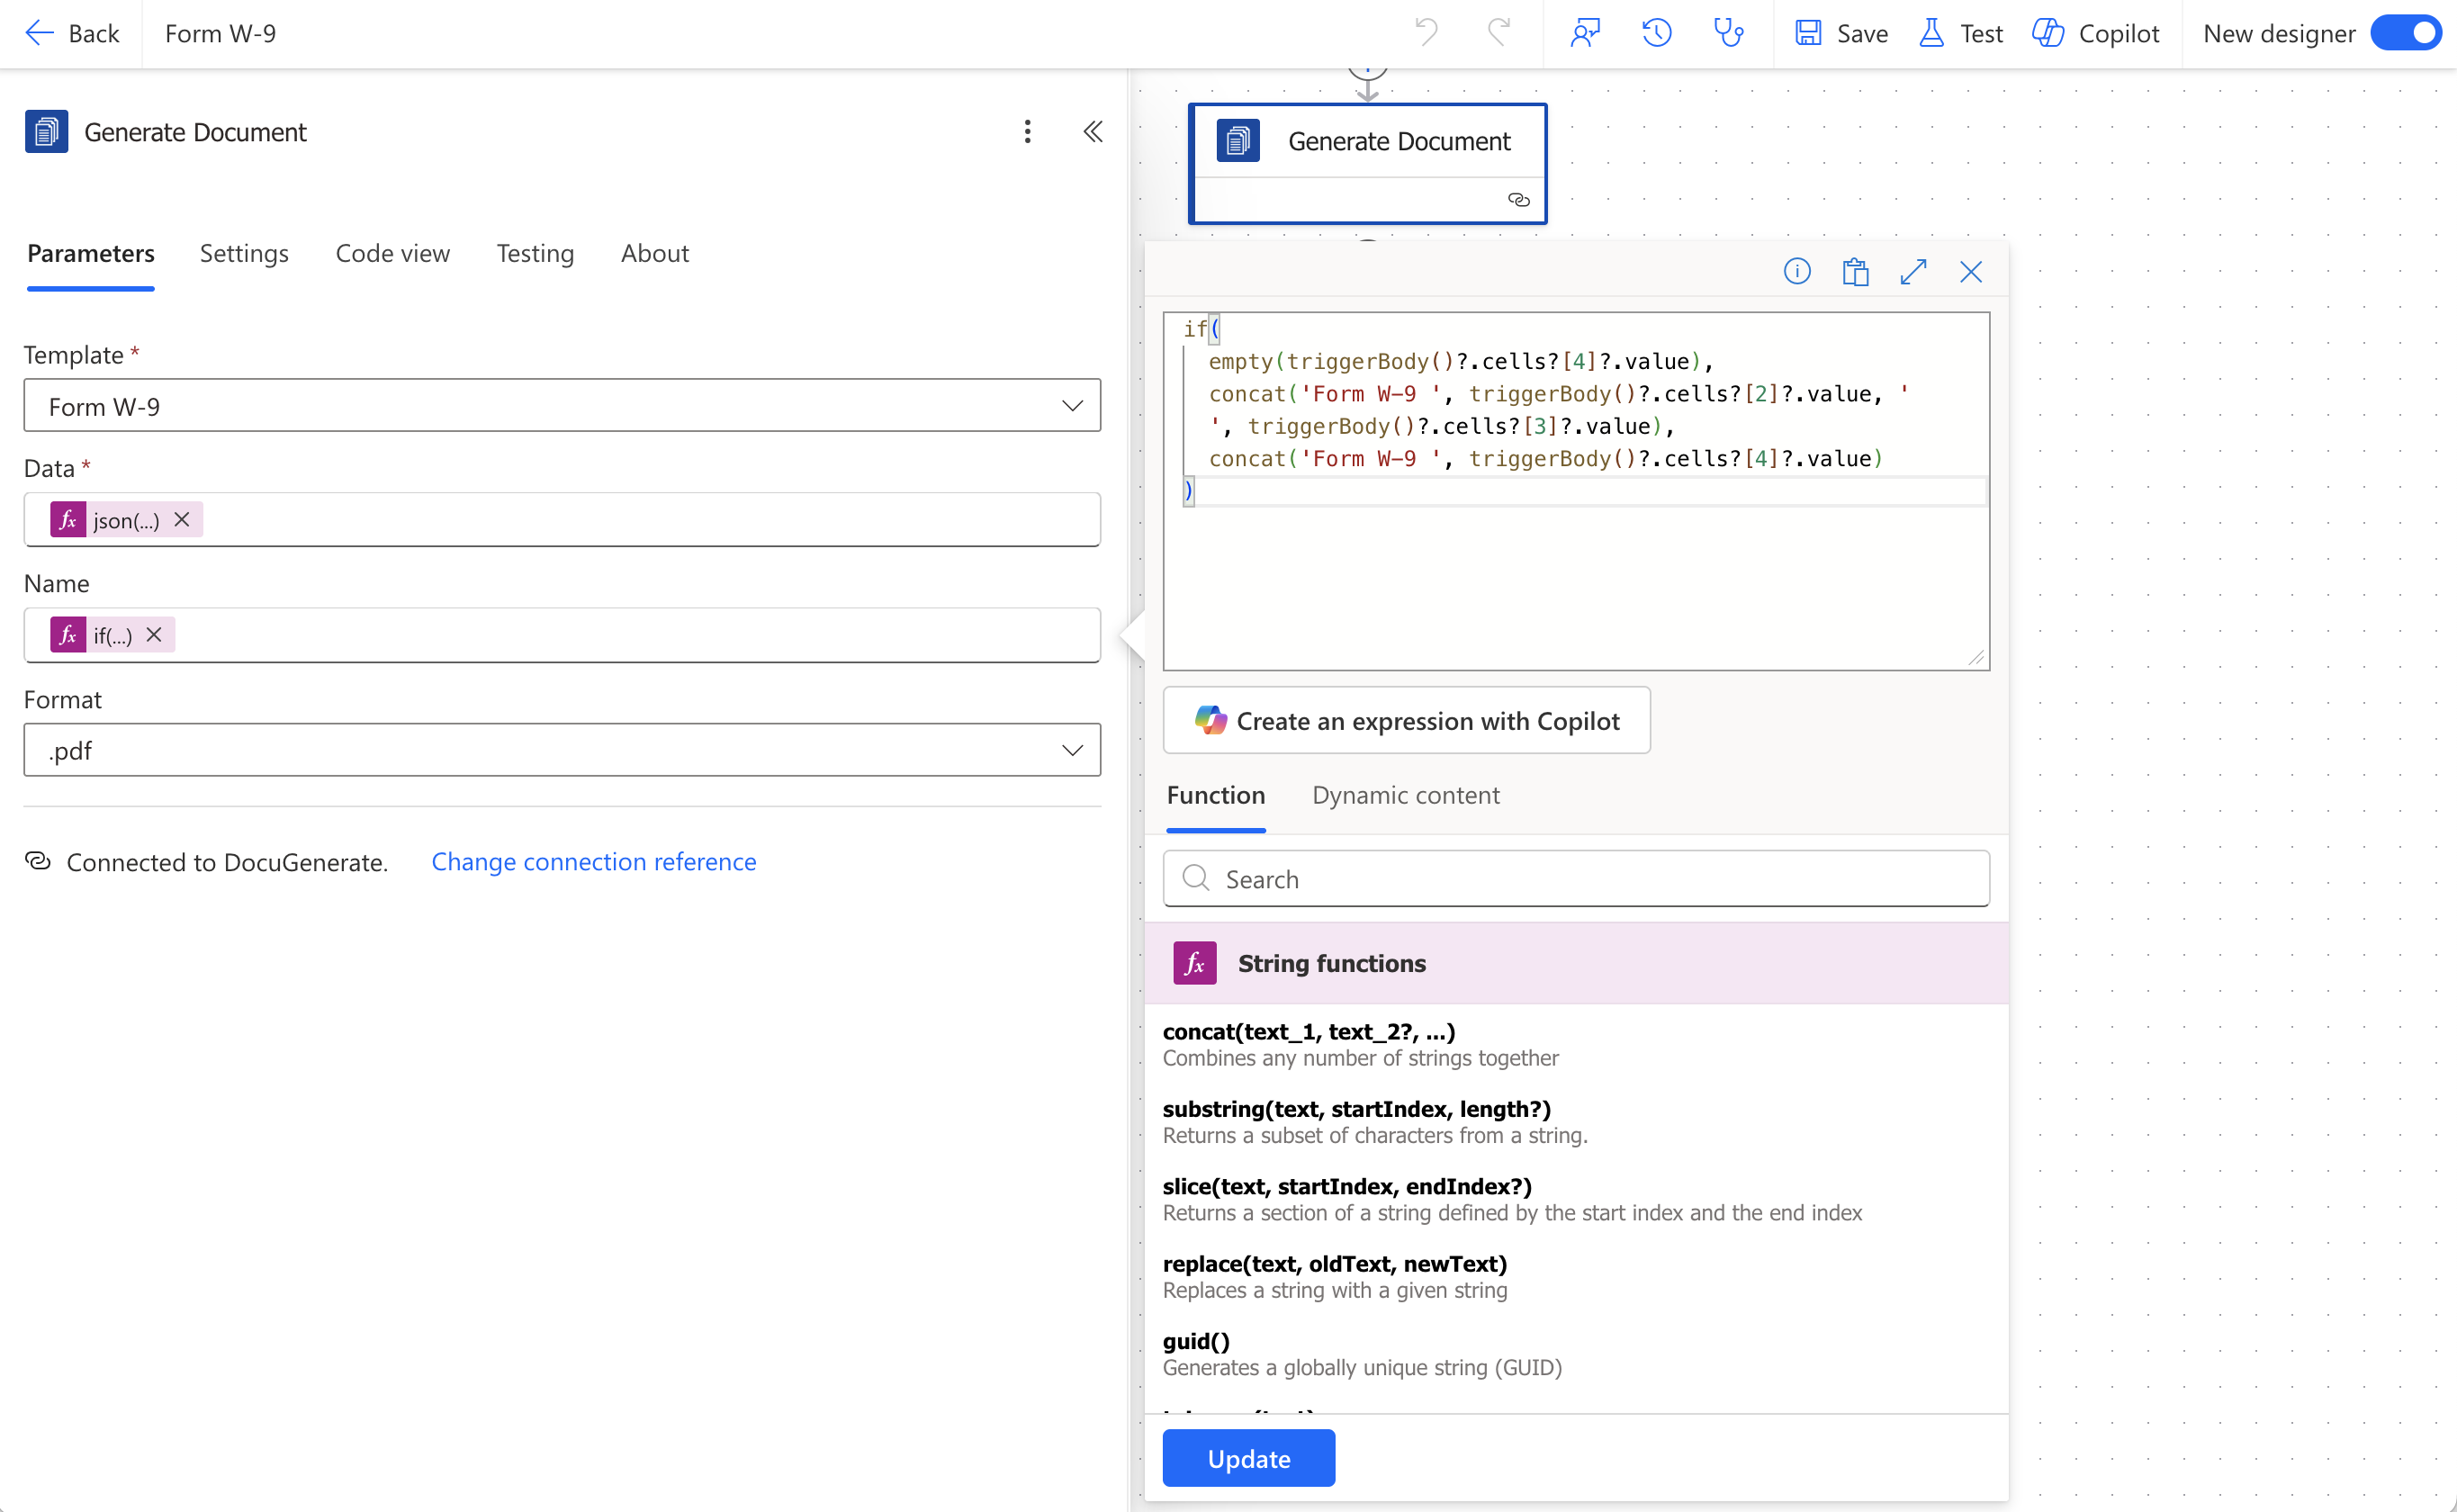
For the Data field, we need a JSON object containing the values for all 17 merge tags. Smartsheet’s trigger does not expose the row’s cells by column name, only as an array, so each value has to be referenced by its numeric index. Based on how the columns were ordered during the import, the mapping is: column 0 is Record ID, column 1 is SSN, column 2 is First Name, column 3 is Last Name, and so on through column 17, which is Signature Date. We built the JSON with the concat and json expressions:
The ? characters are null-conditional operators: triggerBody()?.cells?[2]?.value reads the value property of the cell at index 2, and returns null instead of throwing an error at any point where cells or that specific cell happens to be missing. This matters here because several columns, like businessName or ssn, are intentionally blank on many rows. The outer concat function stitches all these values into a single JSON string, and json() parses that string into the object the Data field expects.
For the Name field, we used an expression that checks whether the Business Name column (index 4) is populated and picks the appropriate naming pattern, using the same index map as above:
This produces a name like “Form W-9 John Smith” for an individual filer, or “Form W-9 Bluepeak Software LLC” for a business filer. Finally, leave the Format field set to its default value of .pdf.
Saving the Document to Azure File Storage
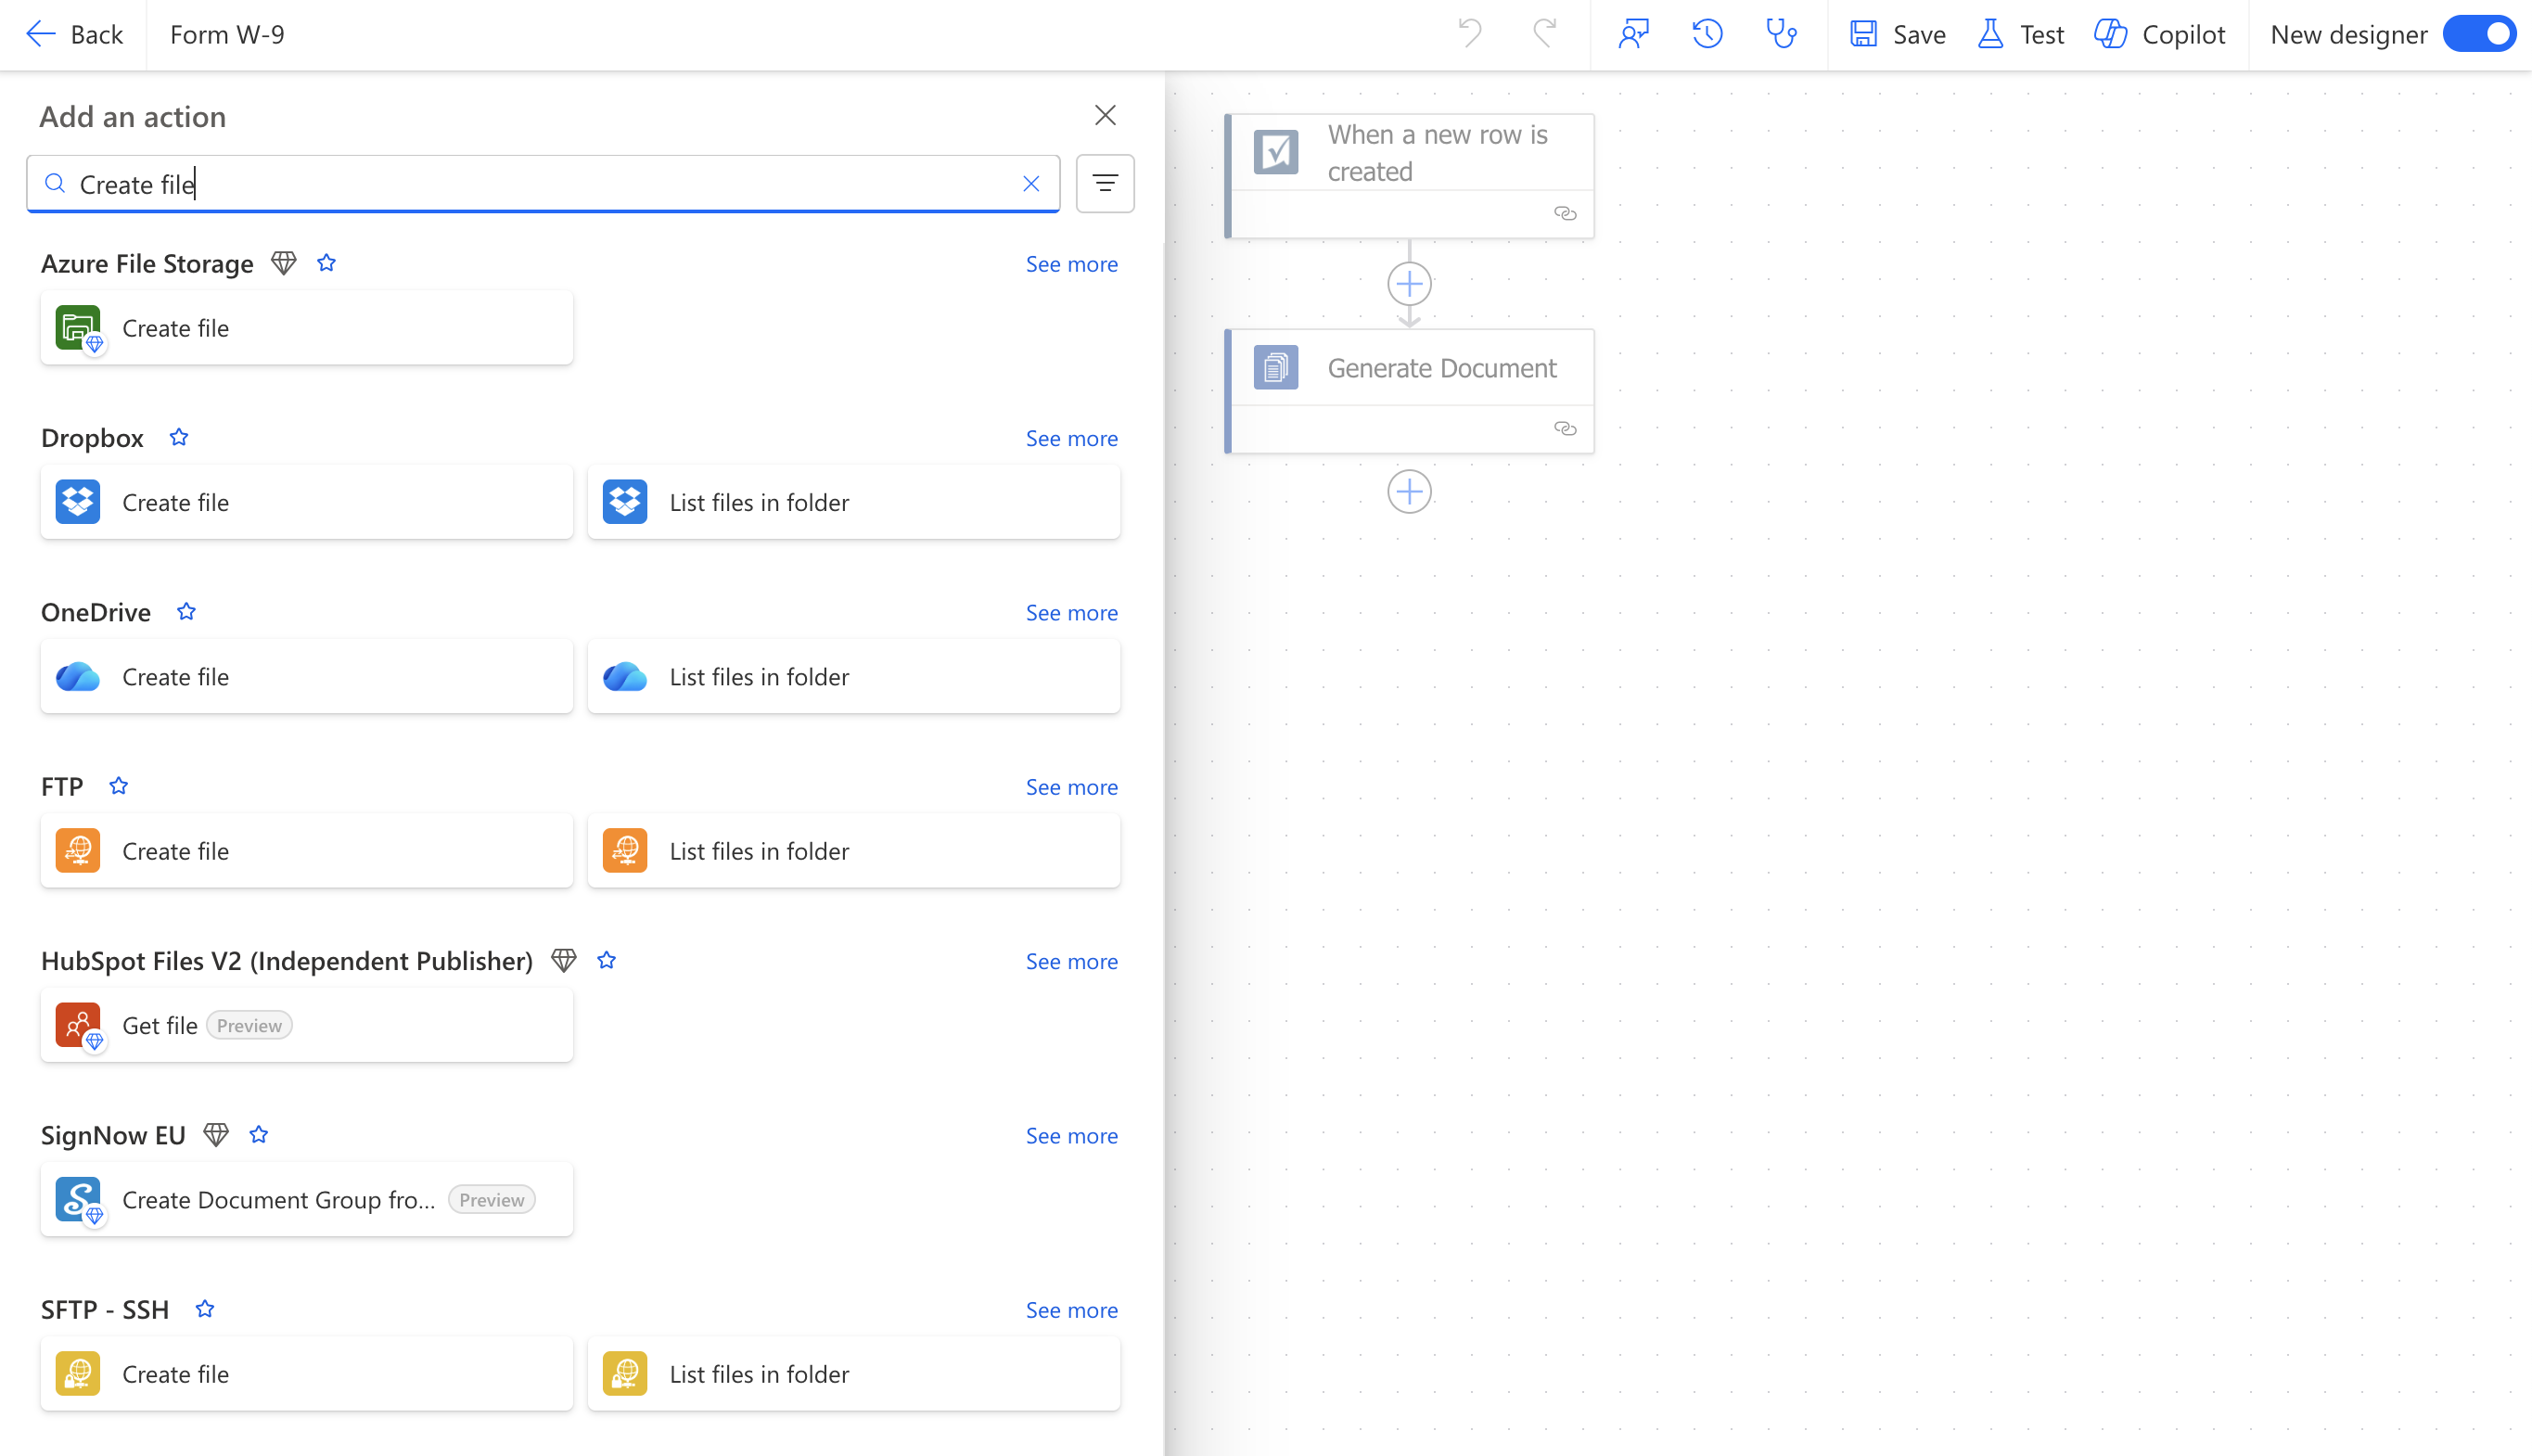
Once the document is generated, there are many ways to deliver it: send it by email, add it to SharePoint or OneDrive, upload it to an S3 bucket, and so on. For this tutorial, we’ll save it to Azure File Storage. Click the + button below the Generate Document action, search for “Create file,” and select the action from Azure File Storage.
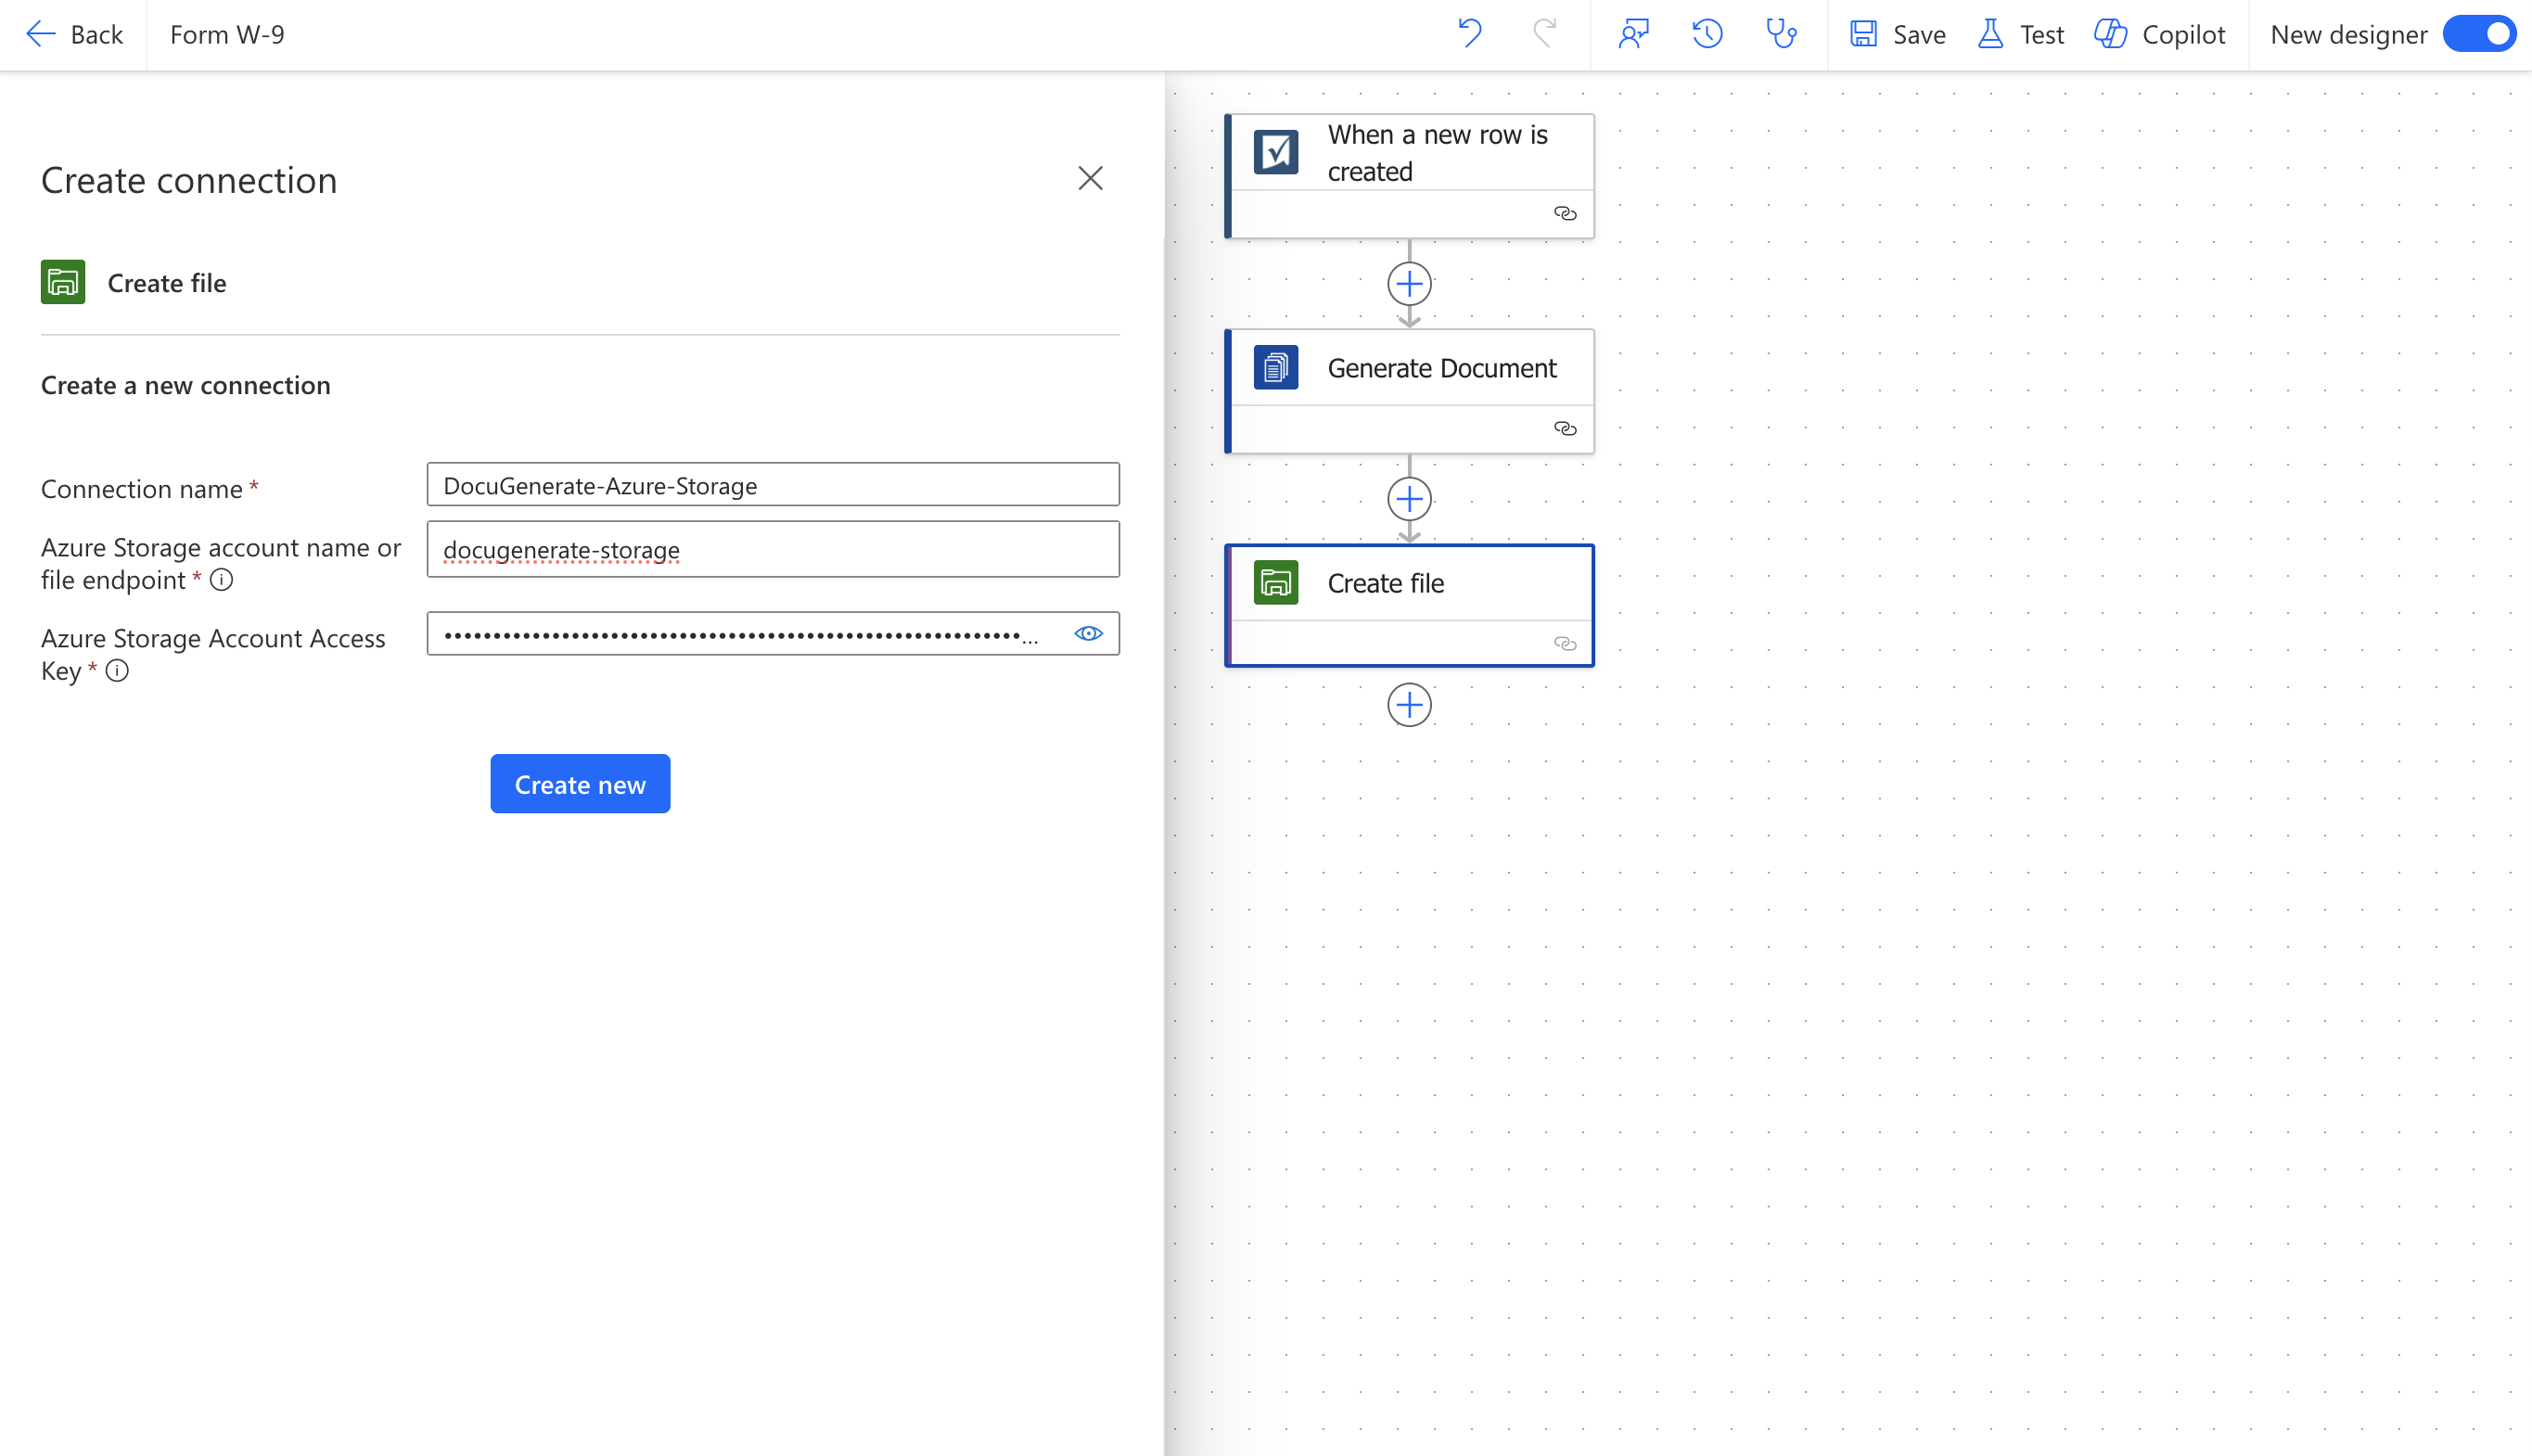
Create a connection by providing a Connection name, your Azure Storage account name or file endpoint, and your Azure Storage Account Access Key, both of which are available from your storage account in the Azure portal.
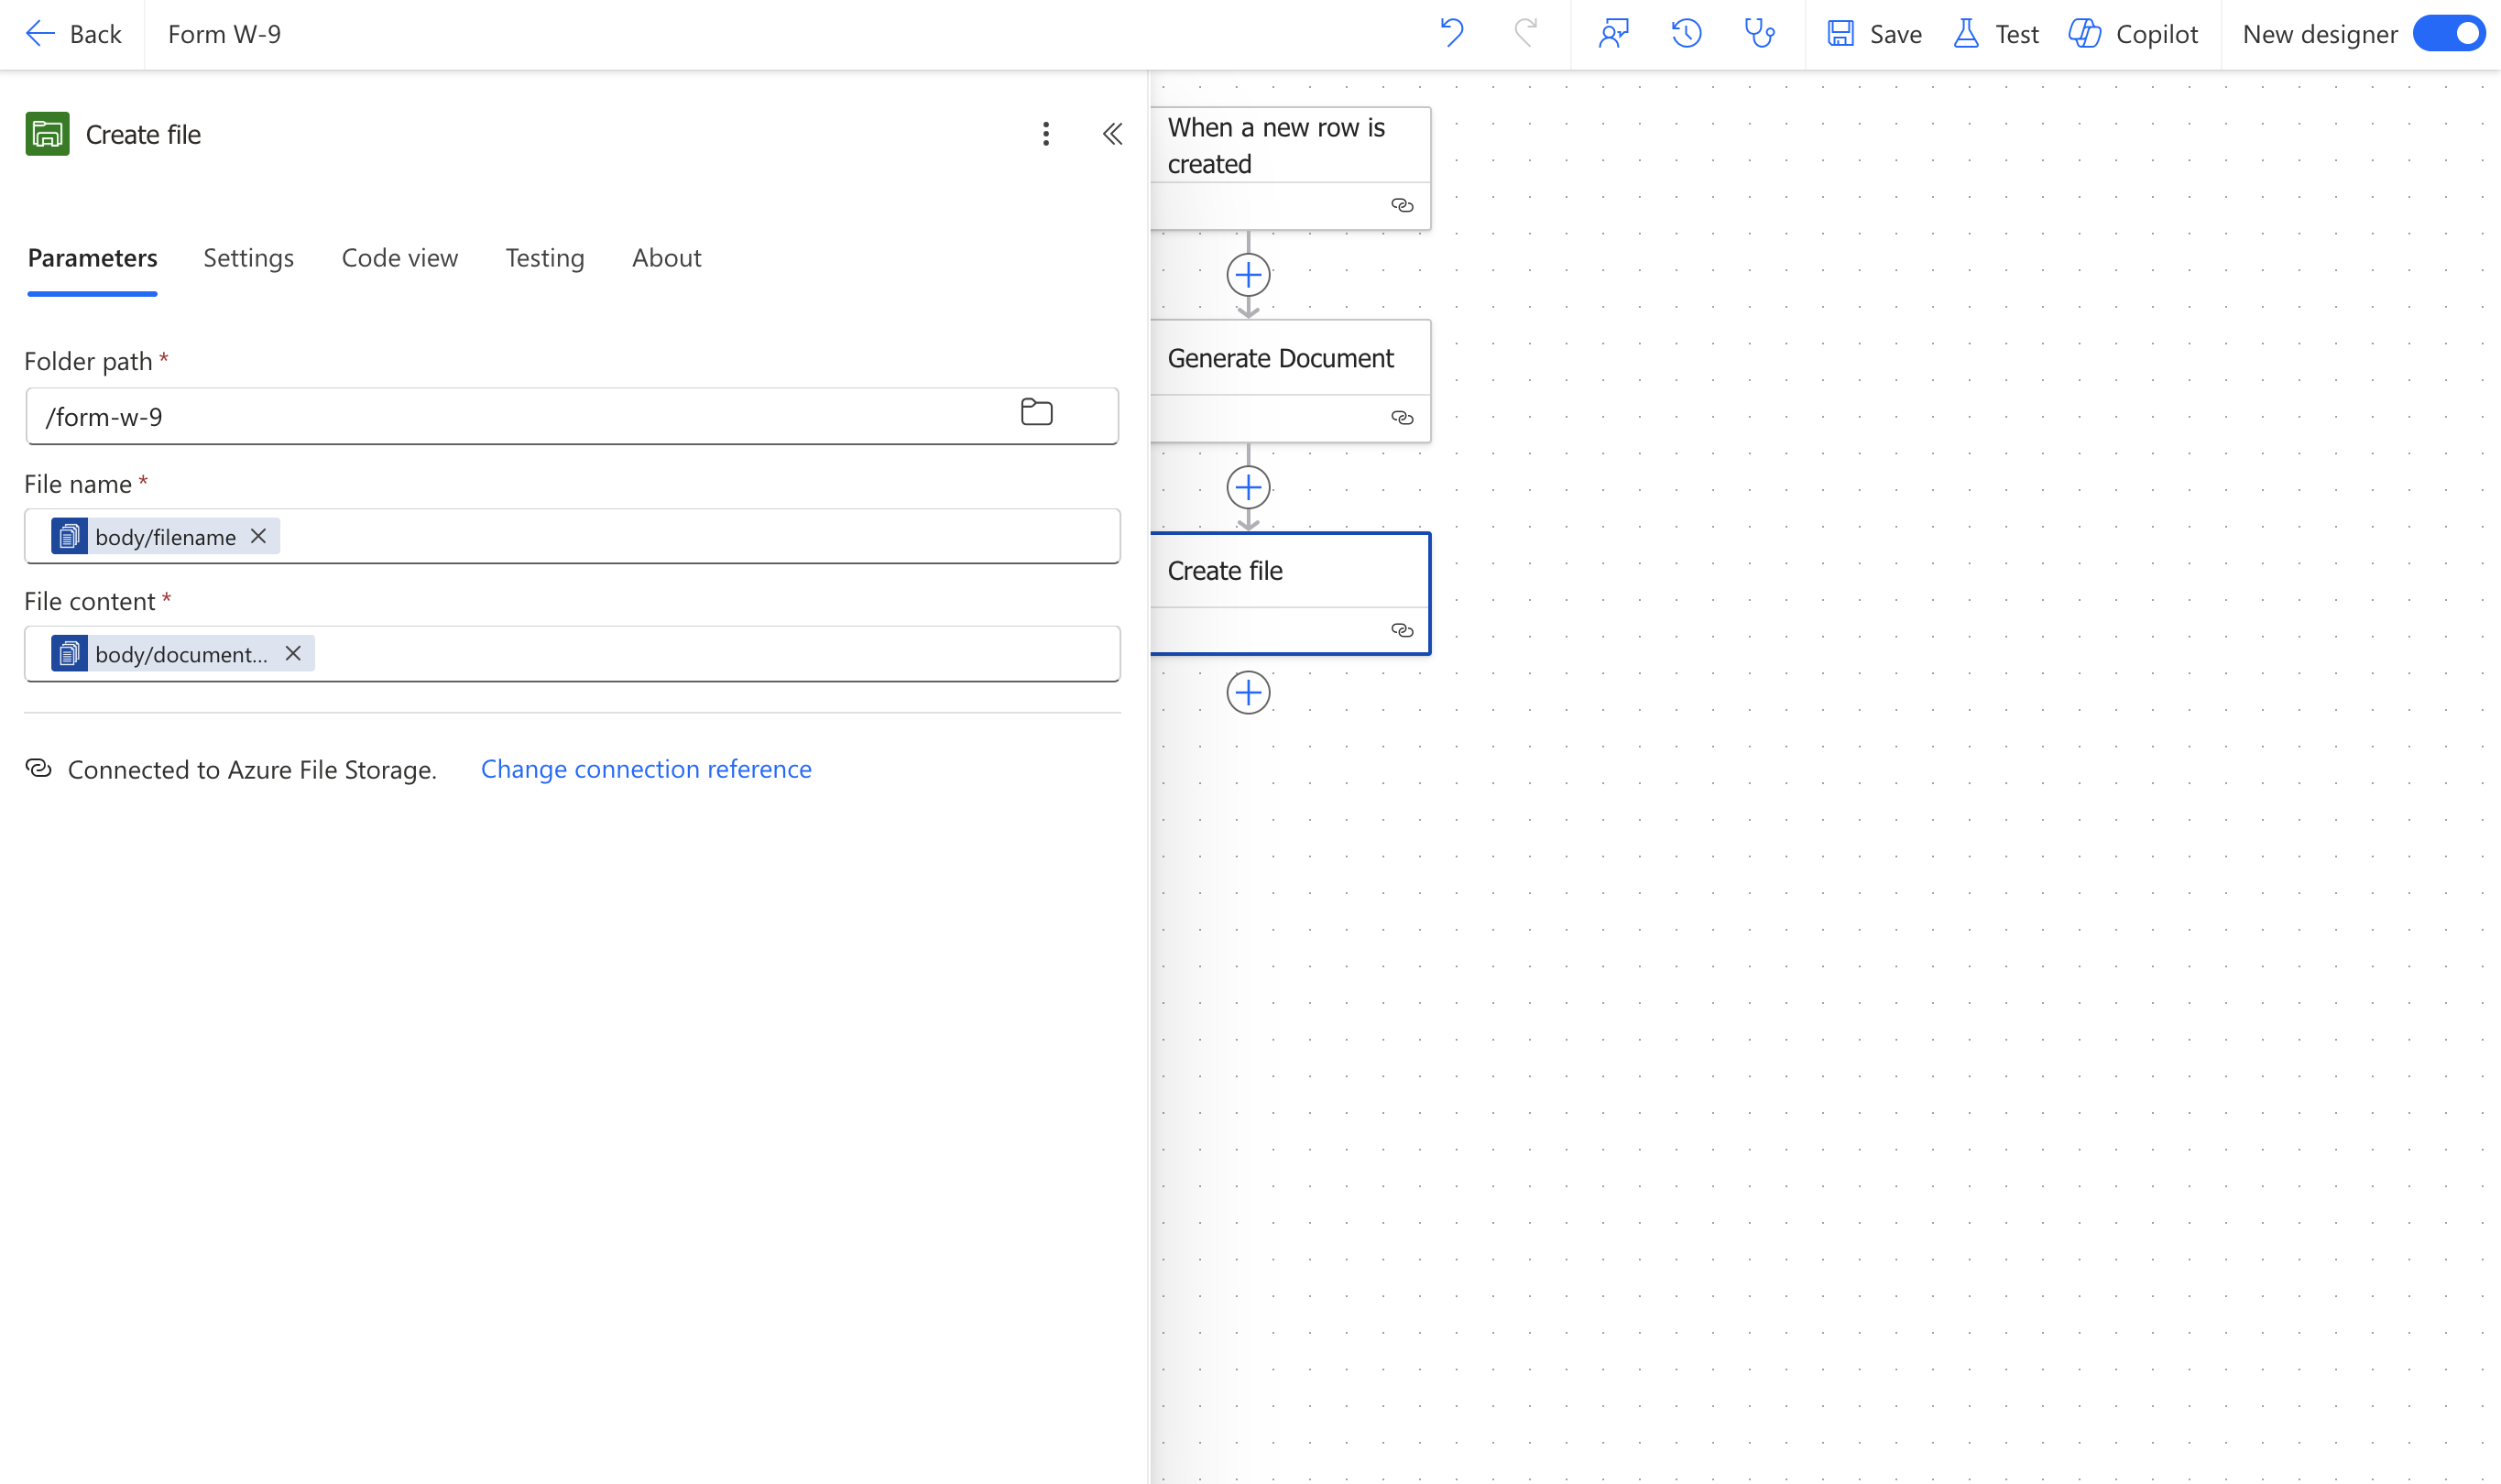
With the connection in place, configure the Create file action:
Folder path: /form-w-9, the destination folder in the storage account.
File name: outputs('Generate_Document')?['body/filename'], the filename of the generated PDF.
File content: outputs('Generate_Document')?['body/document_uri'], the generated PDF URL.
Testing the Flow
To test the flow, click Test on the flow page, select Manually, then click Test again. Power Automate will display a message asking you to add a row to the selected sheet to trigger the run.
Add a new row to the Form W-9 sheet in Smartsheet with a fresh set of vendor details. Once the flow runs, the generated document appears in the Documents panel of the Form W-9 template in DocuGenerate, and the PDF is saved to the specified folder in Azure File Storage. You can see an example of the generated PDF below.
Conclusion
This tutorial covered the full path from a row in Smartsheet to a ready-to-file W-9 PDF, using a Power Automate flow with no custom code involved. The trigger detects new vendor records as they’re entered, the Generate Document action fills in the official form layout with that row’s data, and the Create file action delivers the result to Azure File Storage automatically.
The same three-step pattern (trigger, generate, deliver) works for any recurring document your team produces from spreadsheet or table data, whether that’s onboarding paperwork, invoices, or compliance forms. Because the DocuGenerate actions are available across the whole Power Platform, you could just as easily trigger this flow from a Power Apps form or a SharePoint list instead of a Smartsheet row, while keeping the same Generate Document configuration.
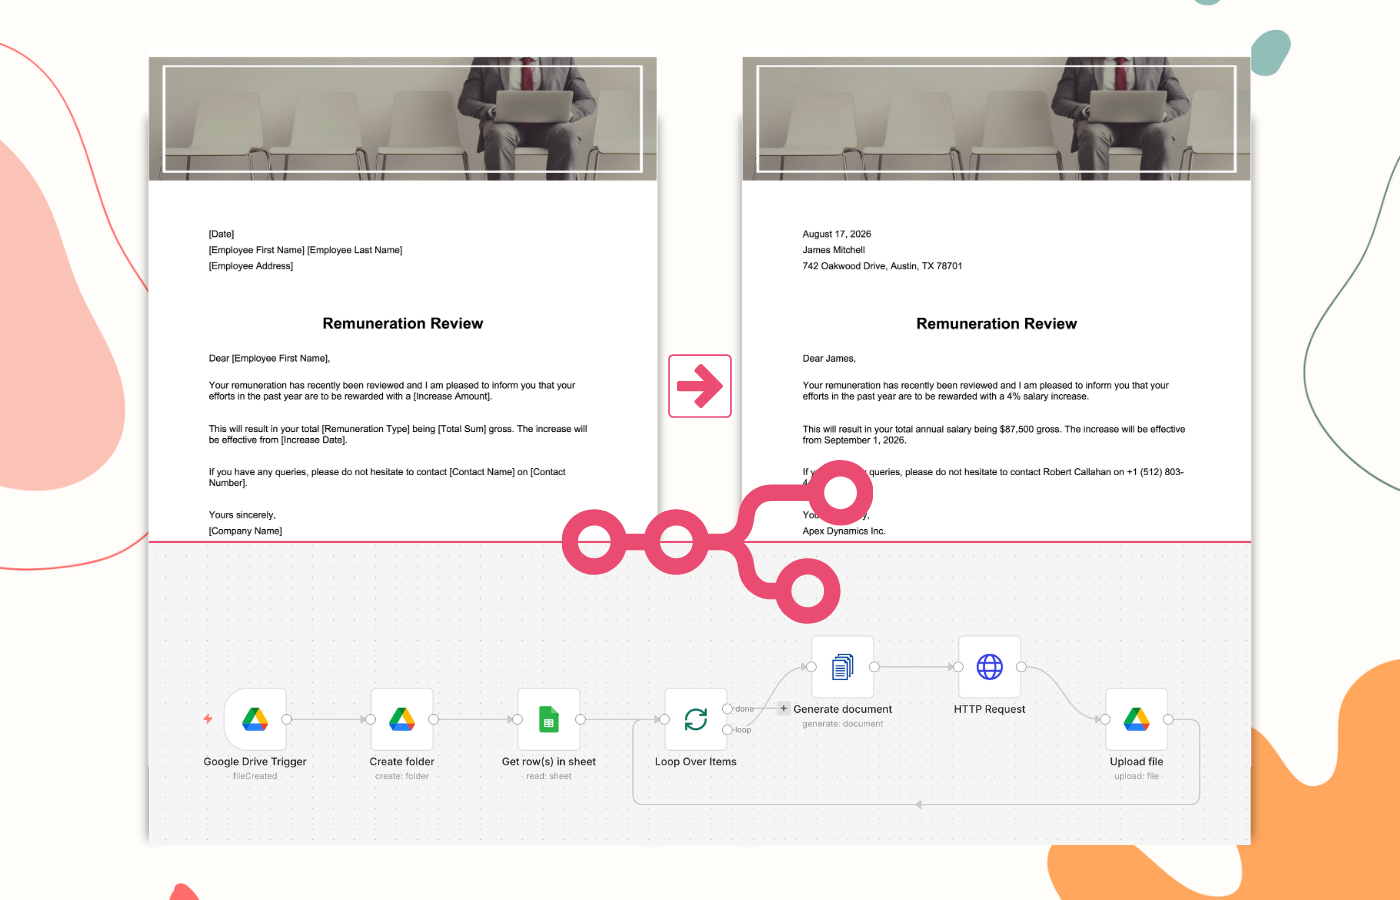
Build an n8n workflow that watches a Google Drive folder for a new salary review spreadsheet and automatically generates a personalized PDF salary increase letter for every employee listed in it. The finished letters are saved back to Google Drive.
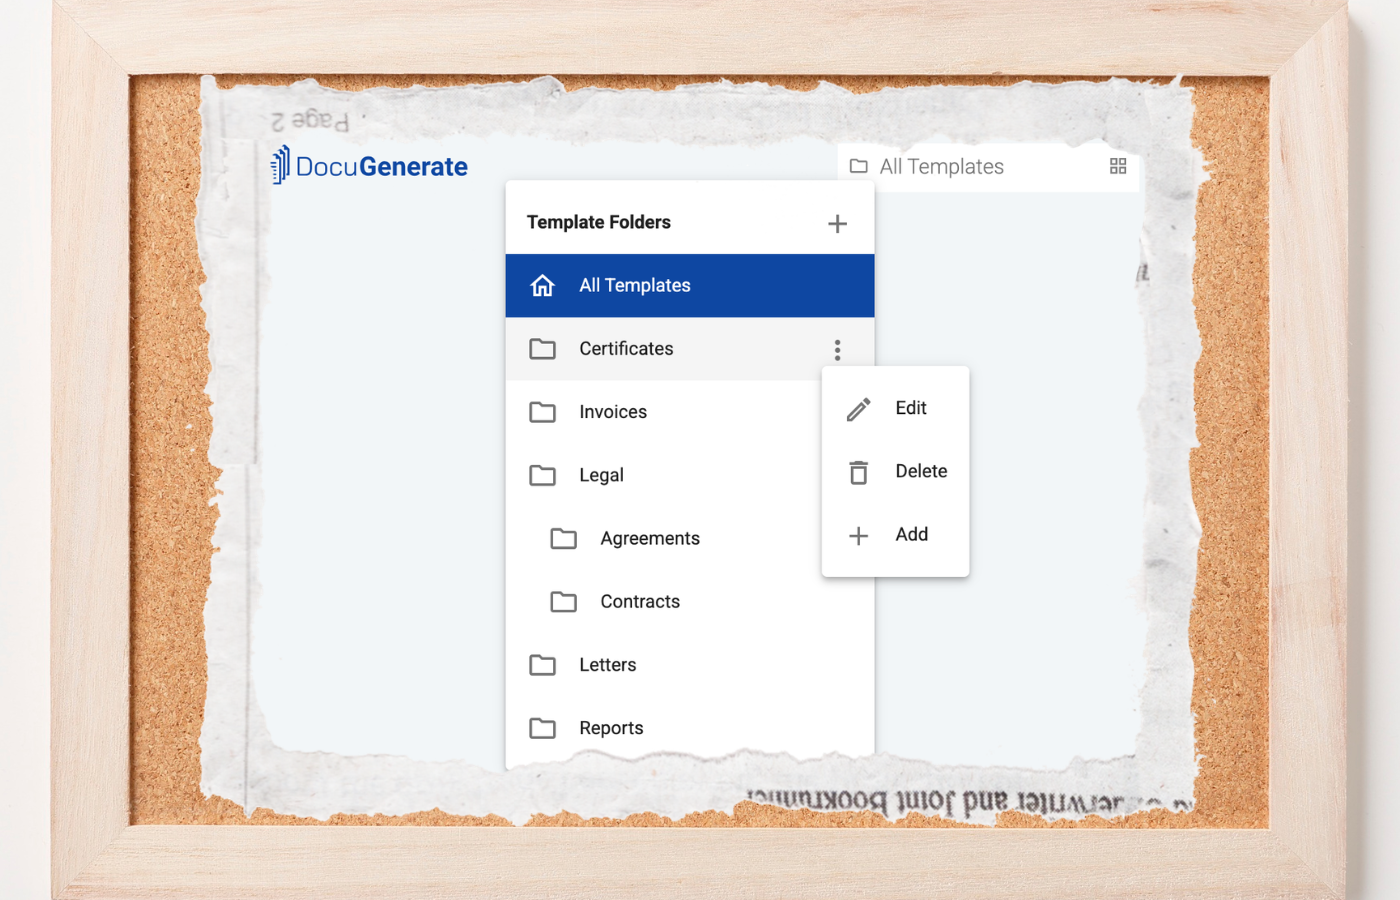
Folders bring a familiar, hierarchical organization model to your DocuGenerate templates, making it easier to group related templates as your library grows. Find out how to create and manage folders to keep your workspace organized.
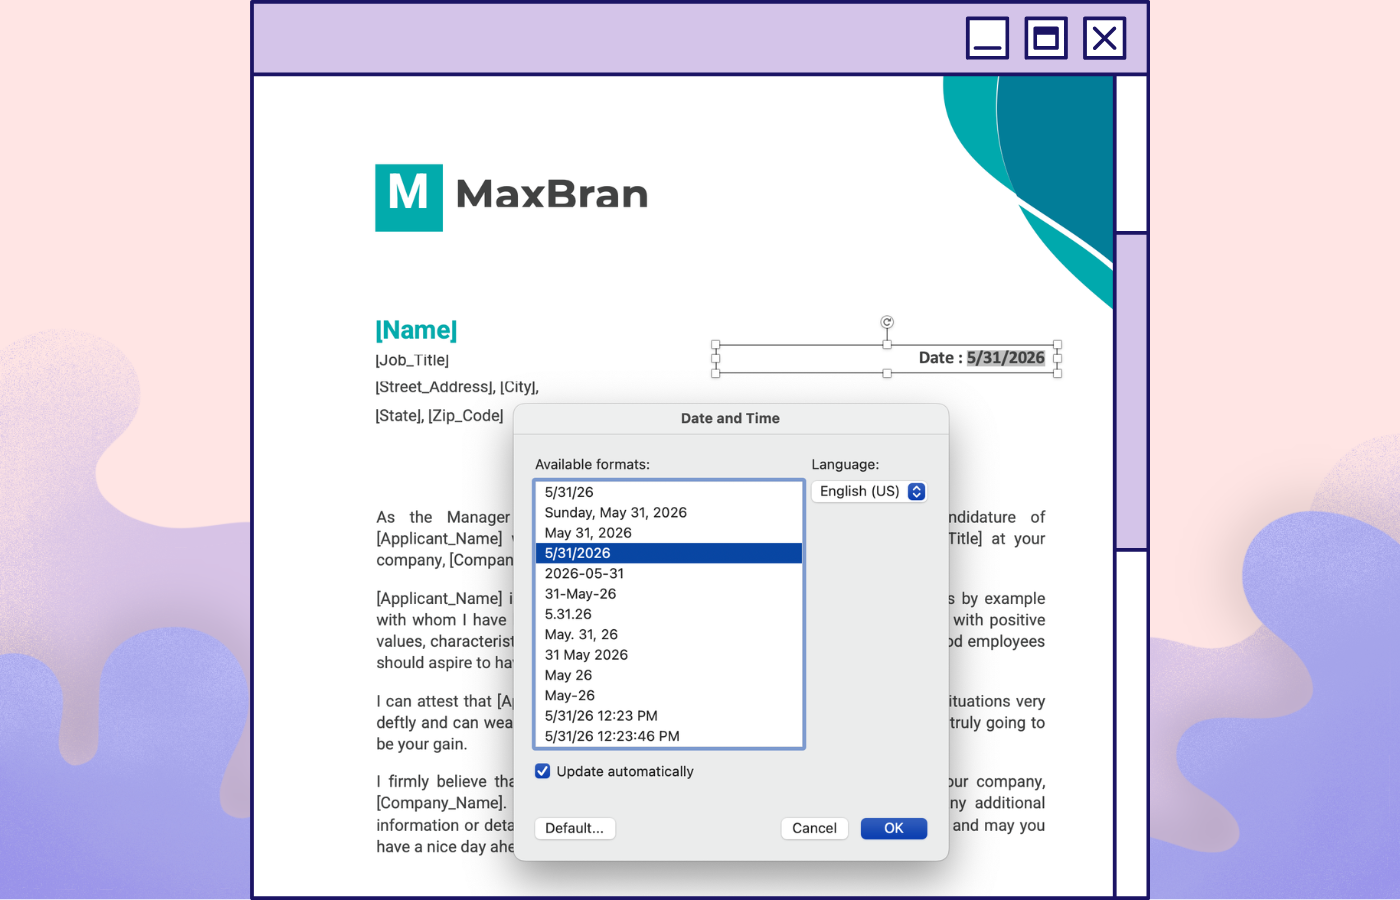
Controlling how dates appear in generated documents is one of the most common formatting challenges, especially when producing documents for different regions. This article covers two different approaches, with examples for both US and European date formats.