Introduction
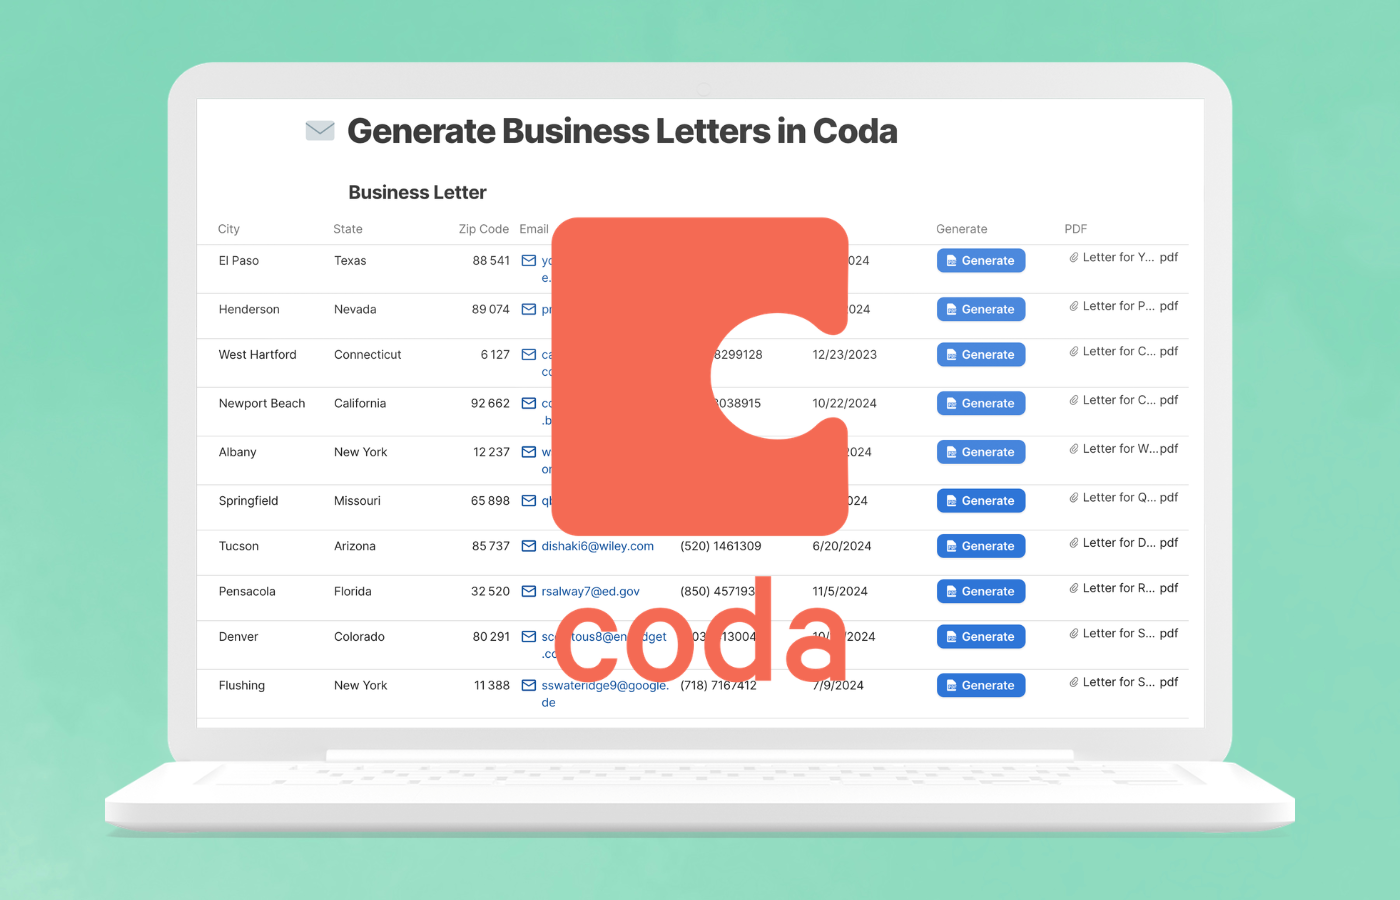
Business letters are a staple of professional communication, whether you’re sending client proposals, formal notifications, or outreach campaigns. Writing each letter individually is repetitive and error-prone, and the problem compounds quickly when you have a long list of recipients. In this tutorial, we’ll show how to use Coda and DocuGenerate together to generate personalized PDF business letters directly from a table, with a single button click per row.
Coda is a flexible workspace that combines documents and spreadsheets into a single platform, making it easy to build interactive tools with tables, buttons, and custom formulas. The DocuGenerate Pack extends Coda with document generation capabilities, letting you produce professional PDFs from Word templates without writing any code. Each row in a Coda table becomes a personalized document, populated with the values from that row’s columns.
By the end of this guide, you’ll have a Coda document with a table of recipients and a Generate button that produces a personalized PDF business letter for each person. The generated files are saved directly into a PDF column in the table, ready to be downloaded or shared.
Setting Up the Business Letter Template
Before working in Coda, we need a document template in DocuGenerate. We’ll use the Business Letter Word file from our Template Library, which is a professionally formatted letter ready for immediate use.
The template contains merge tags for Date, Name, Job Title, Company Name, Street Address, City, State, Zip Code, Email, and Phone. These tags act as placeholders that get replaced with actual data when a document is generated.
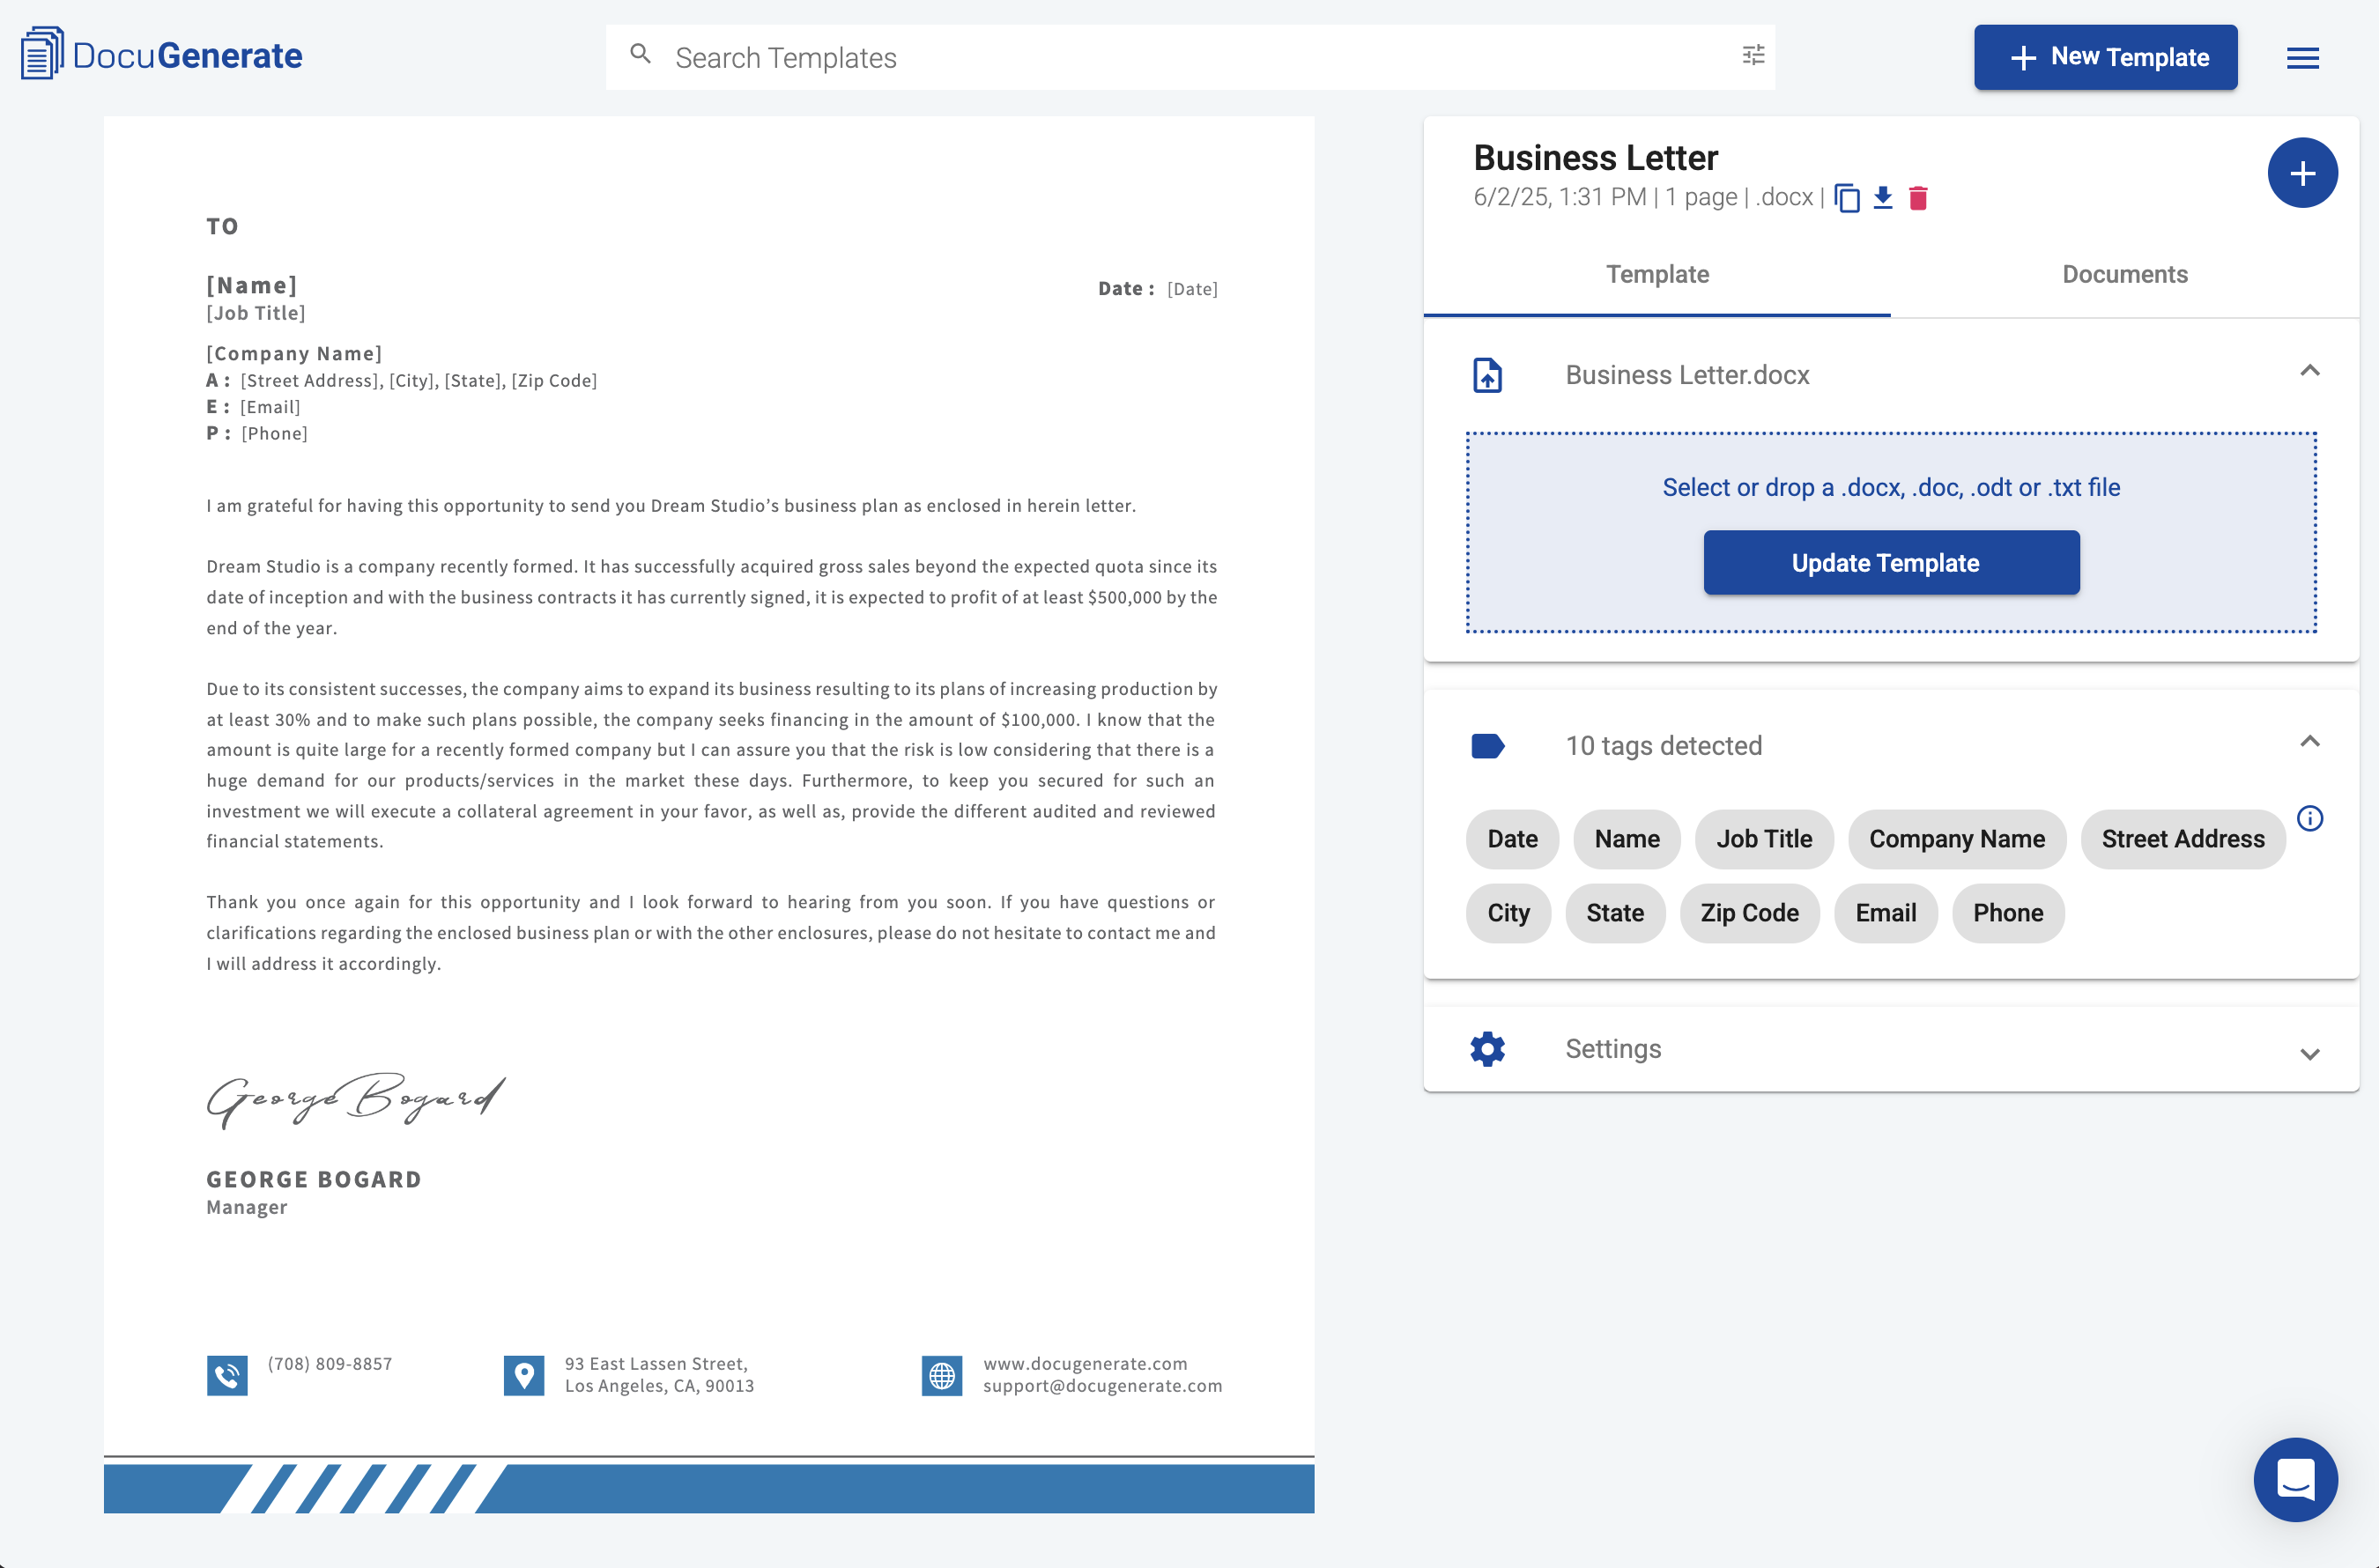
Once you’ve downloaded the Word file, upload it to your DocuGenerate account to create a new template. The merge tags will be detected automatically, and you can preview the result on the template page before moving on.
Importing the Data into Coda
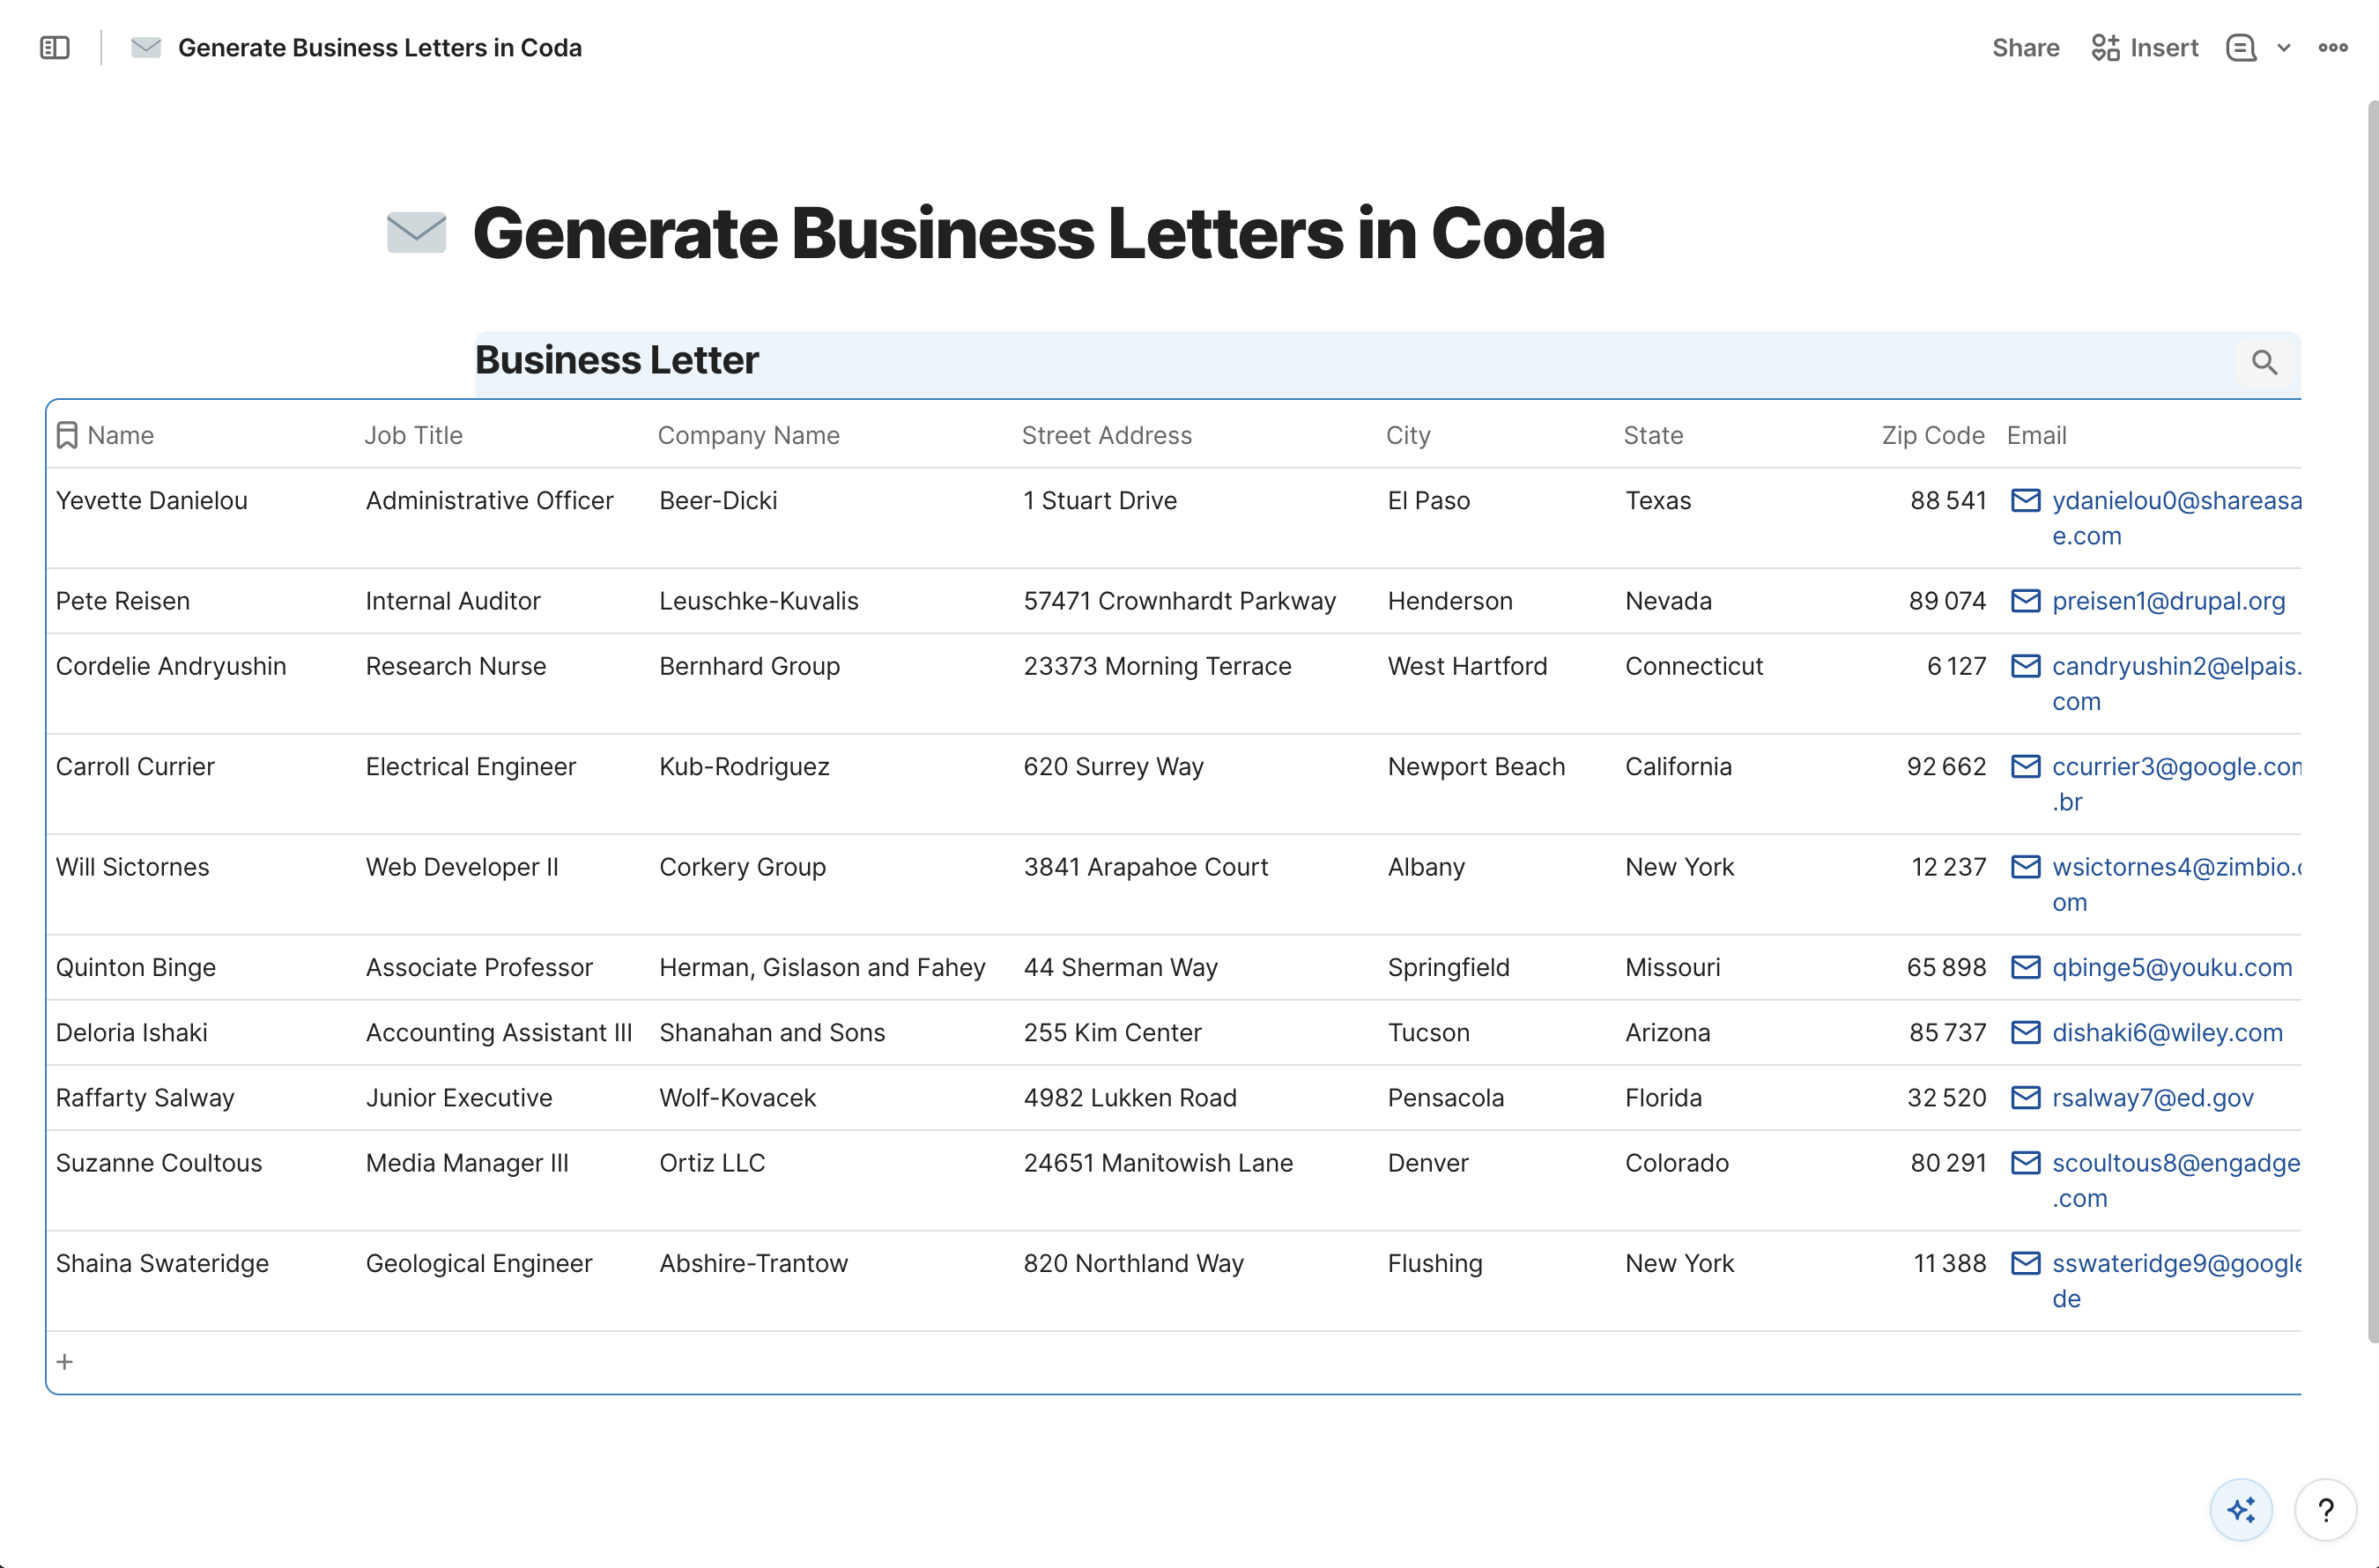
The Business Letter template in the Template Library comes with a matching Excel dataset that contains sample recipient data aligned with all the template’s merge tags. Each row represents one recipient, and each column maps directly to one of the merge tags in the letter.
To bring this data into Coda, open the Business Letter.xlsx file in Excel or any spreadsheet application, select the entire table including the header row, and copy it. Then open your Coda document, click in an empty area of the page, and paste. Coda will recognize the tabular structure and create a new table from the clipboard data automatically, preserving all column names and values.
Adding the Generate and PDF Columns
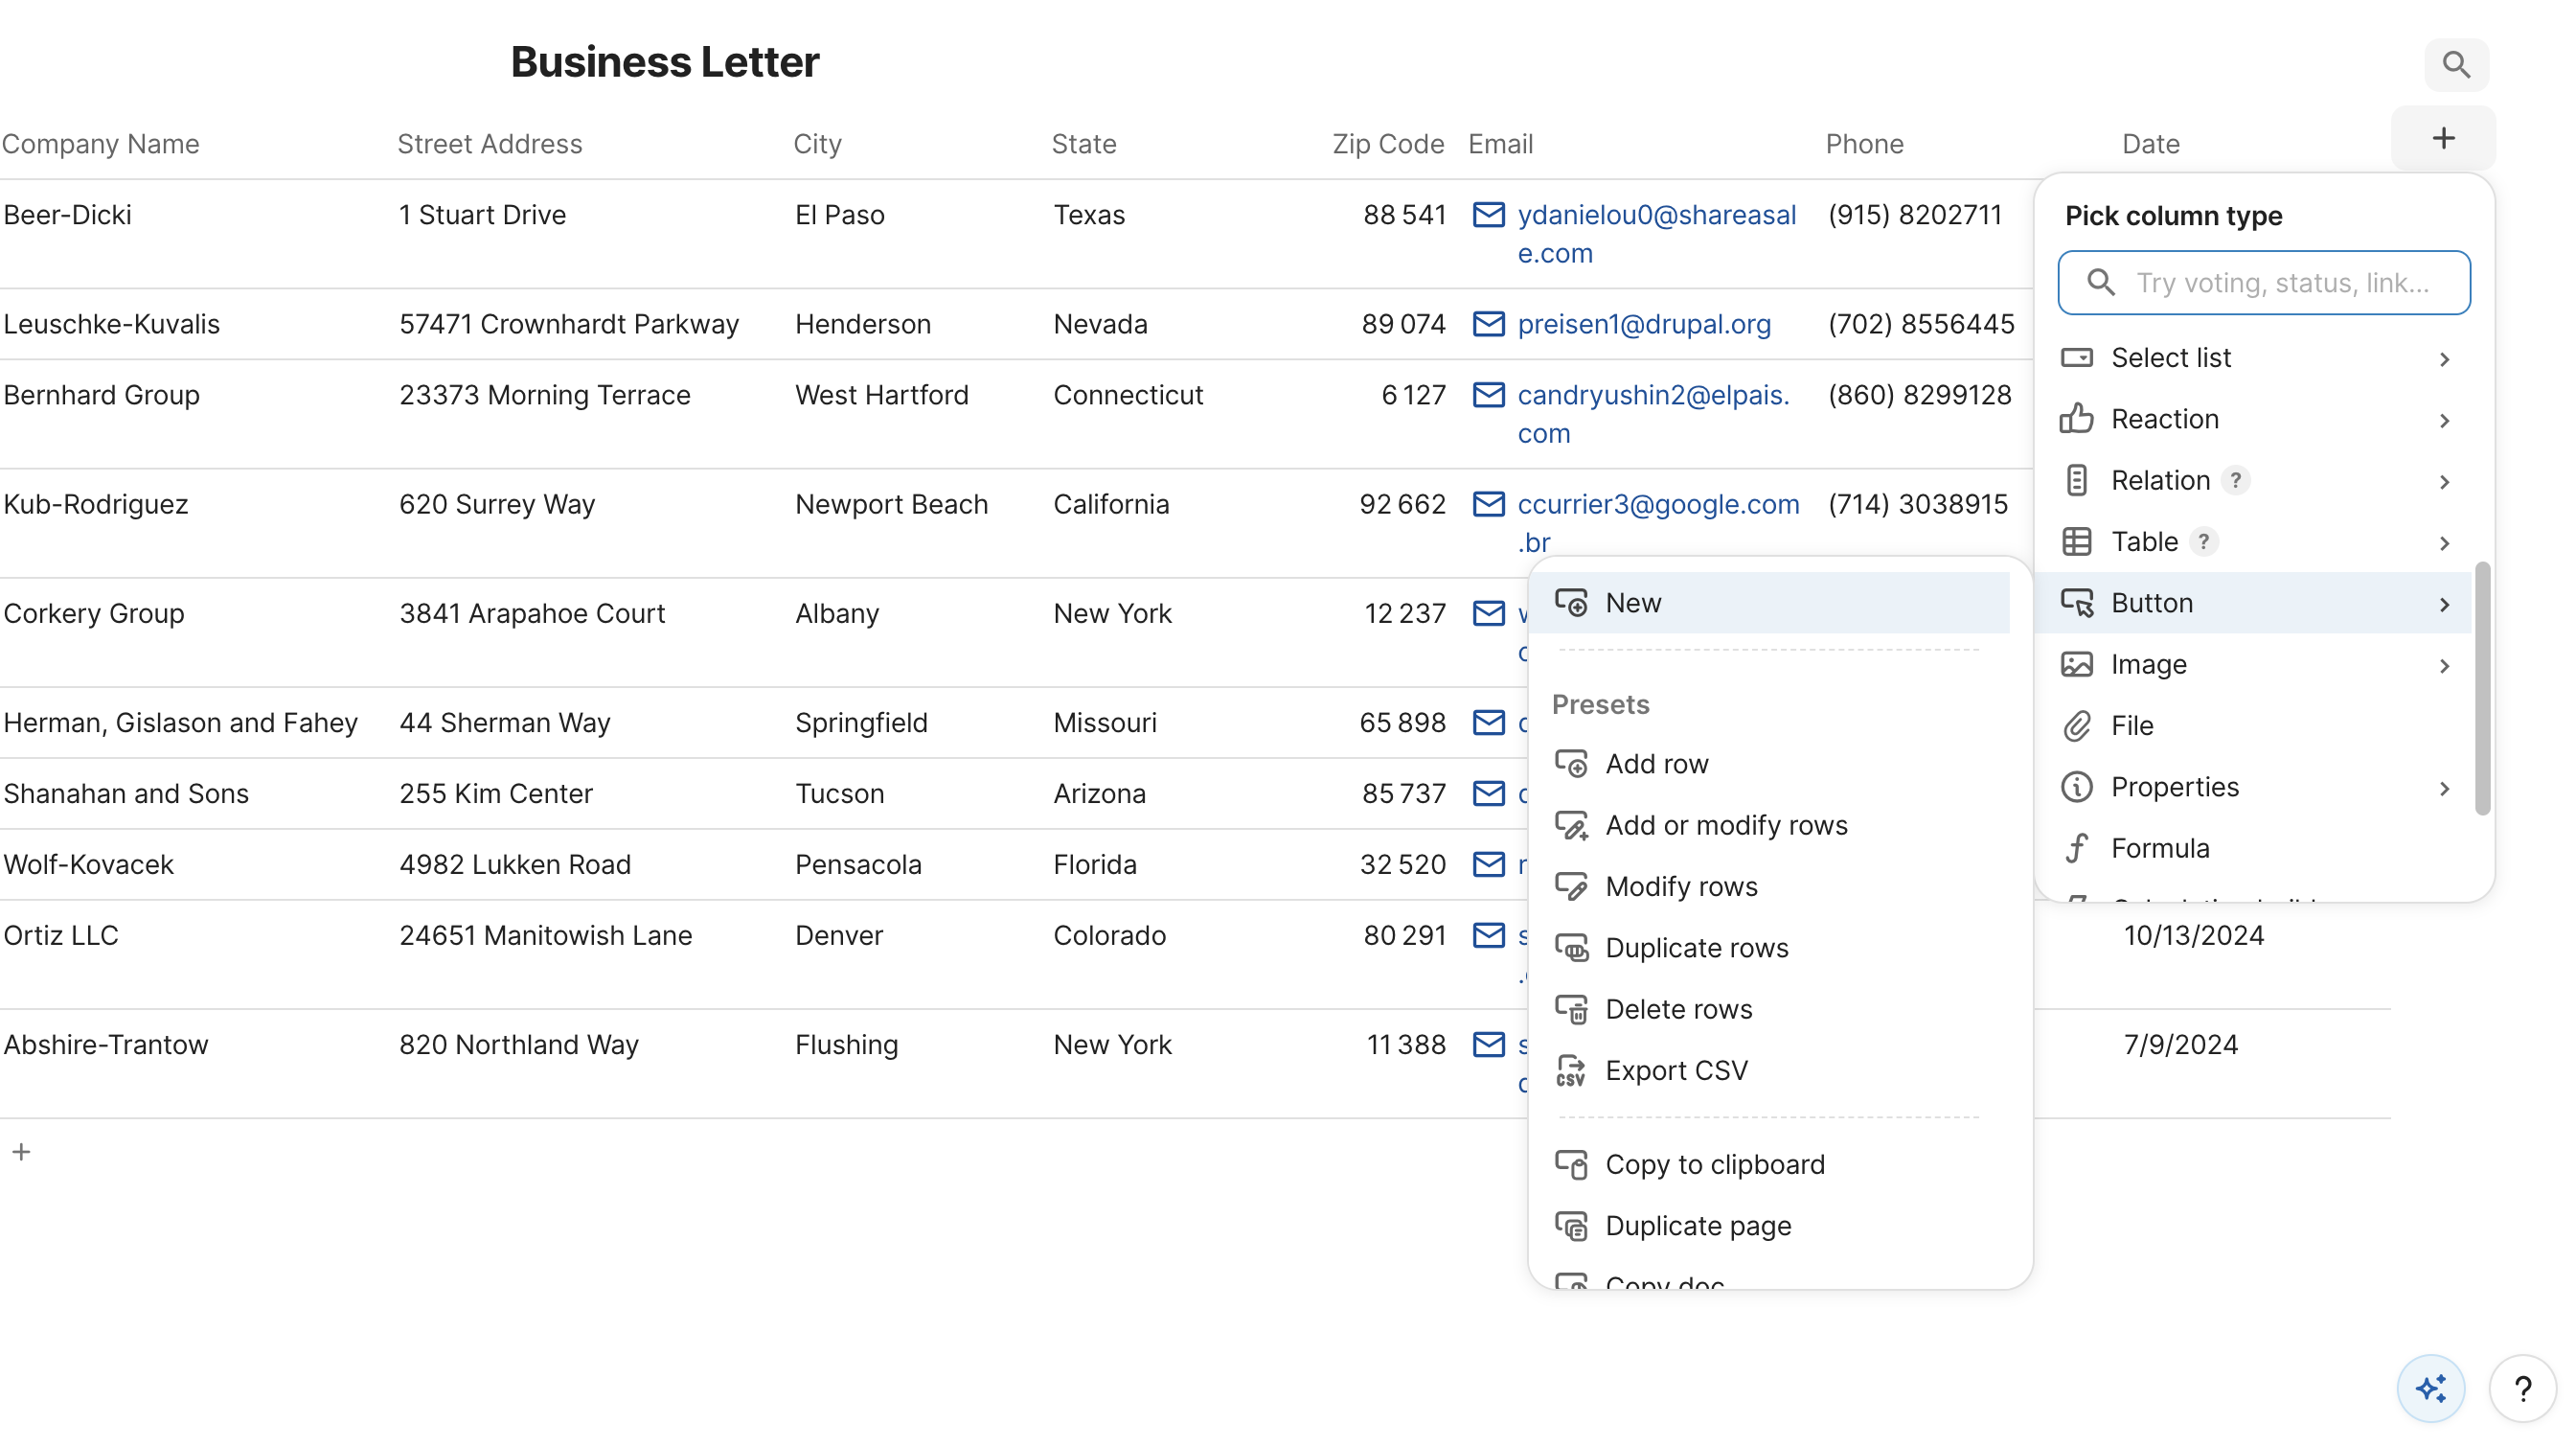
With the data in place, we need to add two columns to the table: one for the generate button and one for storing the output file. Click the + icon at the end of the table header row to add the first new column.
Select Button as the column type, then choose New to create a blank button configuration. Once the column appears, rename it to Generate.
Repeat the same process to add a second column. This time, select File as the column type and rename the column to PDF. This column will hold the generated PDF file for each row after the button is clicked.
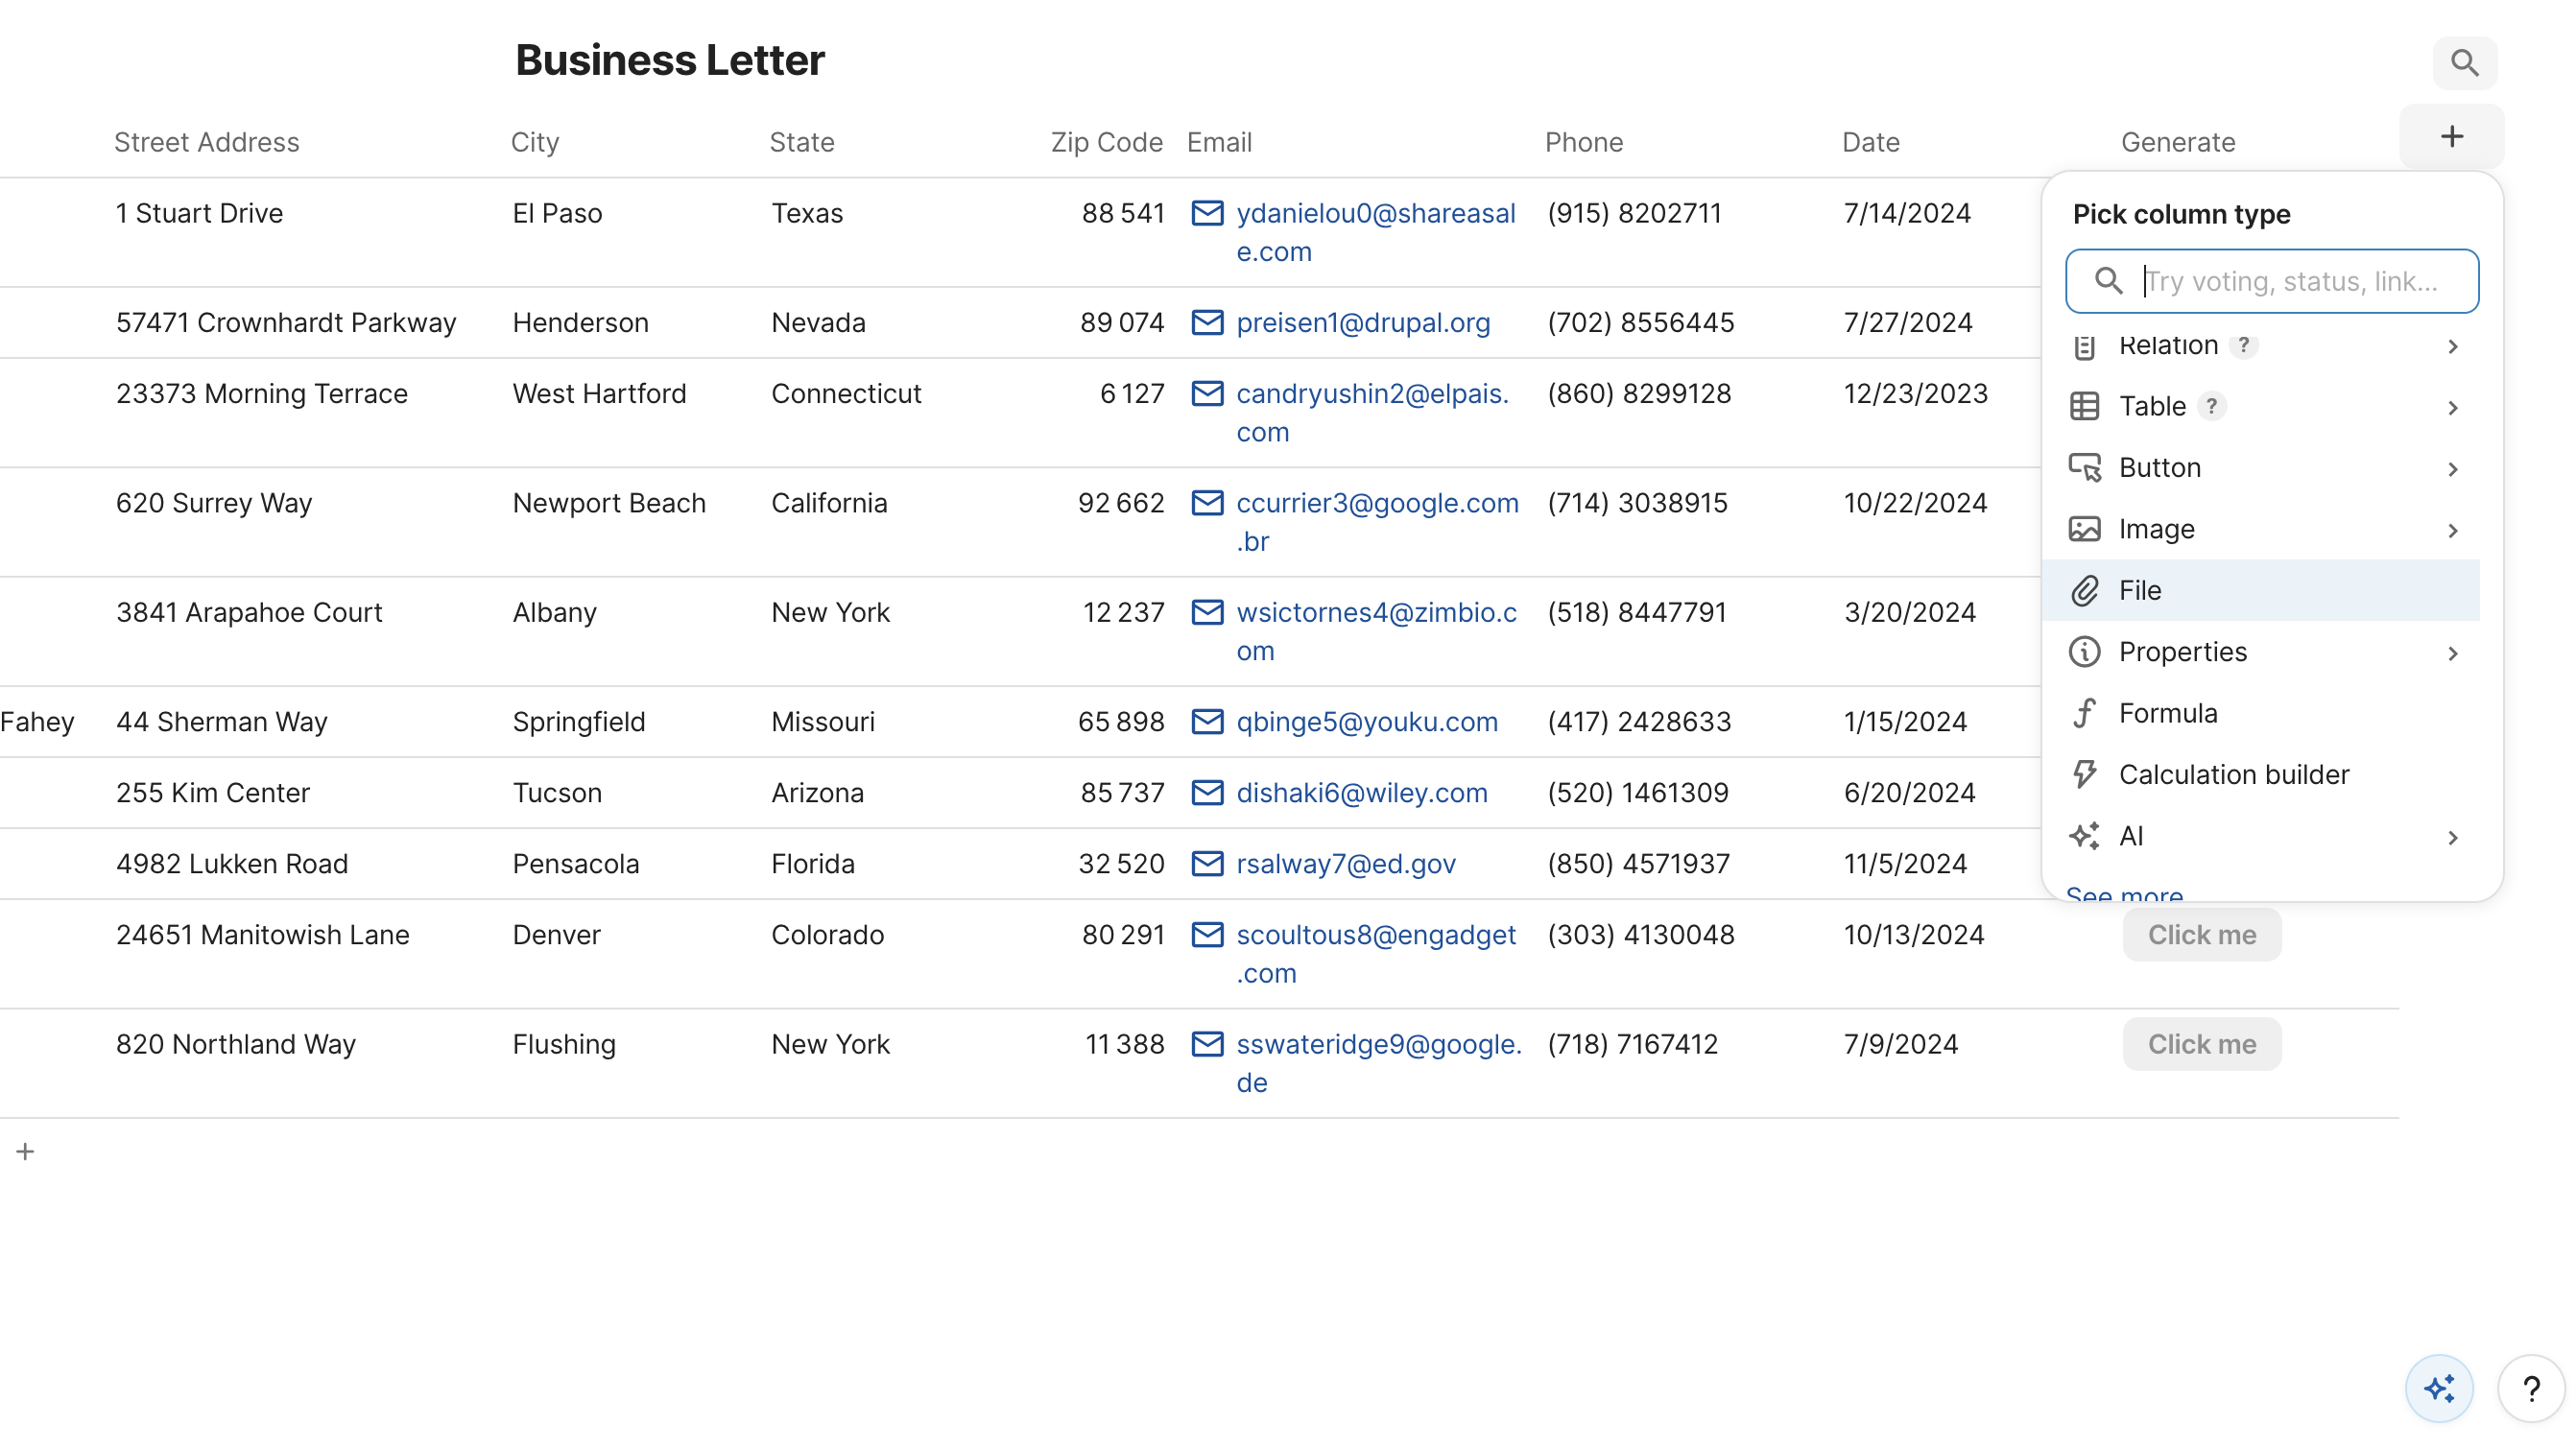
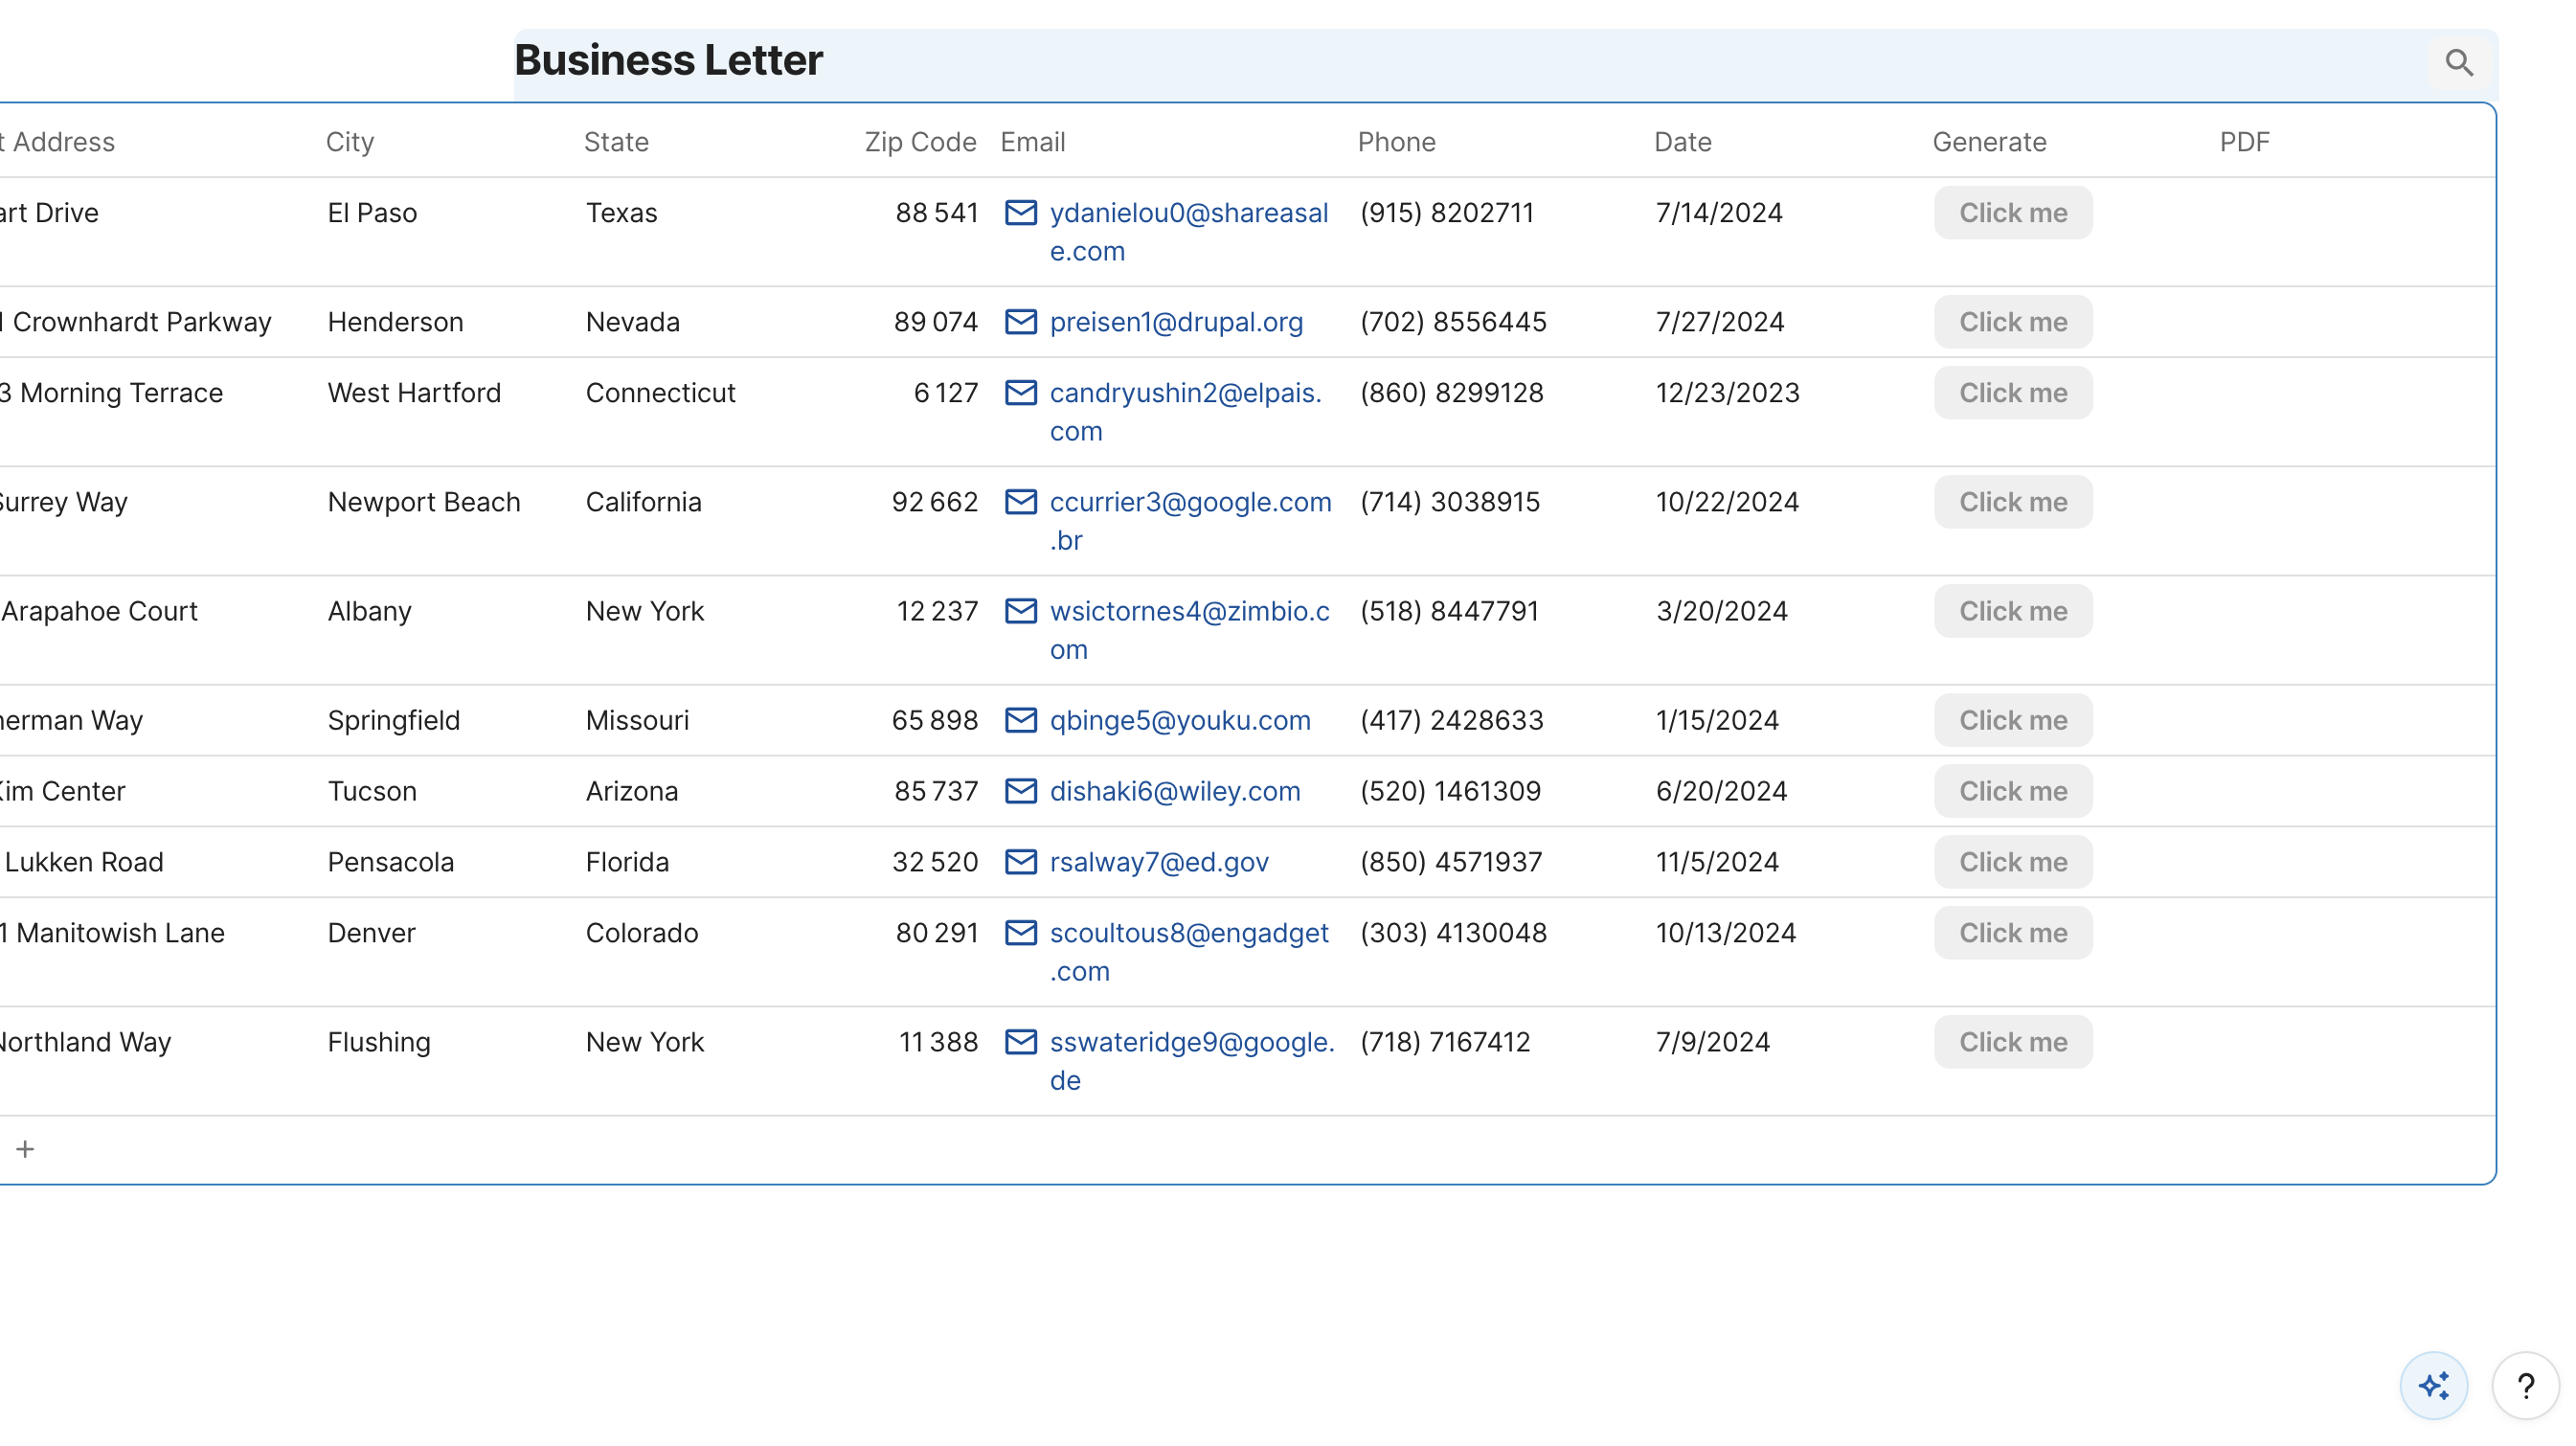
The table should now display all the original data columns along with the two new ones at the end:
Installing the DocuGenerate Pack
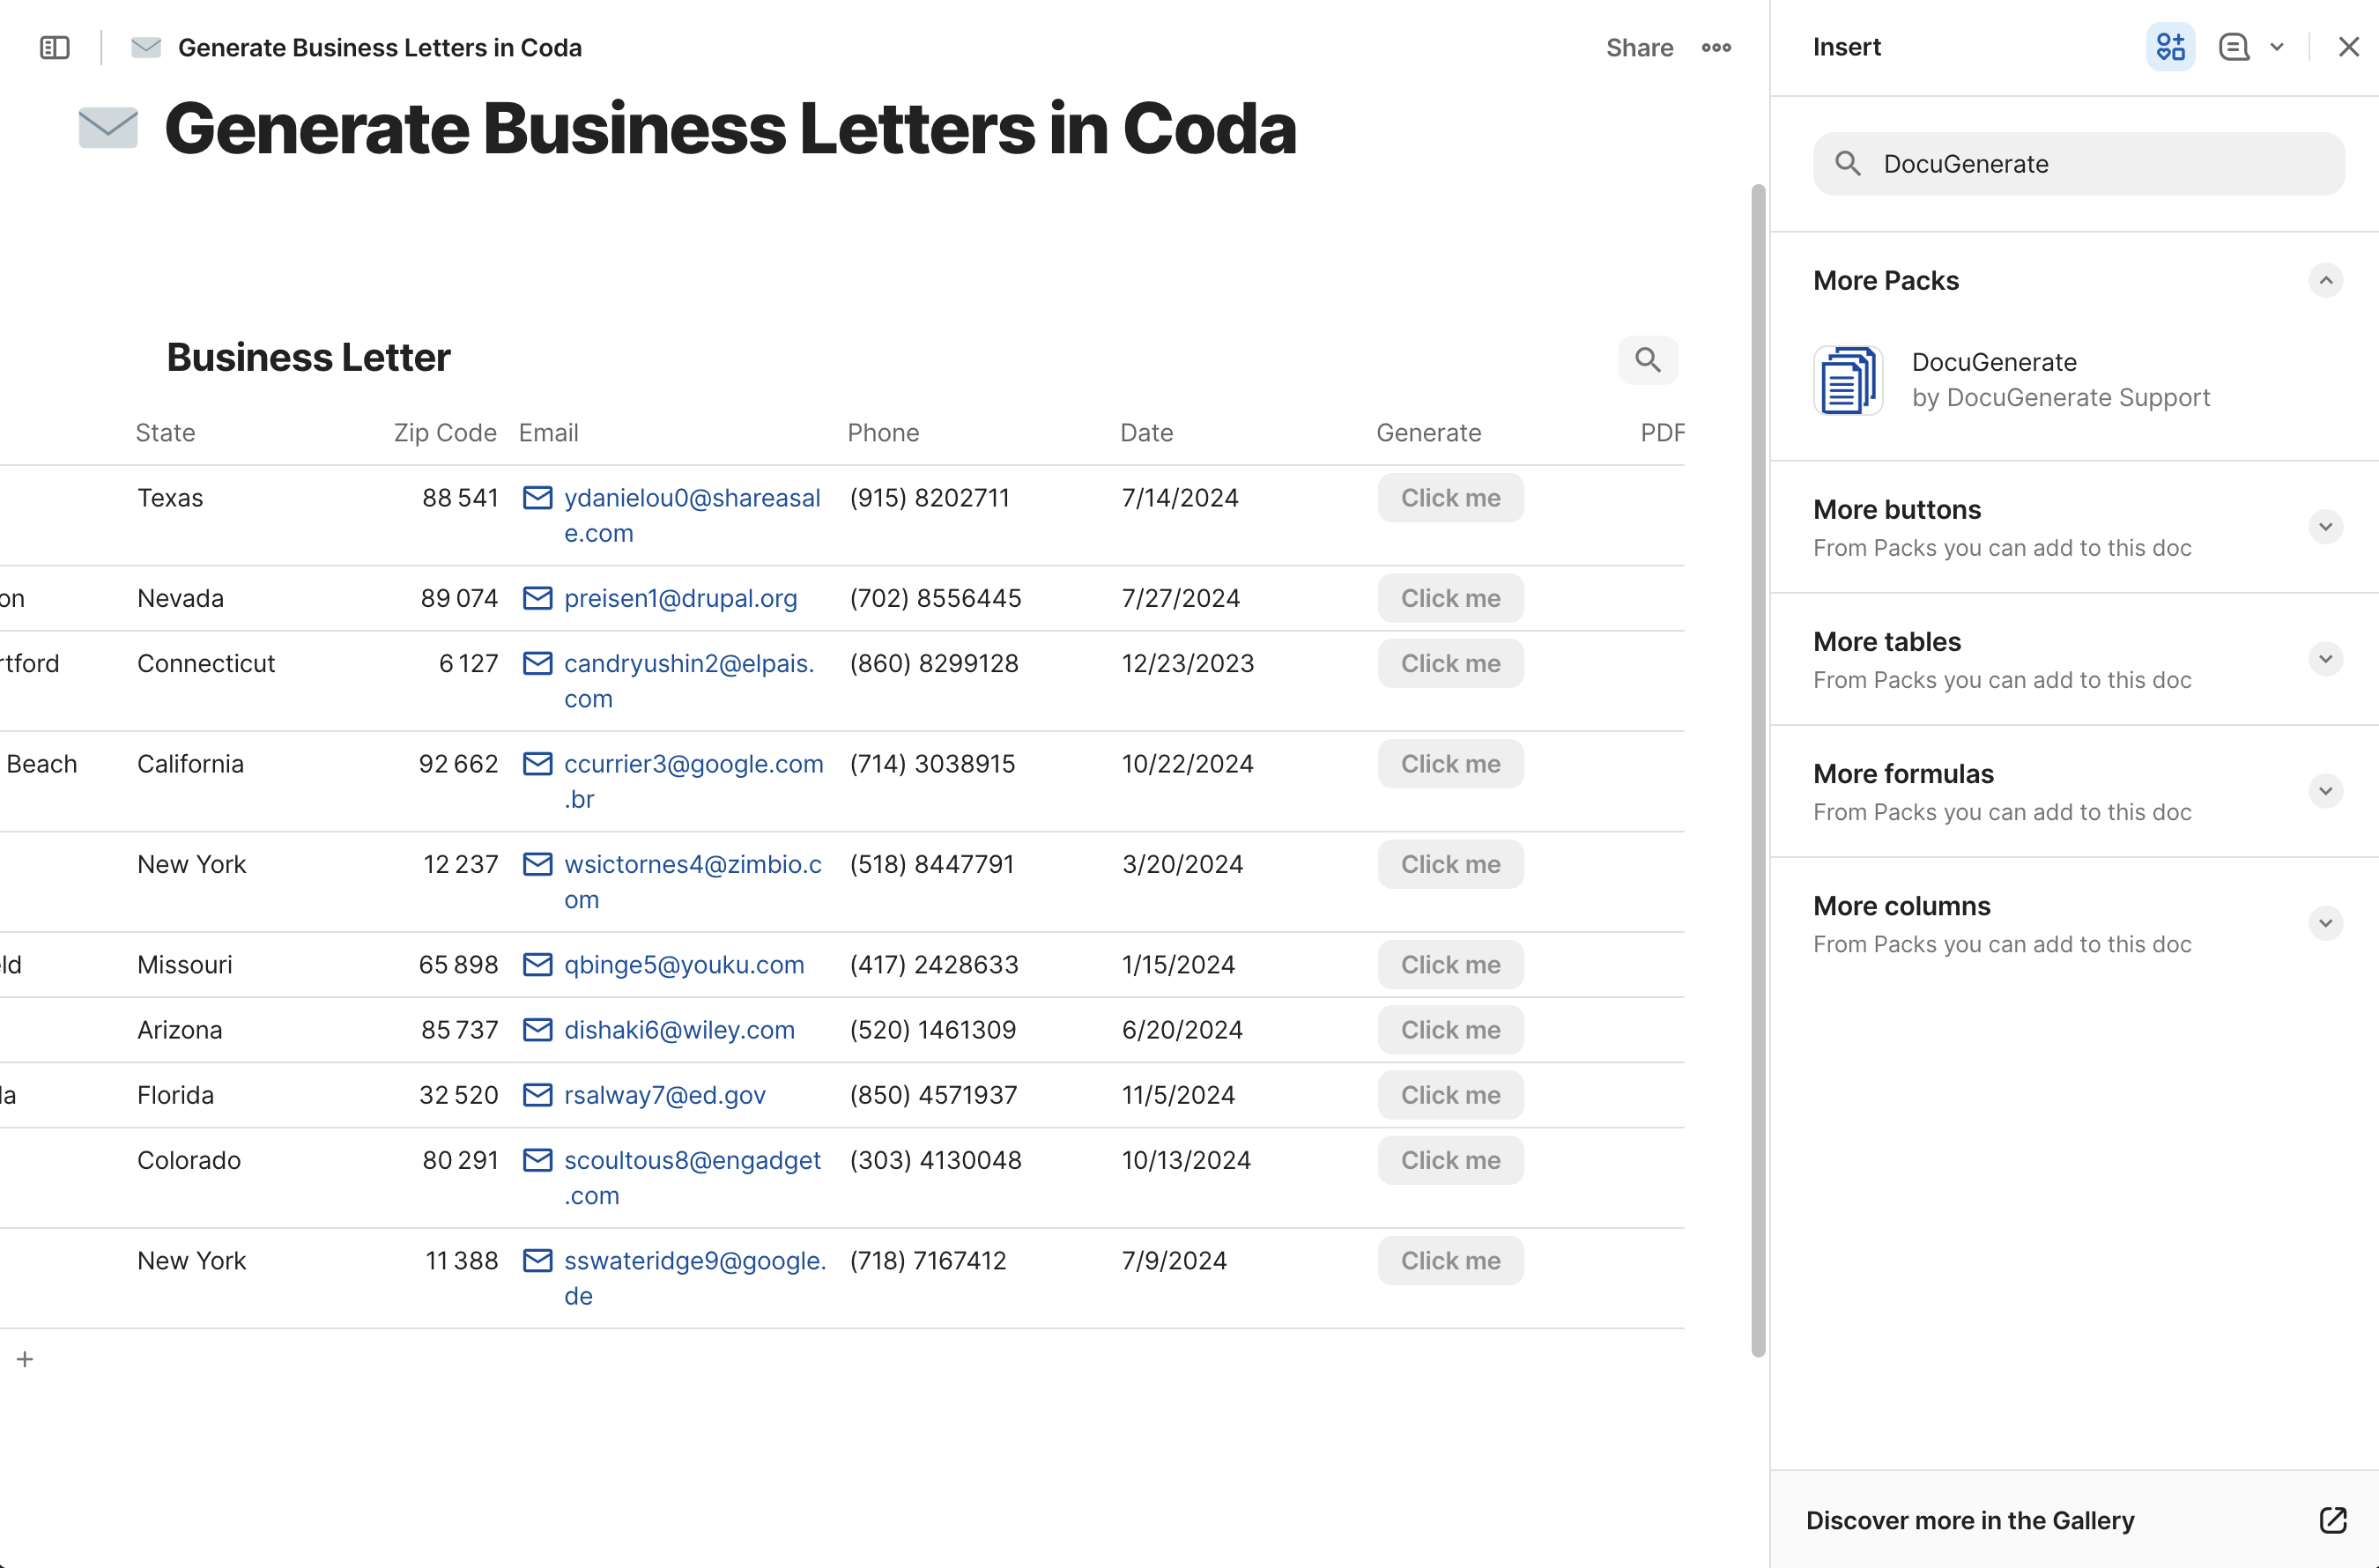
To connect the table to DocuGenerate, we need to add the DocuGenerate Pack to the Coda document. Click Insert in the top-right corner of the Coda editor and search for DocuGenerate in the Packs search box.
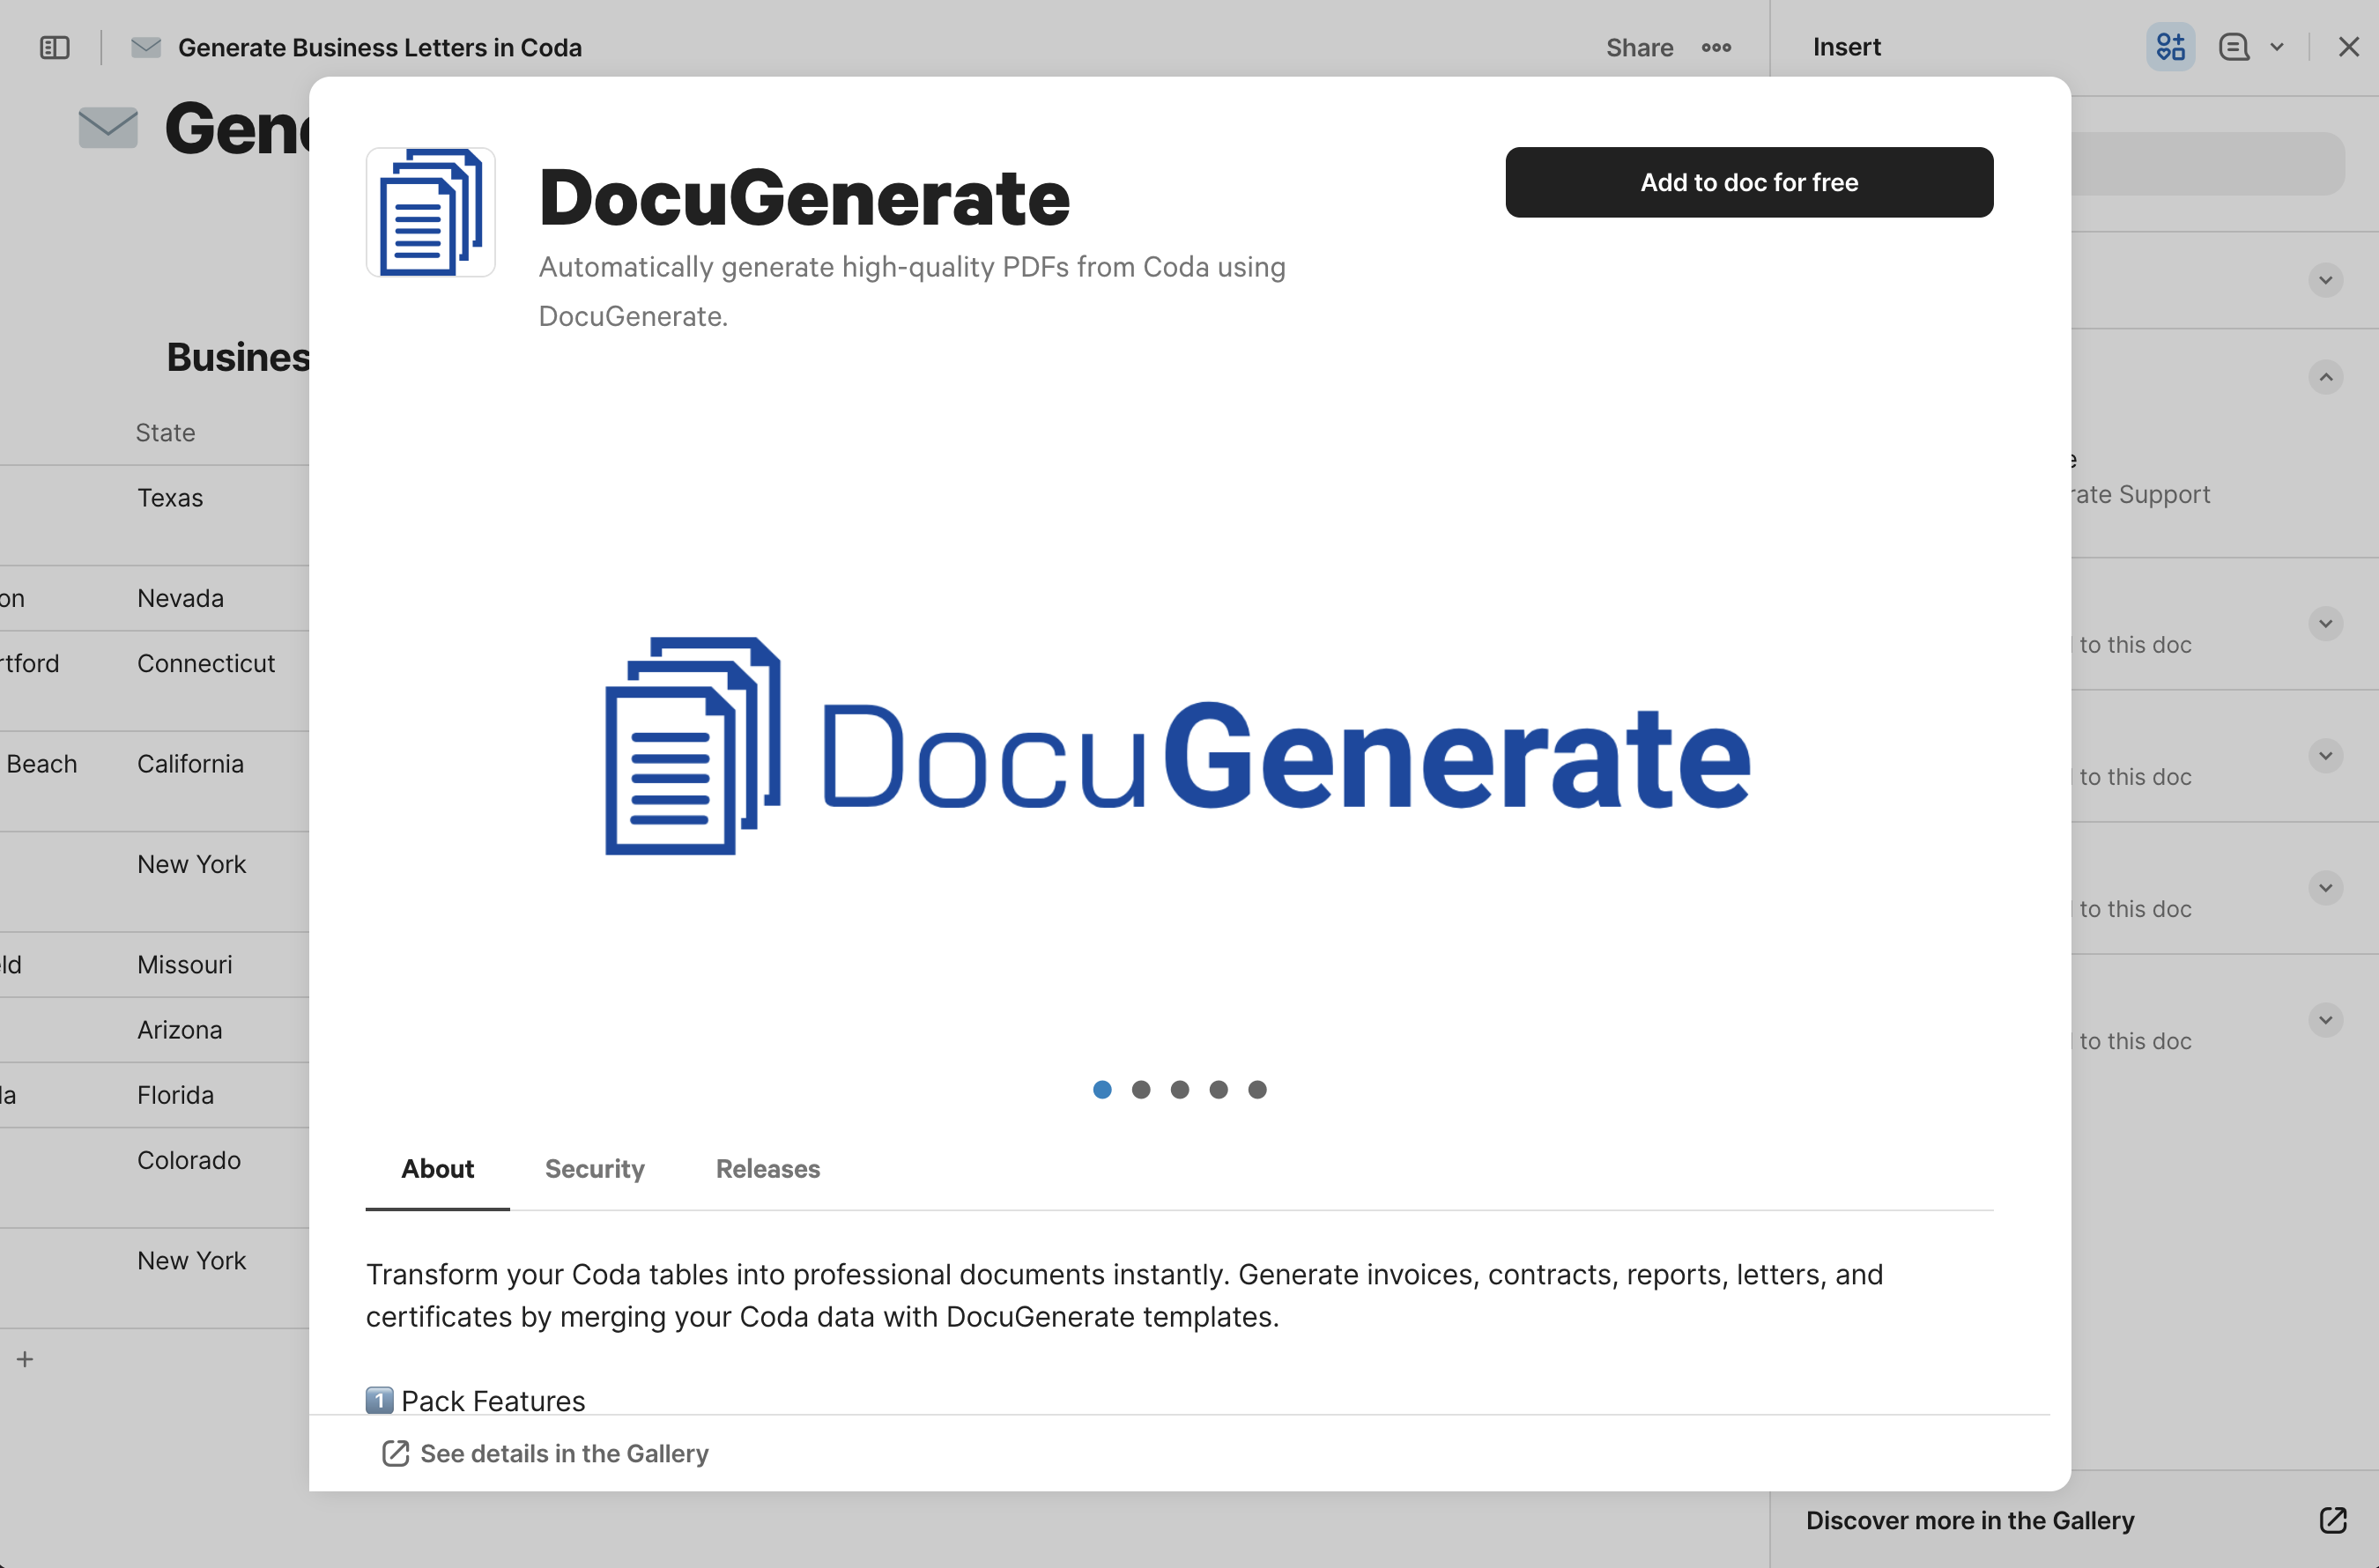
Select DocuGenerate from the results and click Add to doc for free to install the Pack.
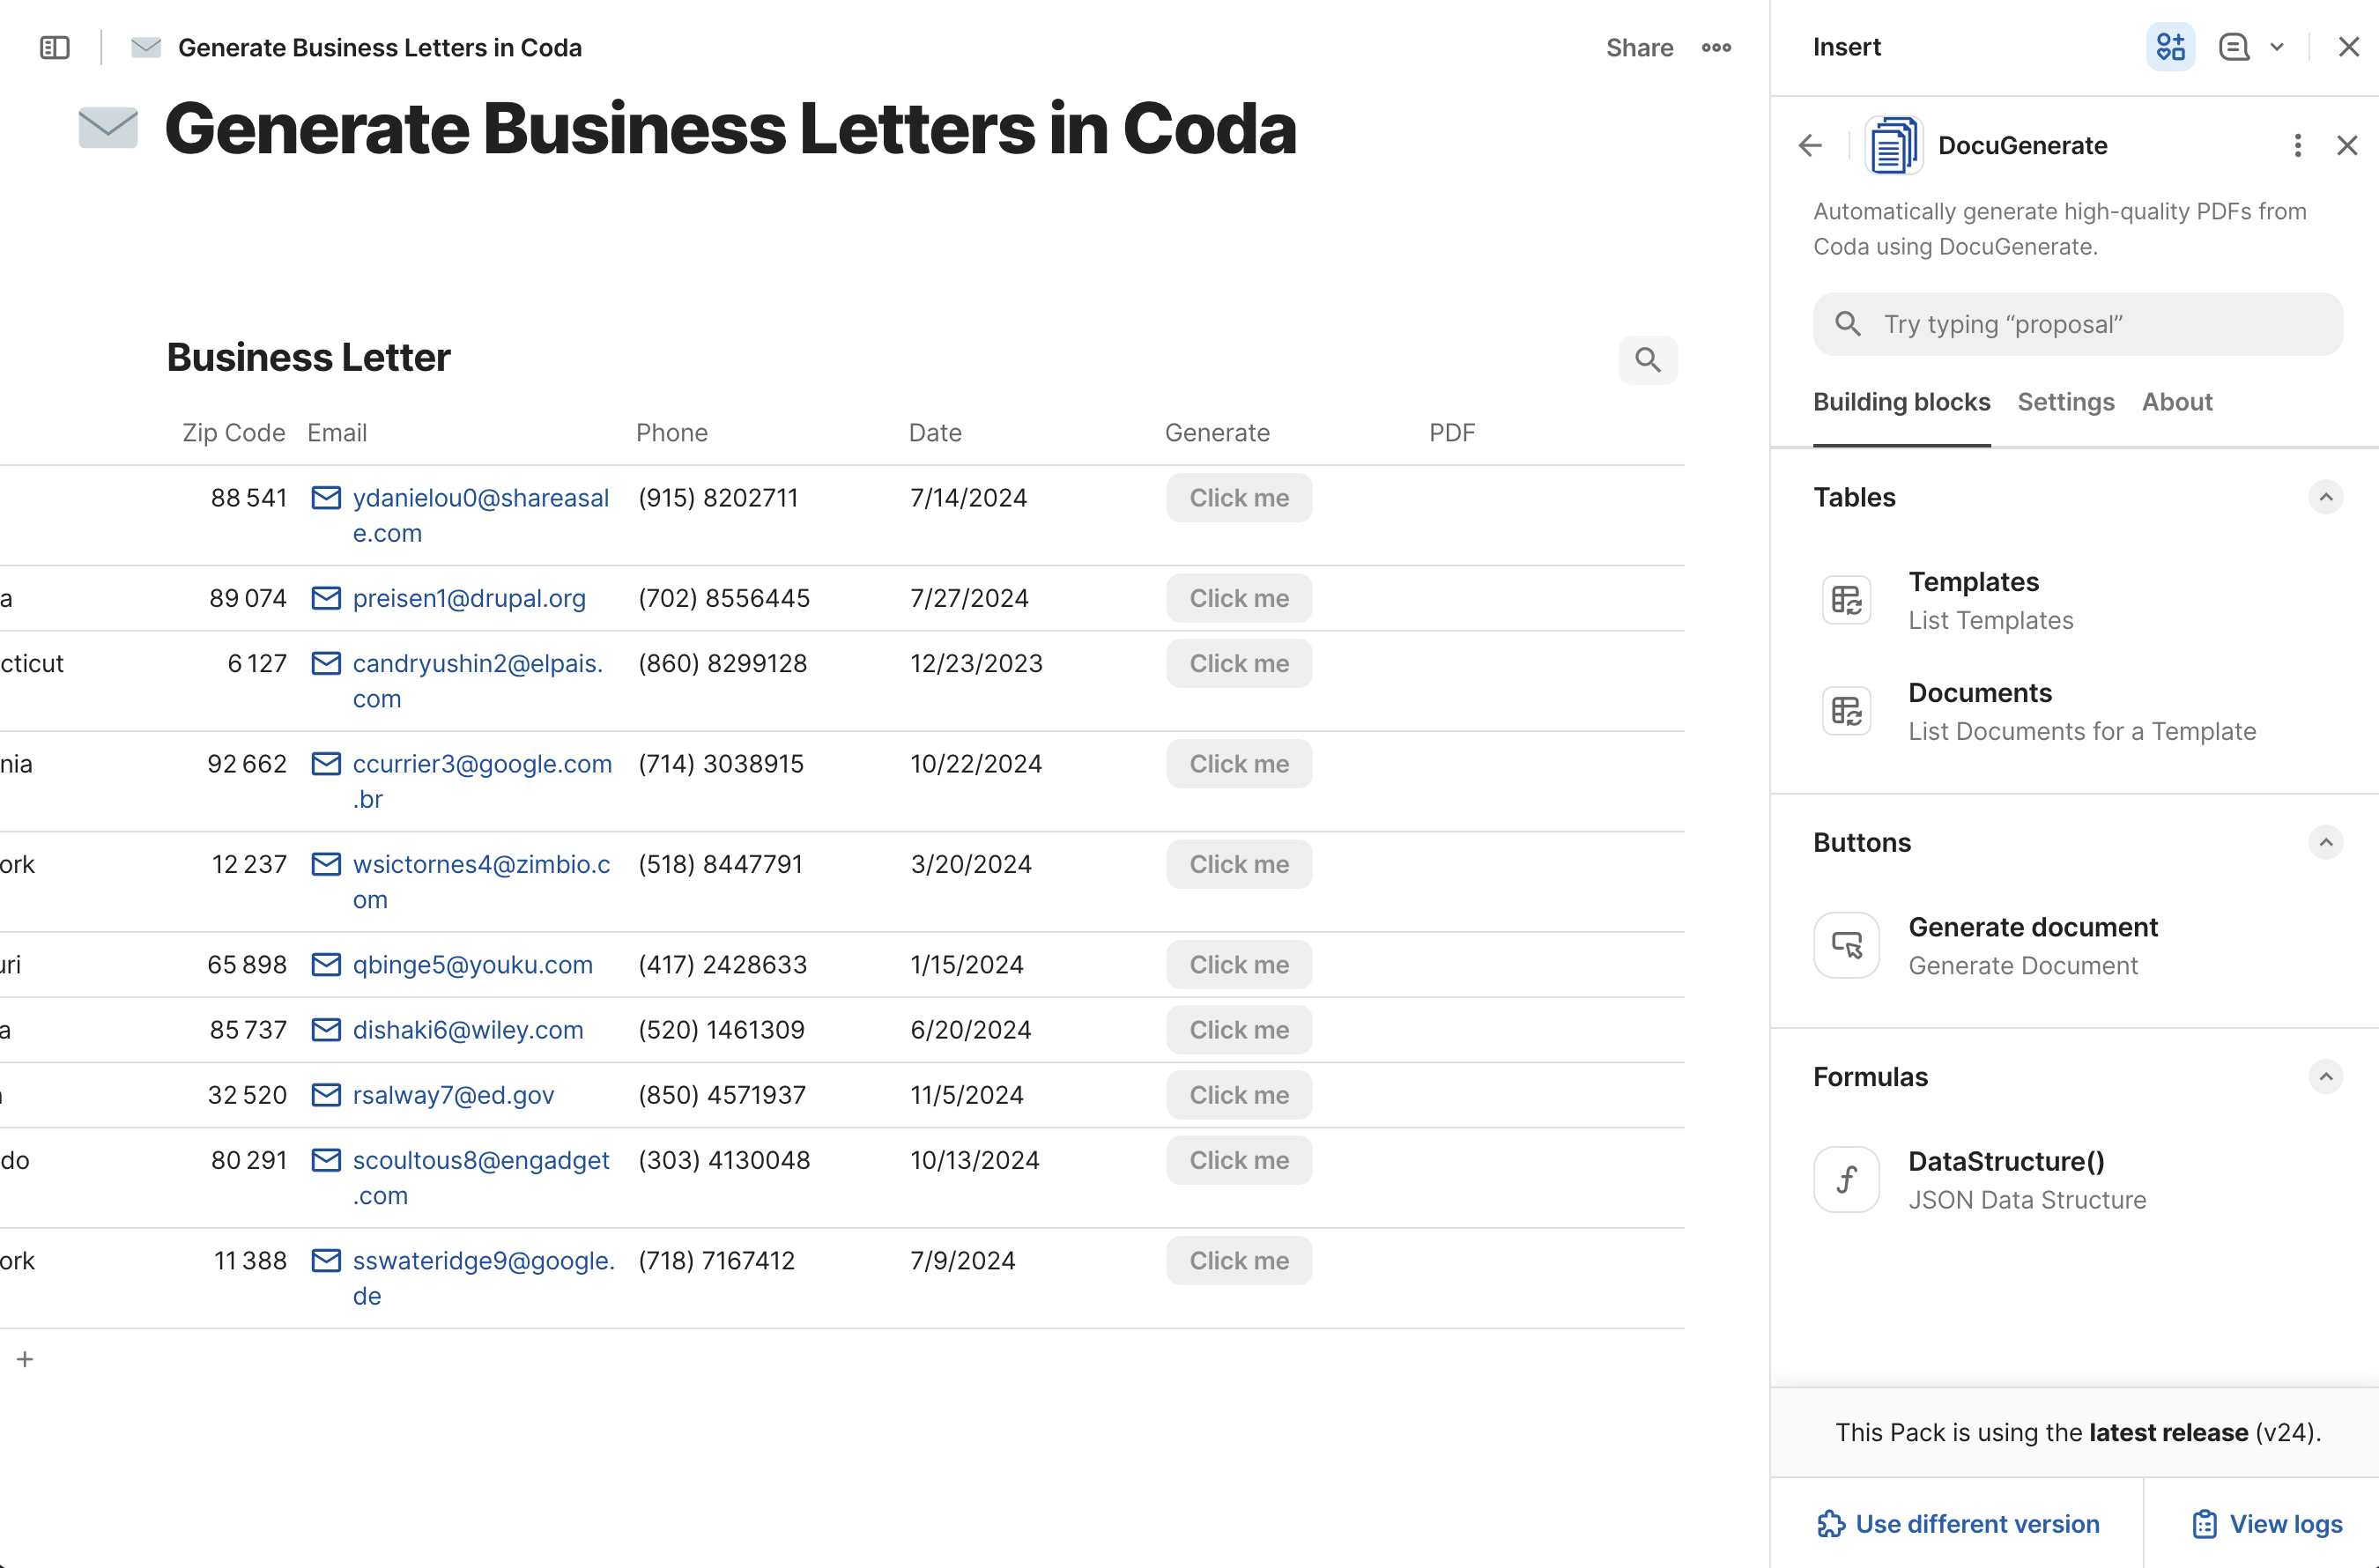
Once installed, the Pack’s building blocks will become available in your document: the Templates table, the Documents table, the Generate Document button action, and the DataStructure formula.
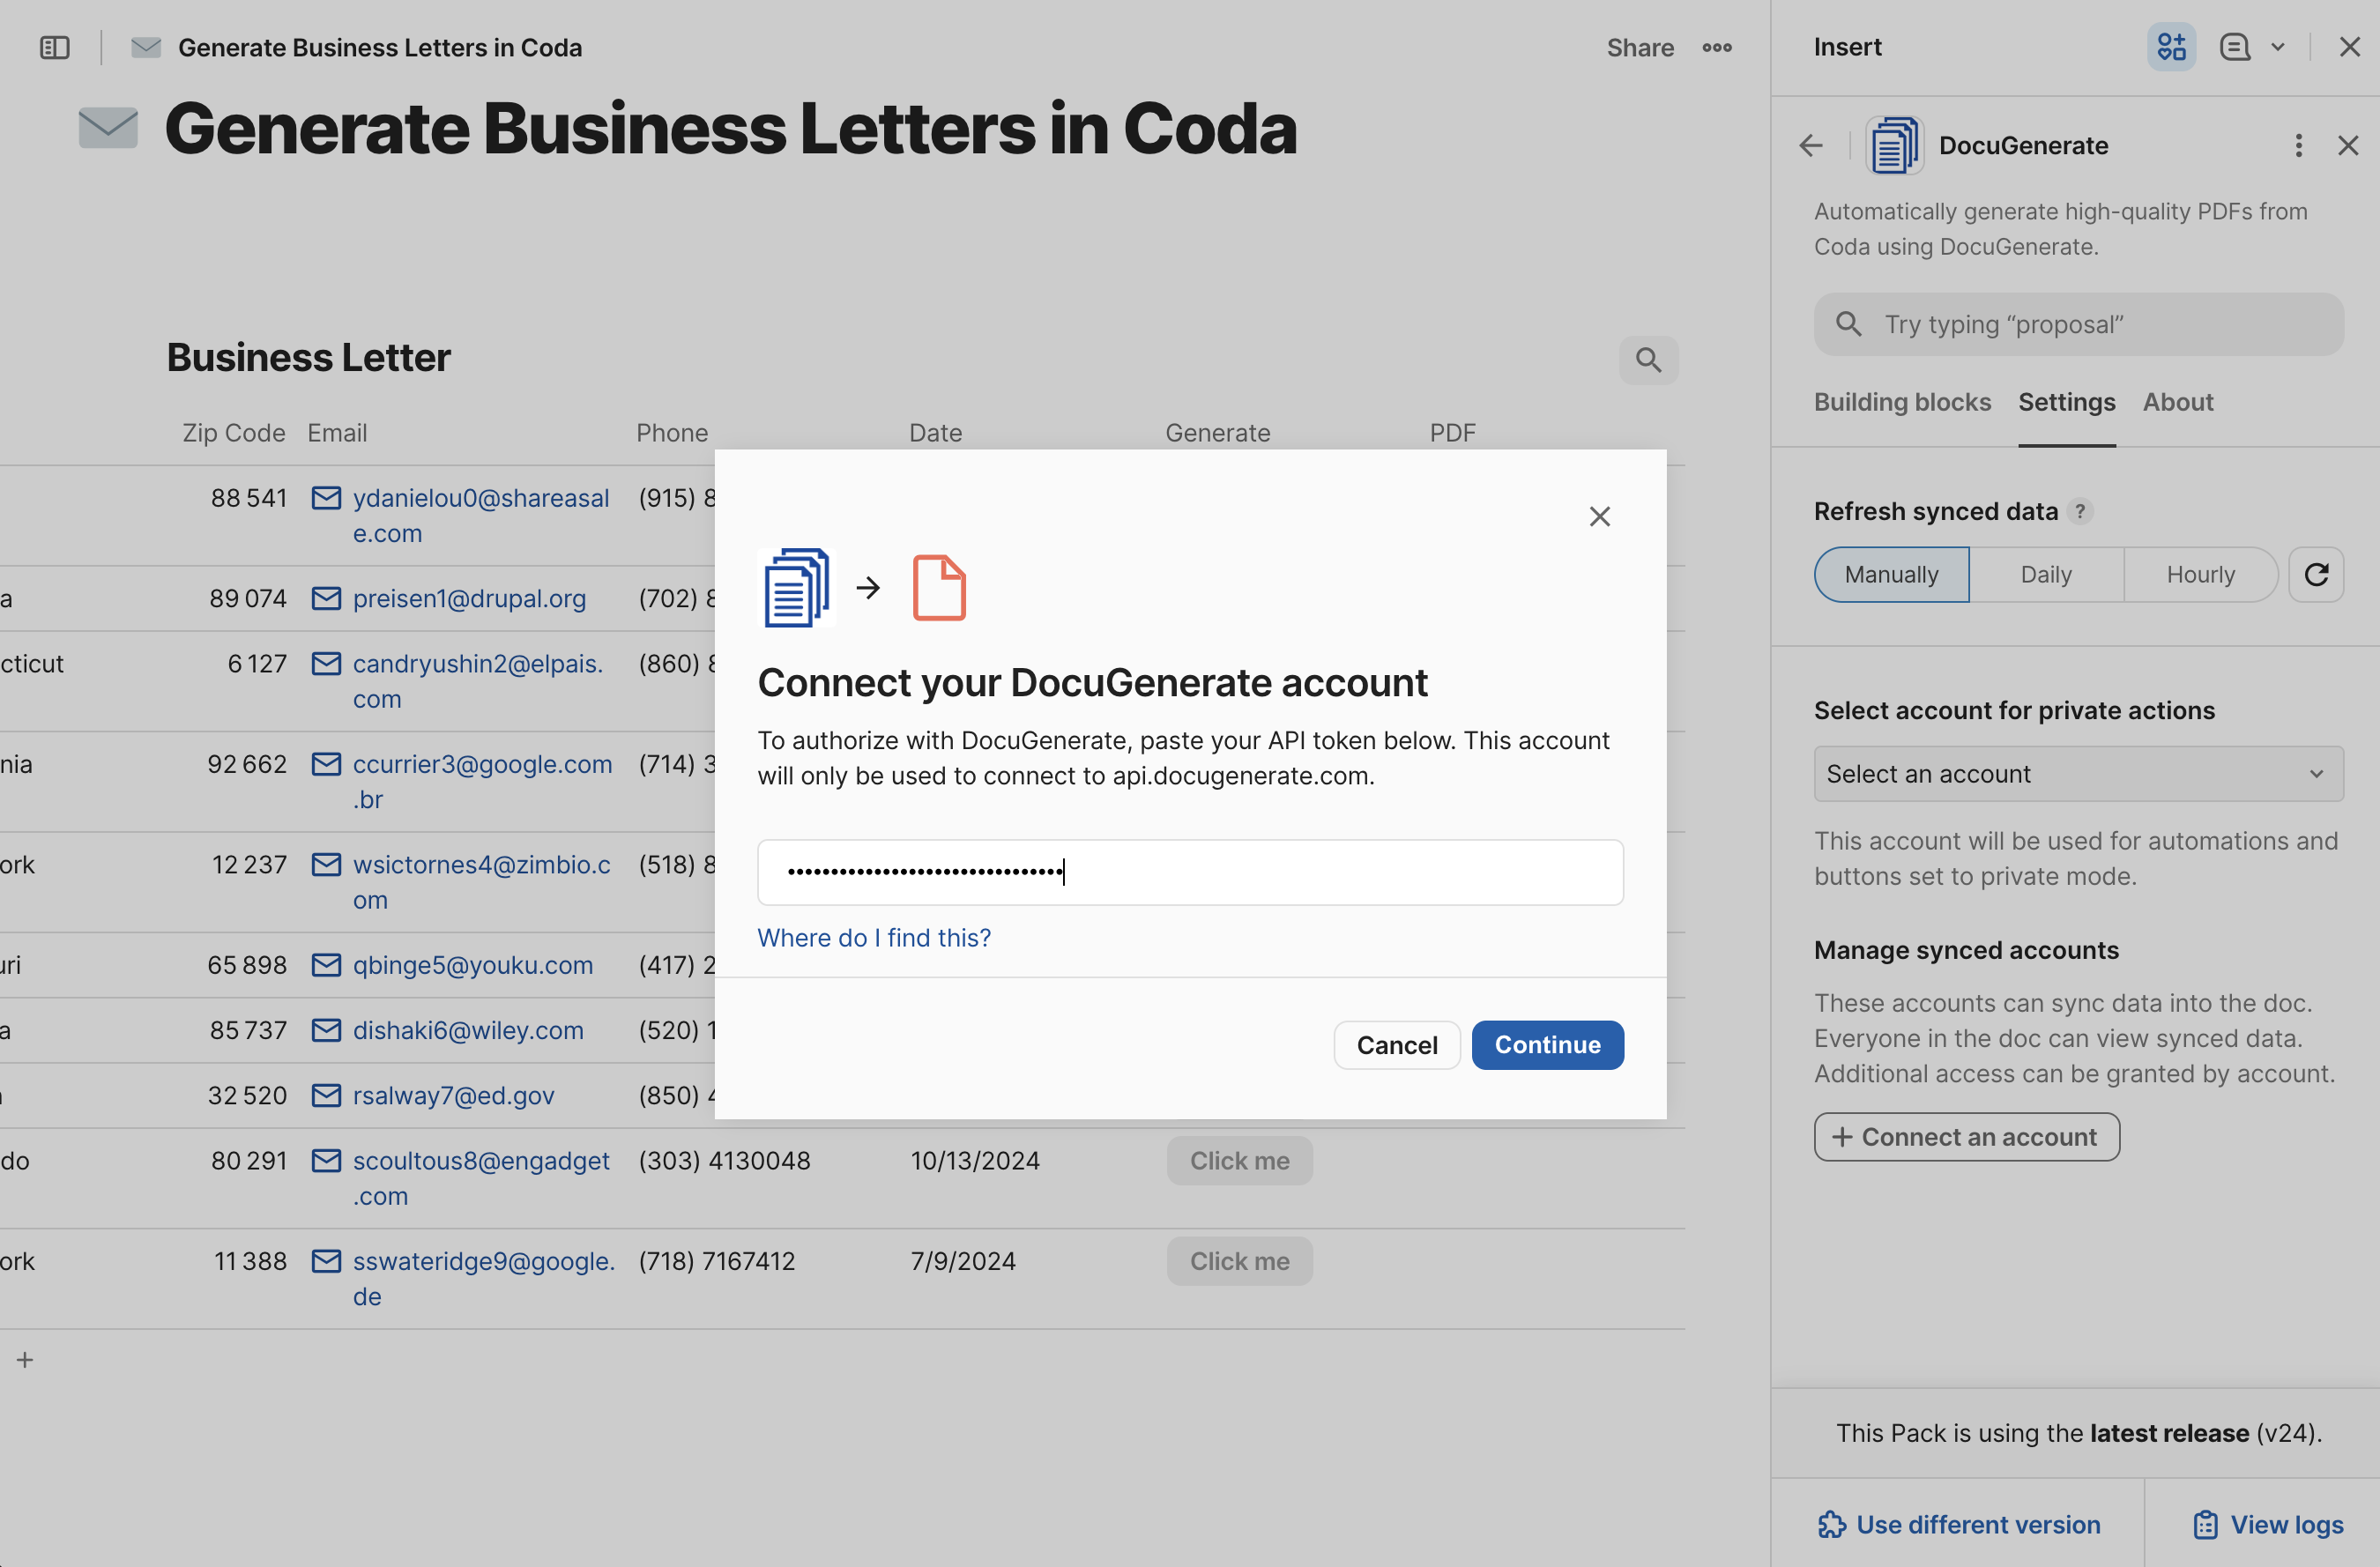
To complete the setup, open the Settings tab next to Building blocks, click Select an account, and then Add a new account. Enter your API Key from your DocuGenerate account in the API token field and click Continue. Your DocuGenerate account is now connected and the Pack is ready to use.
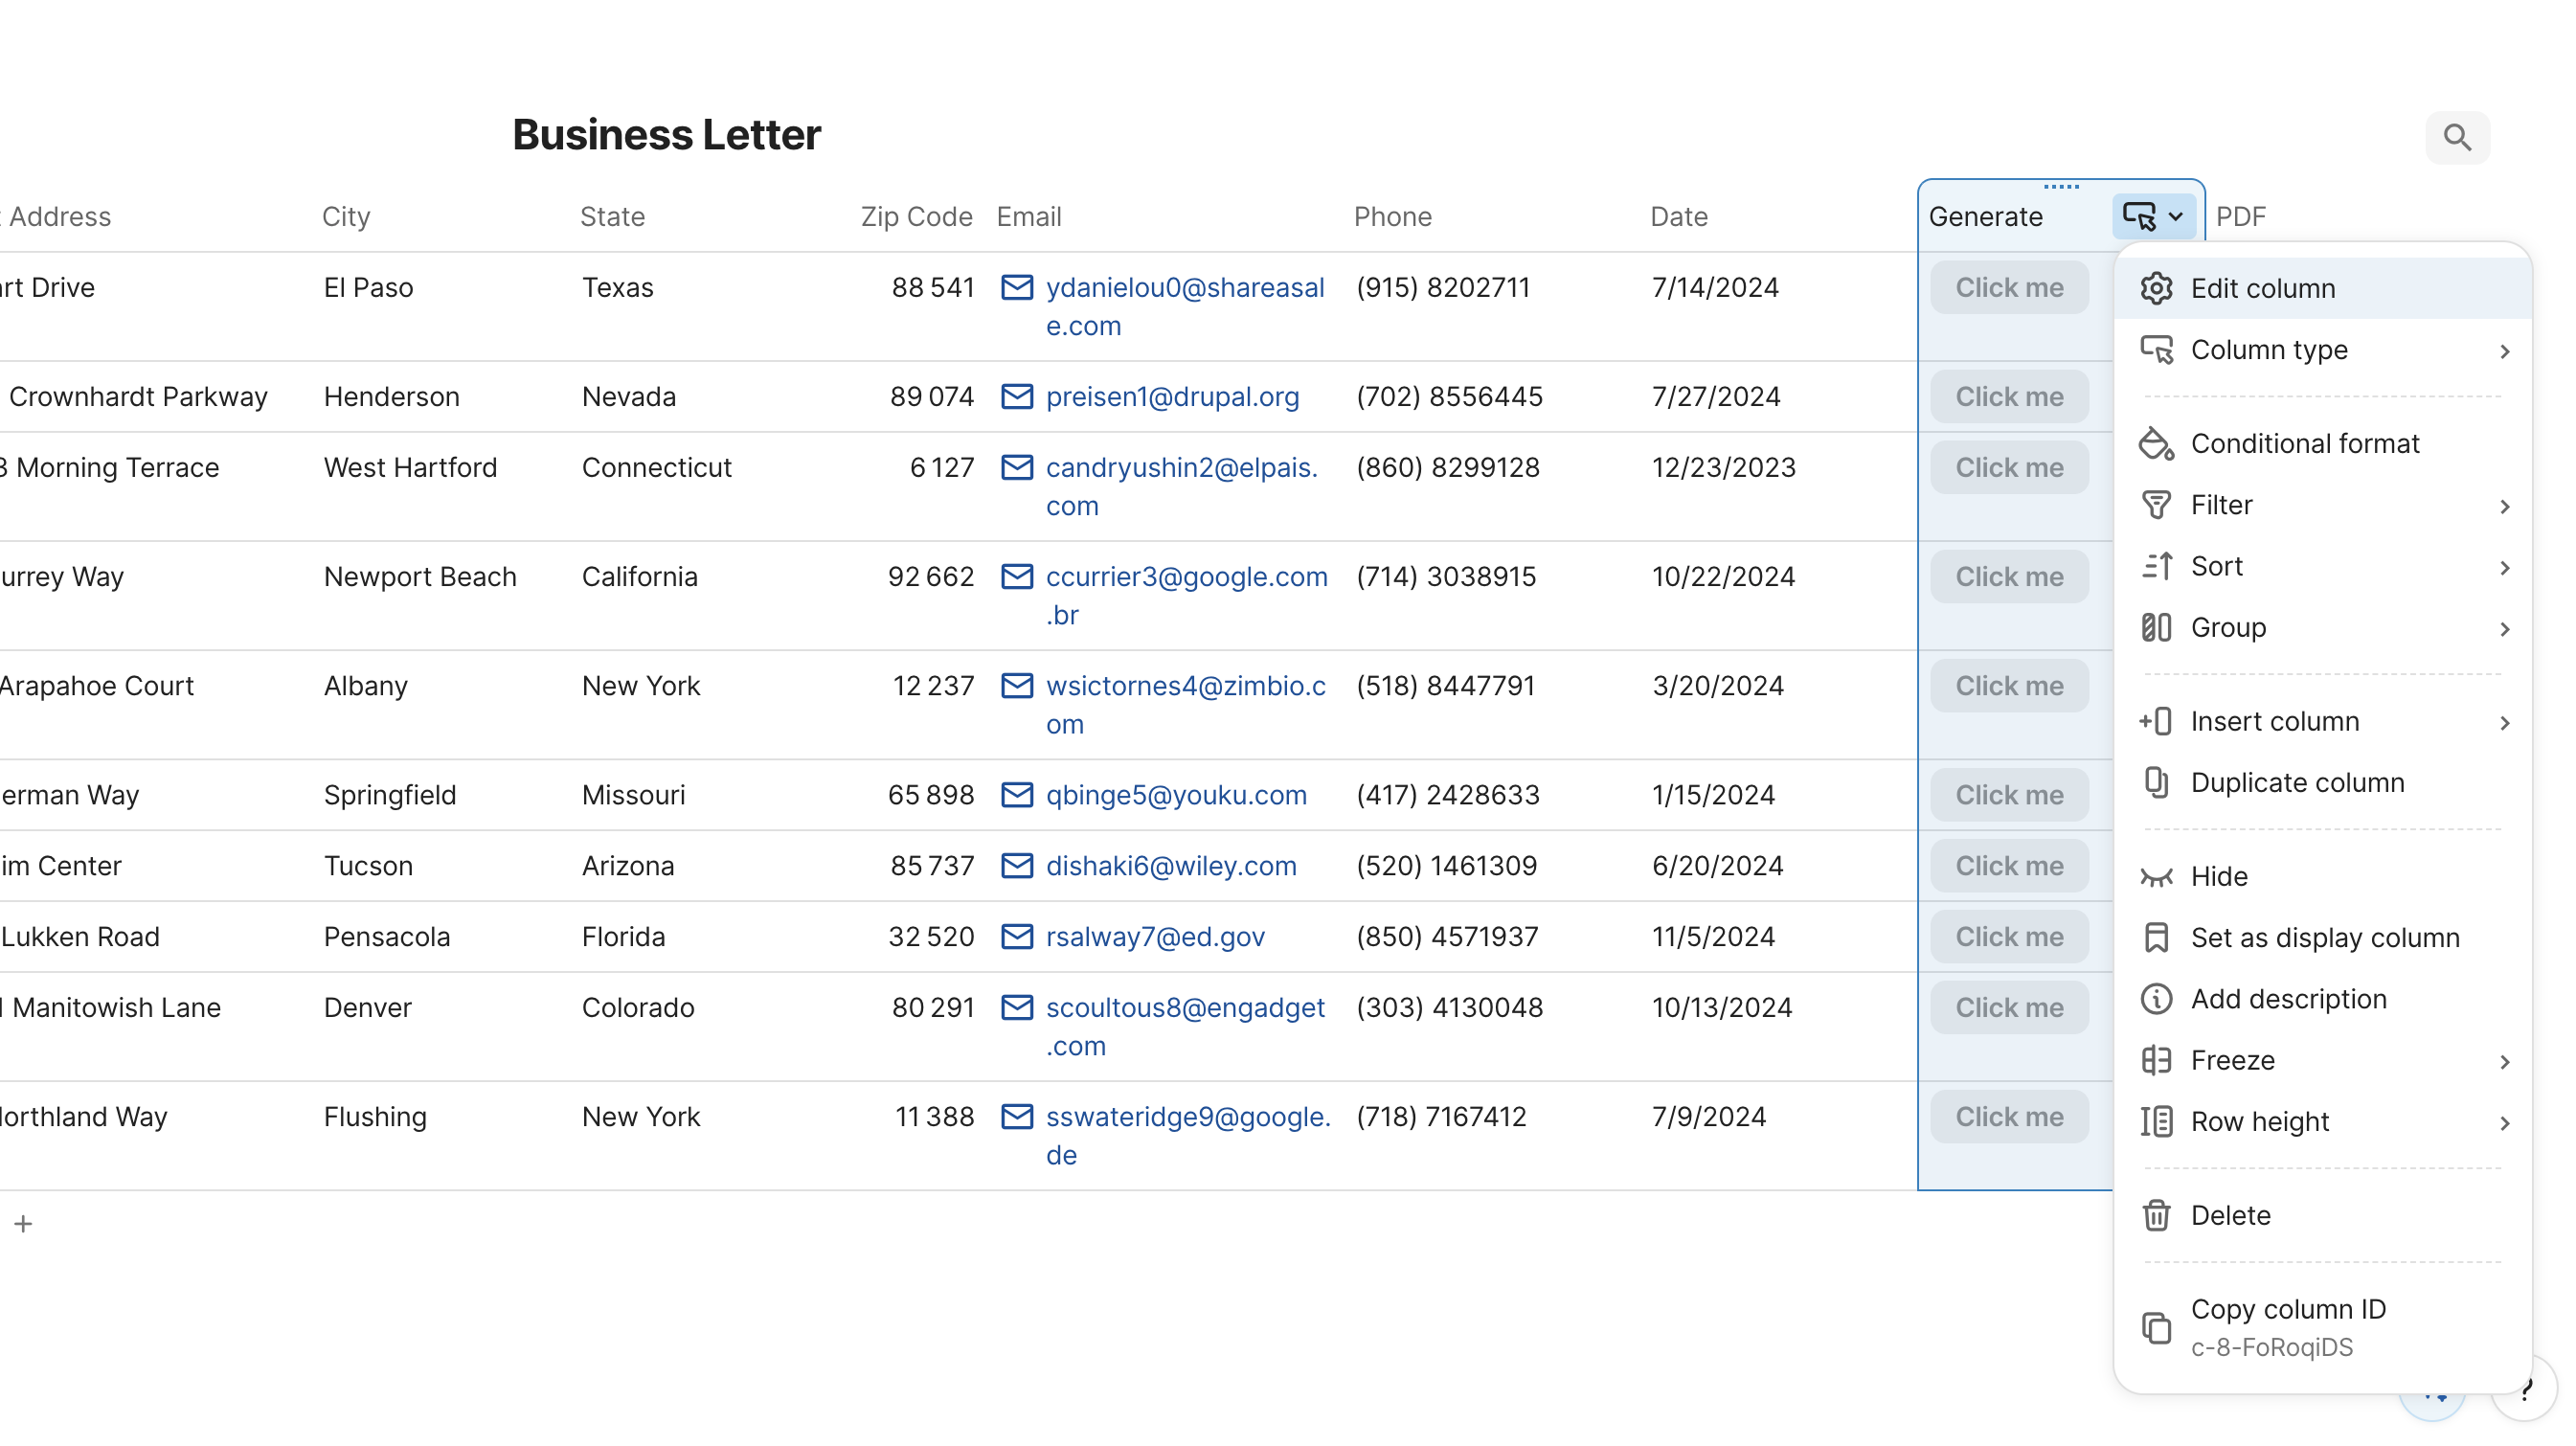
With the Pack installed, we can configure the Generate column to call DocuGenerate when clicked. Click the column header menu for the Generate column and select Edit column.
In the On click action section, scroll down to the Packs category at the bottom of the action list, find DocuGenerate, and select the Generate document action.

Click + Connect an account and select the DocuGenerate account you configured in the previous section. With the account connected, you can now fill in the action parameters.
Template Selection
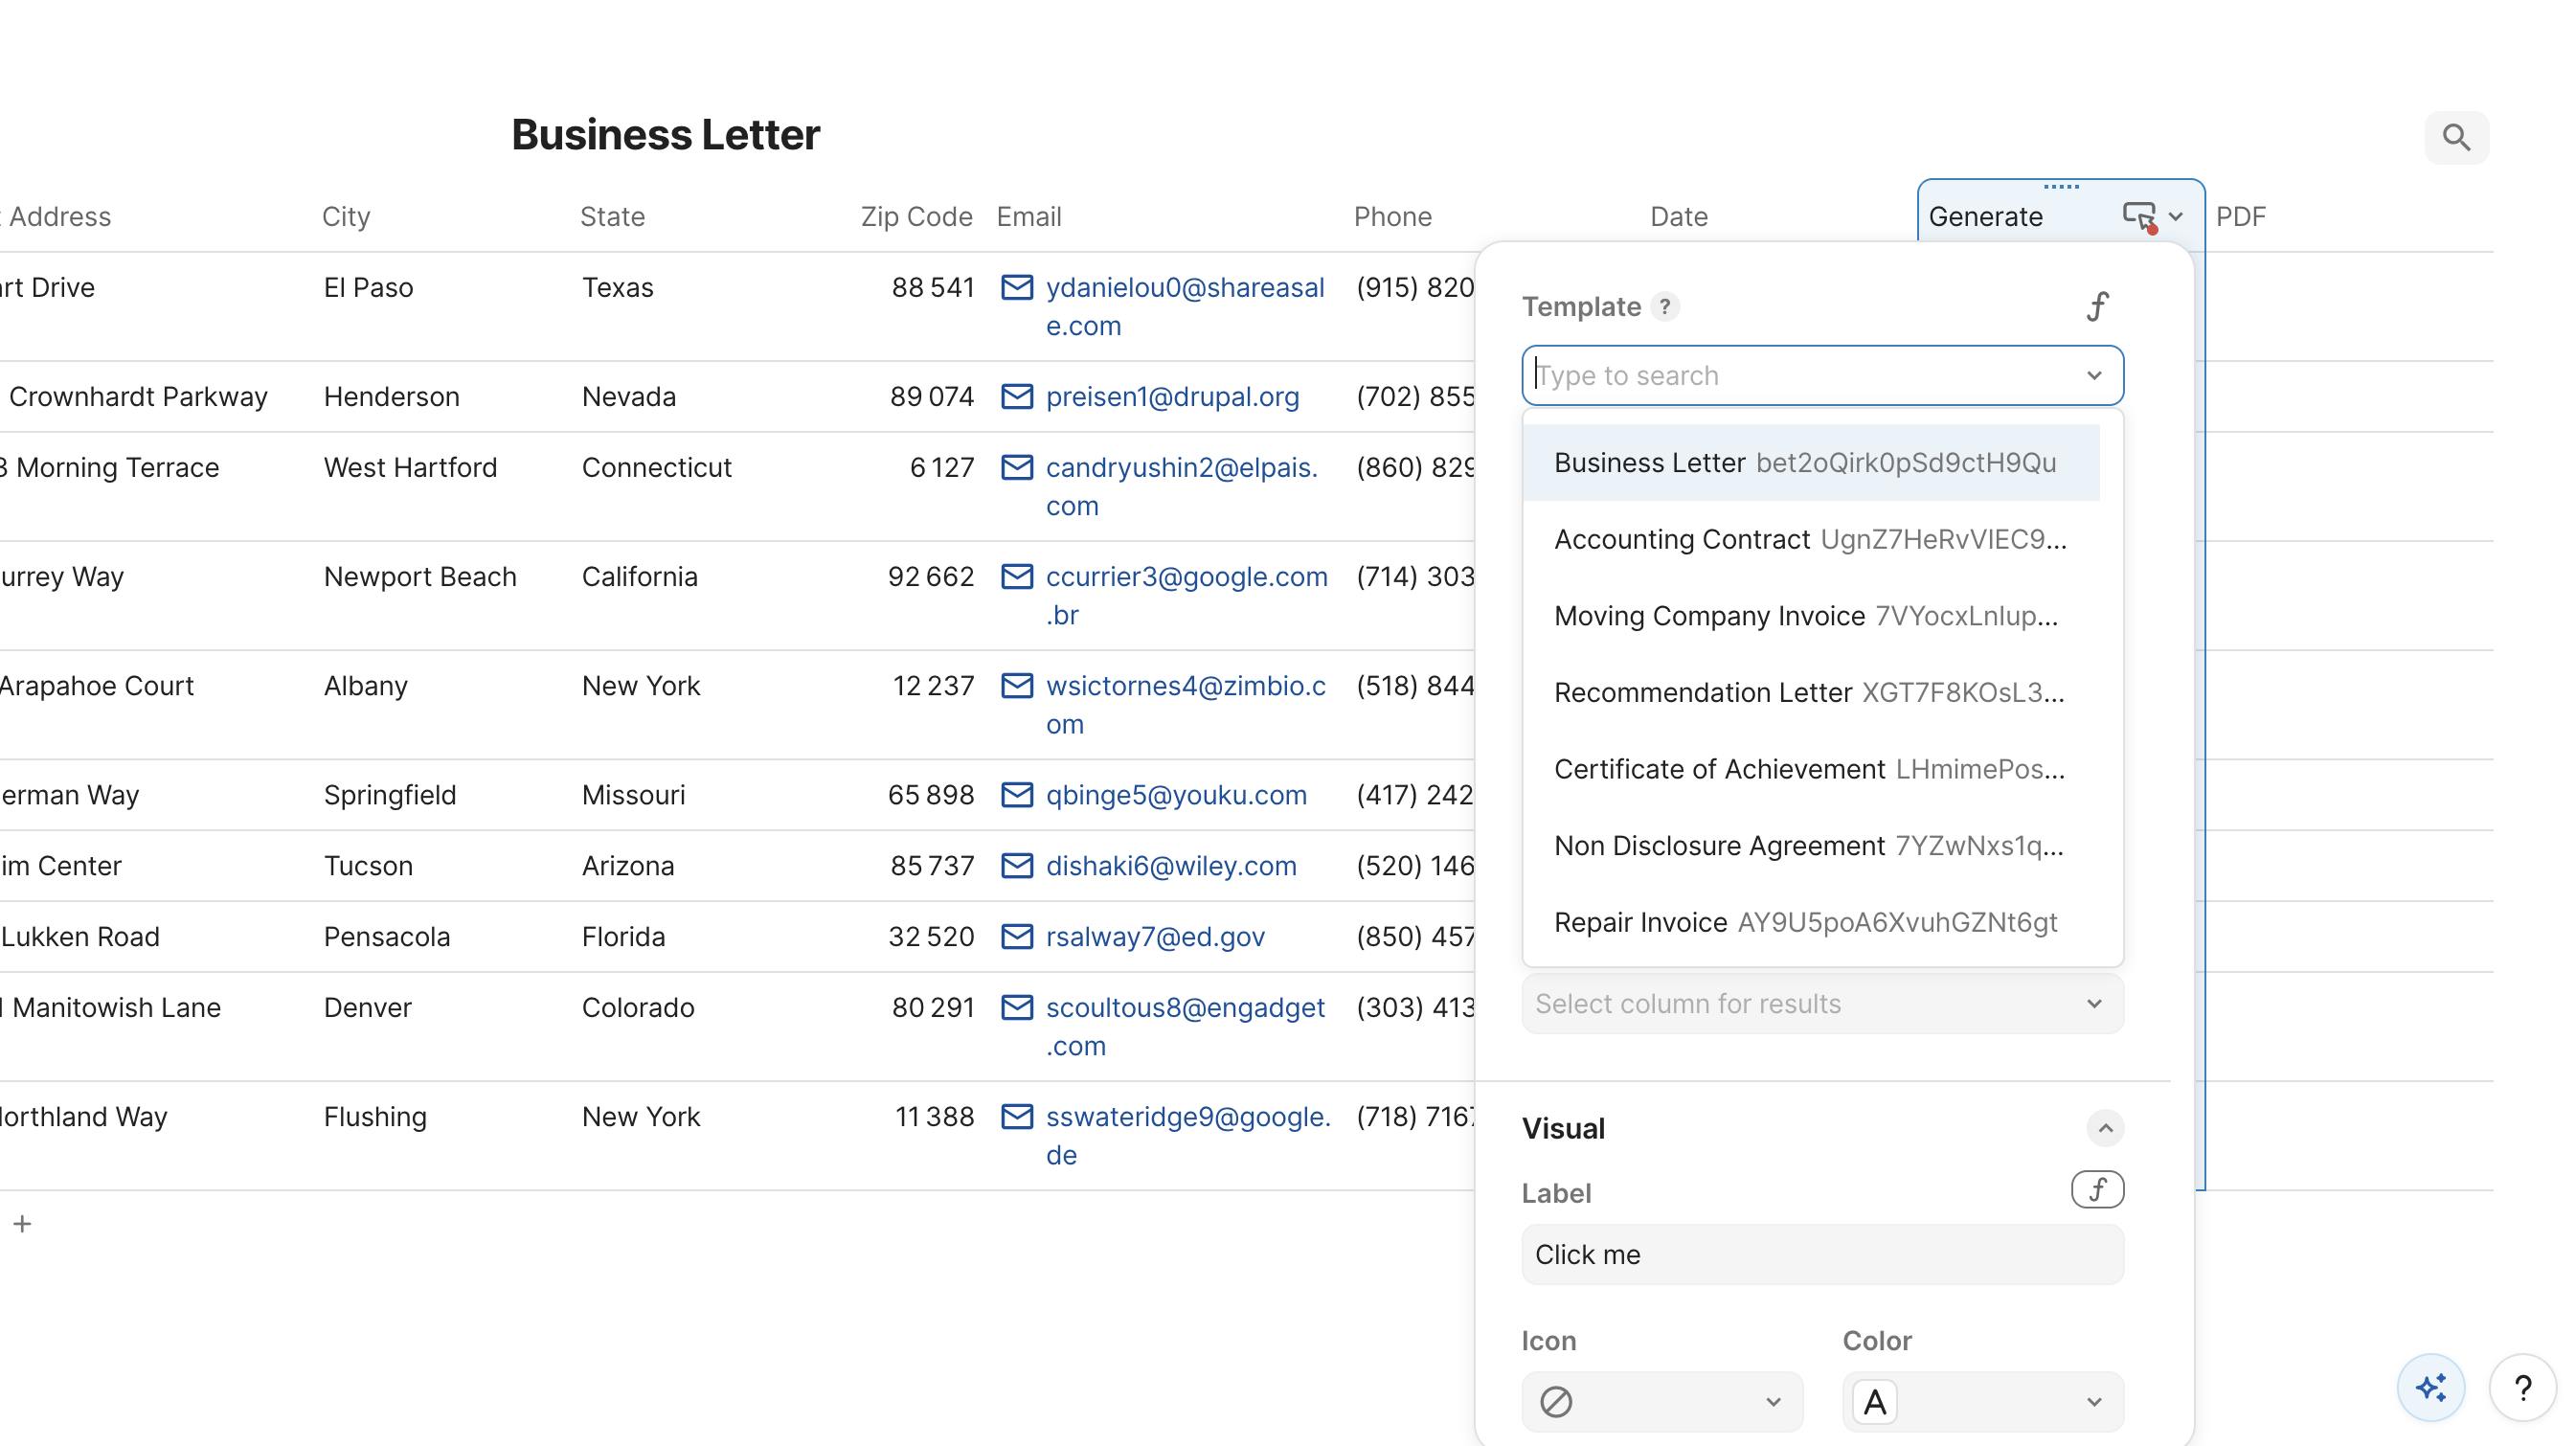
From the Template dropdown, select the Business Letter template you uploaded to DocuGenerate in the template setup step.
For the Name field, you can leave it empty to use a default name, or set a dynamic value to make it easier to identify each file. Coda’s Format formula is a good fit here. For example, =Format("Letter for {1}", thisRow.Name) names each document after the recipient, which is helpful when browsing files in your DocuGenerate account.
Leave Format set to .pdf to produce PDF files, which is the most commonly used format for creating business documents.
Dynamic Data Values
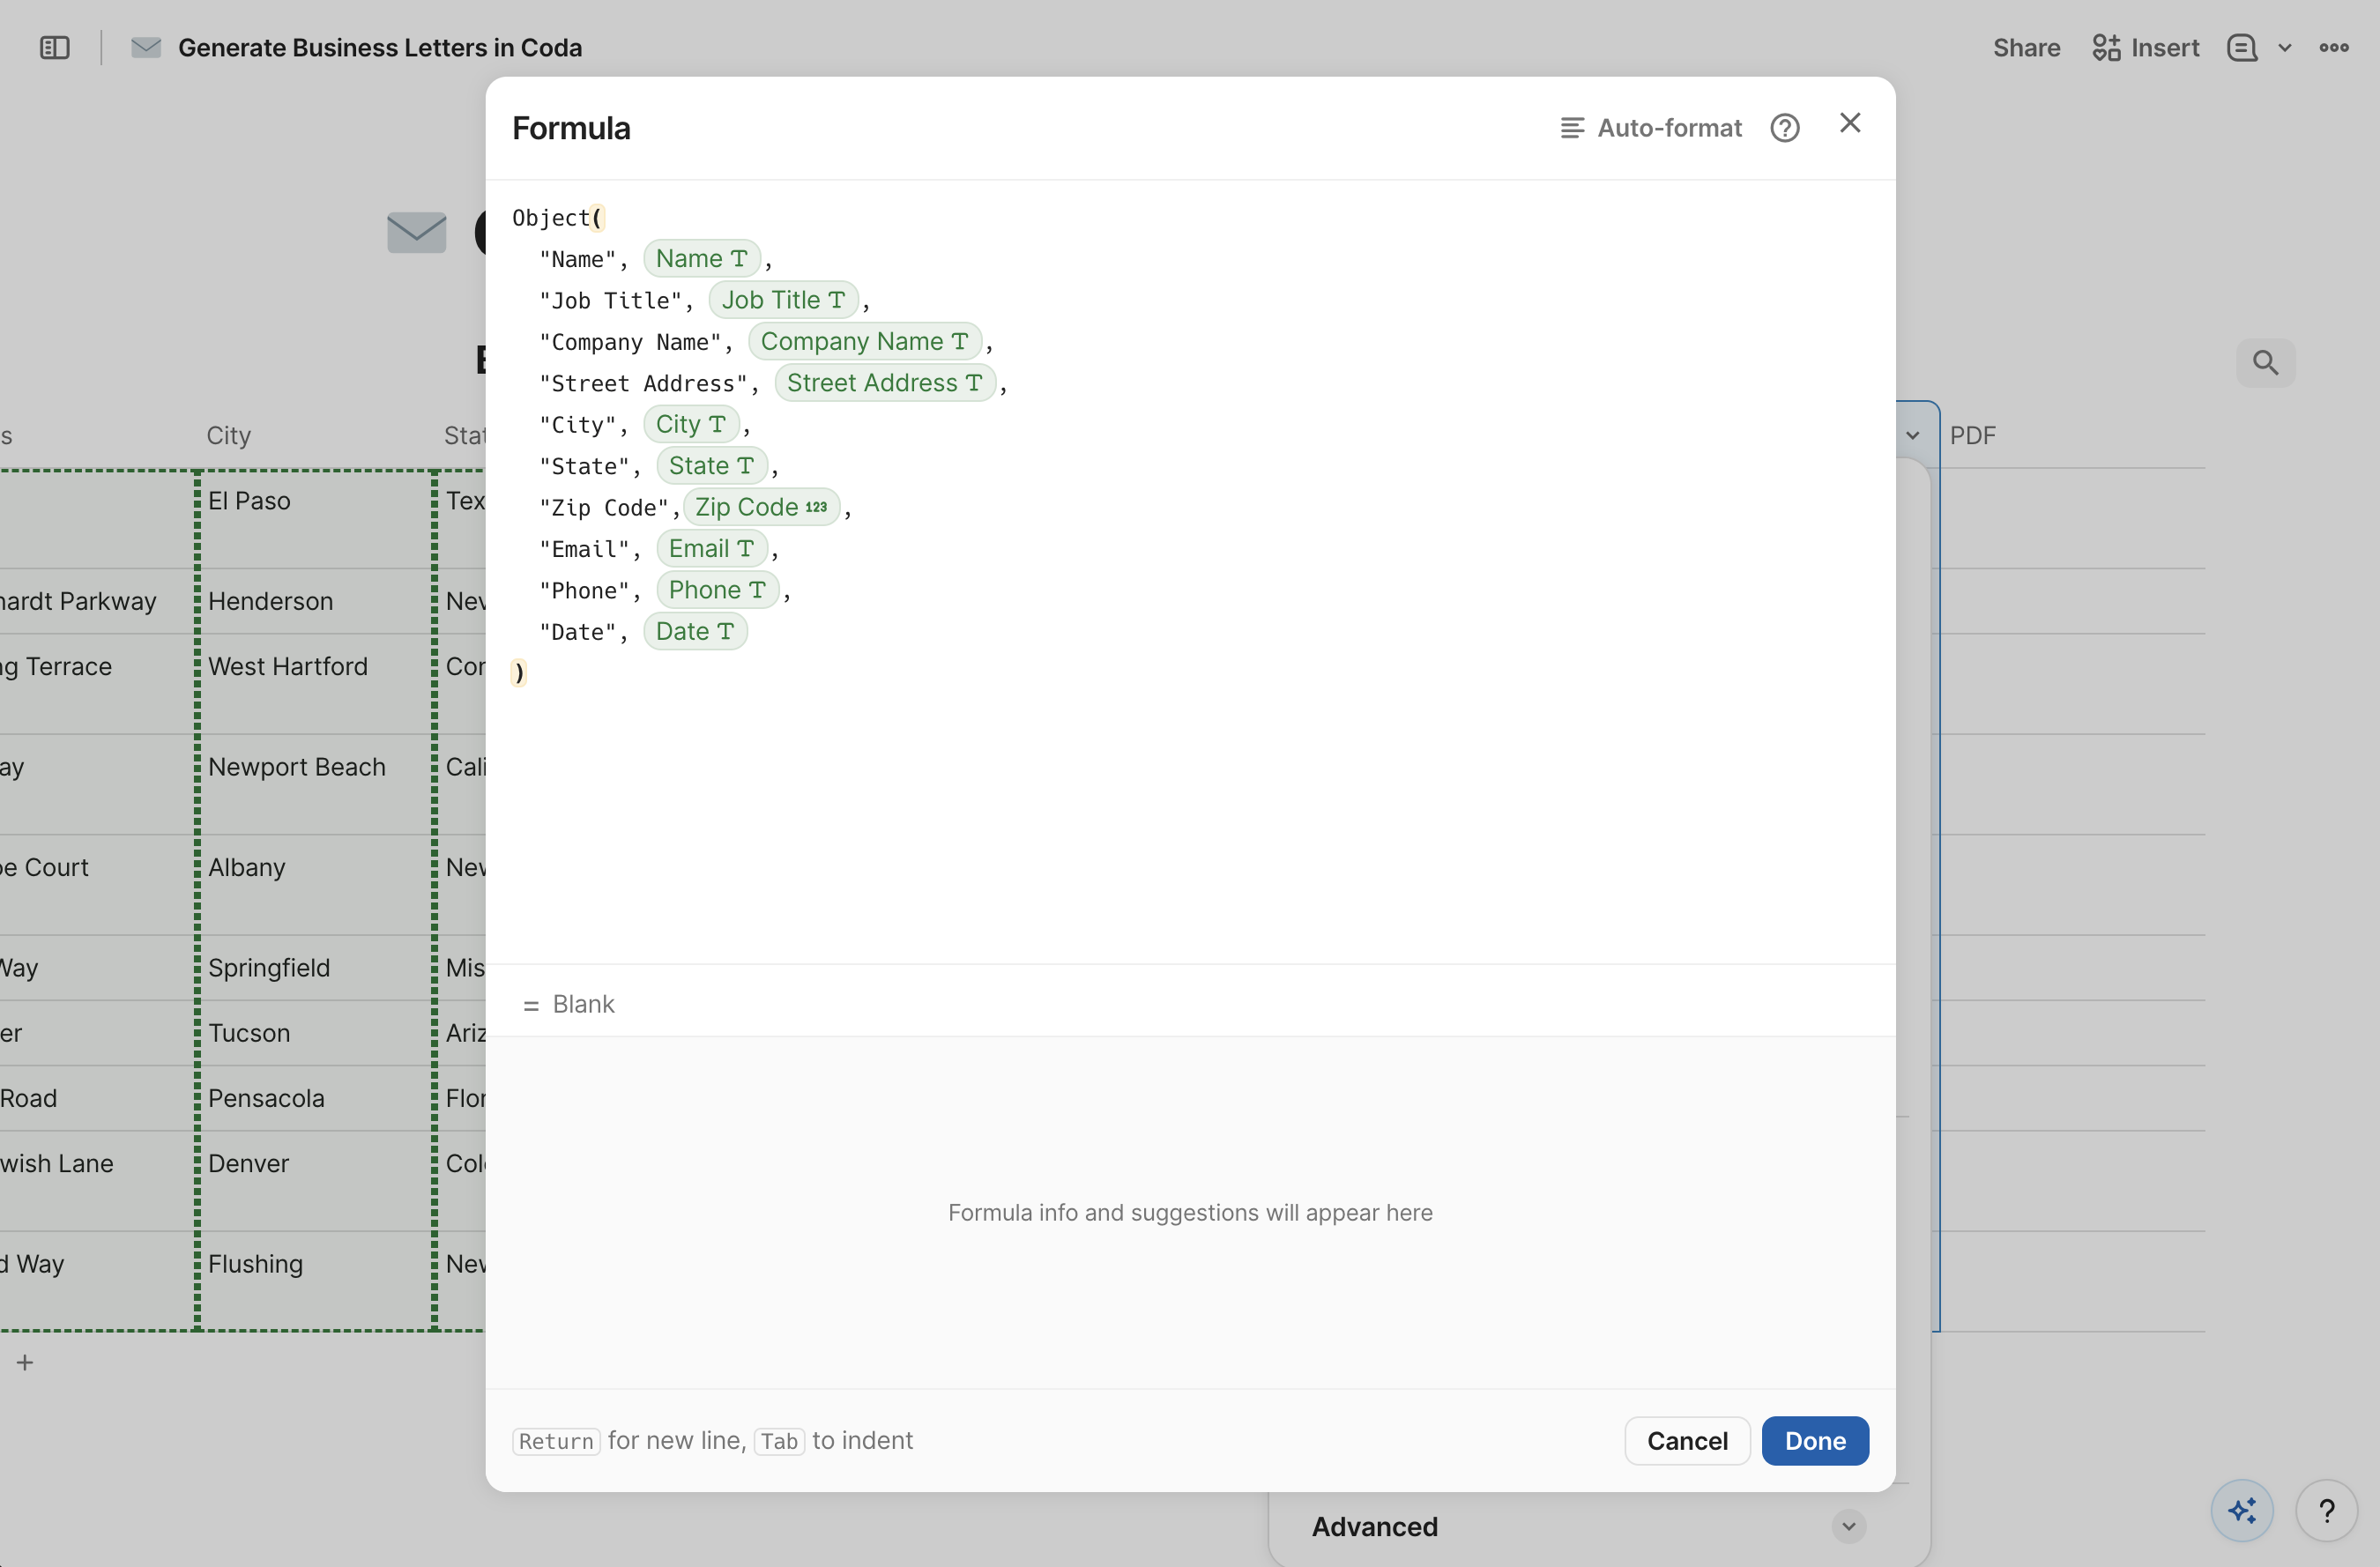
For the Data field, we need to provide a JSON object that maps the merge tag names in the template to the corresponding column values in the current row. Coda’s Object formula is the most direct way to build this mapping:
Object(
  "Name", thisRow.Name,
  "Job Title", thisRow.[Job Title],
  "Company Name", thisRow.[Company Name],
  "Street Address", thisRow.[Street Address],
  "City", thisRow.City,
  "State", thisRow.State,
  "Zip Code", thisRow.[Zip Code],
  "Email", thisRow.Email,
  "Phone", thisRow.Phone,
  "Date", thisRow.Date
)
Each key in the Object call is a merge tag name from the template, and each value references the matching column in the current row using thisRow. Column names that contain spaces must be wrapped in square brackets, as shown with thisRow.[Job Title] and thisRow.[Company Name].
For templates with more complex or nested data, the DataStructure formula included with the DocuGenerate Pack is a useful alternative. It generates the expected JSON structure for any template automatically, with numbered placeholders that you can fill in using the Format formula.
Result PDF Column
Finally, set the Results column to the PDF column added earlier. This instructs Coda to store the generated file in that column after the button is clicked. You can also customize the button’s appearance in the Style section by setting a label, choosing a color, and picking an icon.
Generating the Documents
With the configuration complete, click the Generate button in any row to trigger document generation for that recipient. DocuGenerate will use the row’s data to fill in the merge tags in the template and return a PDF file. Coda then imports the file into its storage and displays it in the PDF column for that row. The entire process takes a few seconds, so expect a brief delay before the file appears.
You can click Generate for multiple rows in quick succession without waiting for each document to finish. DocuGenerate processes the requests concurrently, so all letters are generated in parallel. The number of documents you can process at the same time depends on your plan’s concurrent document limit.
Conclusion
In this tutorial, we built a Coda document that generates personalized PDF business letters from a table of recipient data using the DocuGenerate Pack. The workflow covers uploading a Word template to DocuGenerate, importing the recipient data into Coda, adding the Generate button and PDF columns, and wiring up the Generate document action with the Object formula to map data from each row to the template’s merge tags. Once the setup is in place, generating a letter for any recipient takes a single button click.
The same pattern applies to any document type you want to produce from tabular Coda data. Invoices, contracts, offer letters, and certificates all follow the same structure: a Word template with merge tags, a table with the corresponding data, and a button to trigger the process. You can extend this further by combining it with other Coda automations, such as generating documents automatically when a new row is added, or sending the generated files to recipients via email.
Resources