Generate Health Plan Proposals in Power Apps with DocuGenerate
By DocuGenerate
December 22, 2025
Introduction
Employee onboarding often involves helping new hires navigate complex benefit options, particularly when it comes to selecting health insurance plans. Companies typically offer multiple health plans with varying coverage levels, premiums, and out-of-pocket costs, which can overwhelm new employees trying to make the best decision for their families. In this tutorial, we’ll take an existing Power Apps Health Plan Selector app and enhance it with automated document generation capabilities using DocuGenerate and Power Automate.
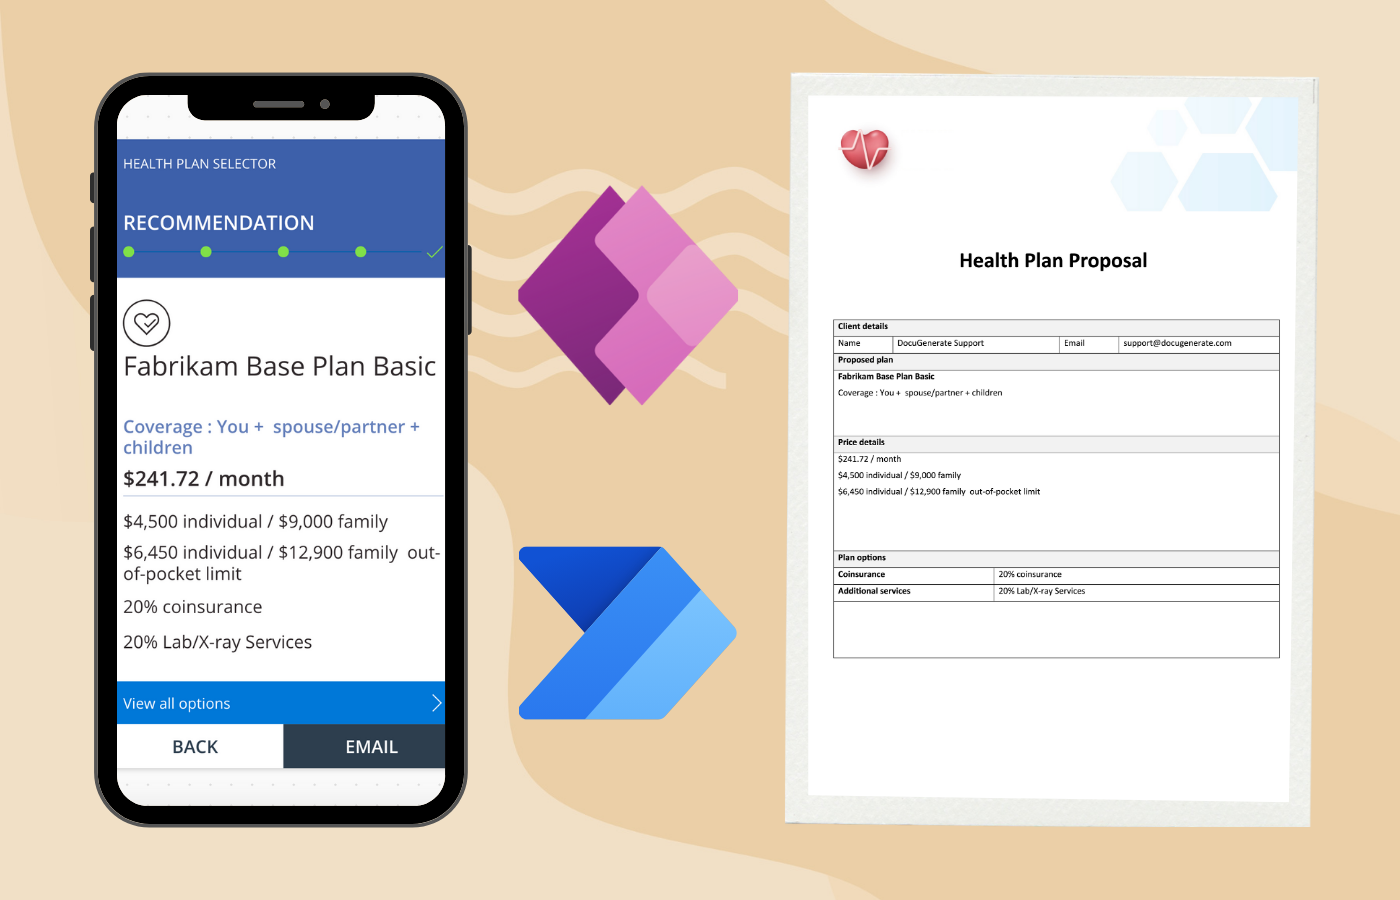
The Health Plan Selector is a sample application that helps new employees explore company health plans through a series of guided questions. Based on the answers, the app recommends the most suitable plan. However, the original app simply sends the plan details via the user’s default email client. We’ll replace this basic functionality with an automated workflow that generates a professional PDF proposal and delivers it directly to the employee’s inbox without requiring any manual email composition.
This approach creates a better experience for both HR teams and new employees. The automated workflow ensures consistency in how plan information is presented, creates a formal document that employees can review at their leisure and discuss with family members, and eliminates the manual steps involved in composing and sending these communications. Throughout this guide, we’ll walk through each step of the integration, from understanding the existing app structure to creating a complete document generation workflow.
Starting with the Health Plan Selector Template
Power Apps provides a variety of ready-to-use templates that serve as excellent starting points for building business applications. For this tutorial, we’ll use the Health Plan Selector template, which demonstrates many key Power Apps concepts including user input validation, conditional logic, multi-screen navigation, and data collection.
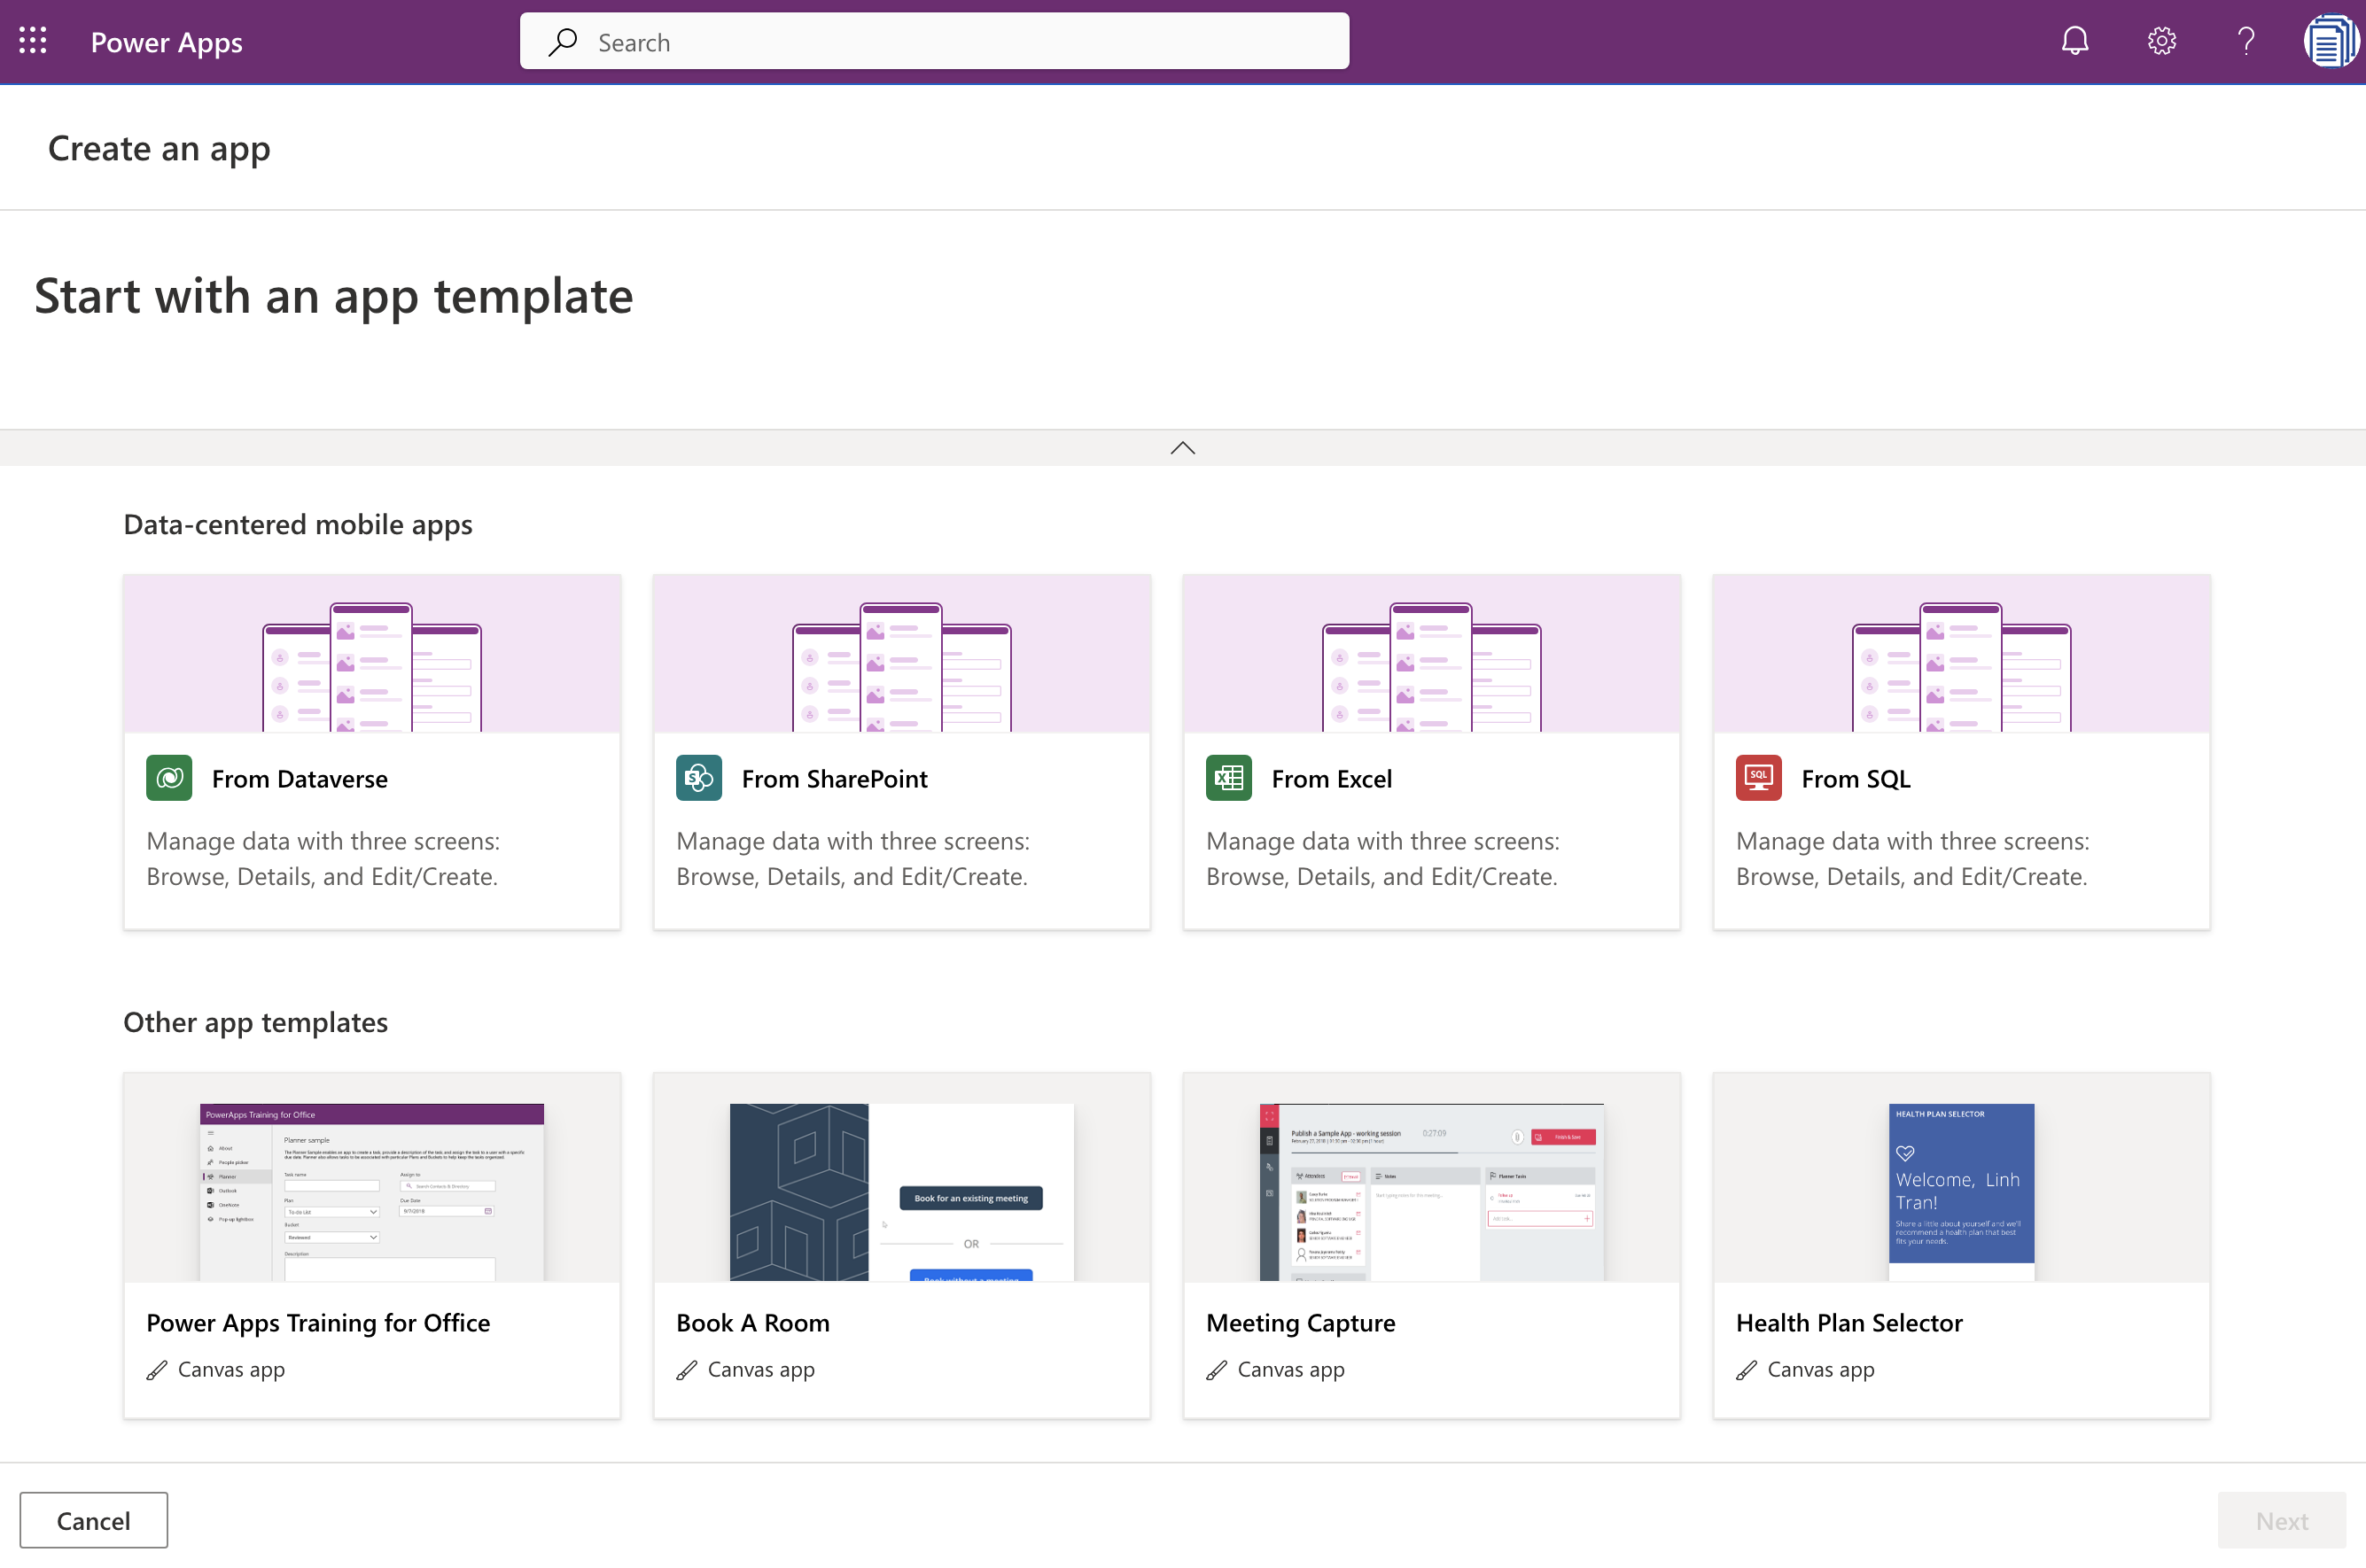
To get started, open Power Apps and click on Start with an app template. This option allows you to select from a list of fully functional business app templates that you can use as-is or customize to suit your specific needs. Browse through the available templates until you find the Health Plan Selector app. This sample app is designed specifically for new employee onboarding scenarios, helping users explore company health plans and discover which option will work best for them and their families.
Once you select this template, Power Apps will create a new app in your environment based on the template structure. The app includes all the screens, controls, data collections, and logic needed for the health plan selection workflow. You’ll be able to explore and modify any aspect of the app to fit your organization’s specific health plan offerings and branding guidelines.
Understanding the Sample App
The Health Plan Selector app guides users through a multi-step questionnaire to determine the most appropriate health insurance plan. The app asks about coverage needs (individual, family, etc.), desired services (primary care, dental, vision, specialists), budget preferences (basic or premium), and other factors that influence plan selection. Based on these inputs, the app recommends specific plans and displays detailed information including monthly premiums, coverage limits, and out-of-pocket costs.
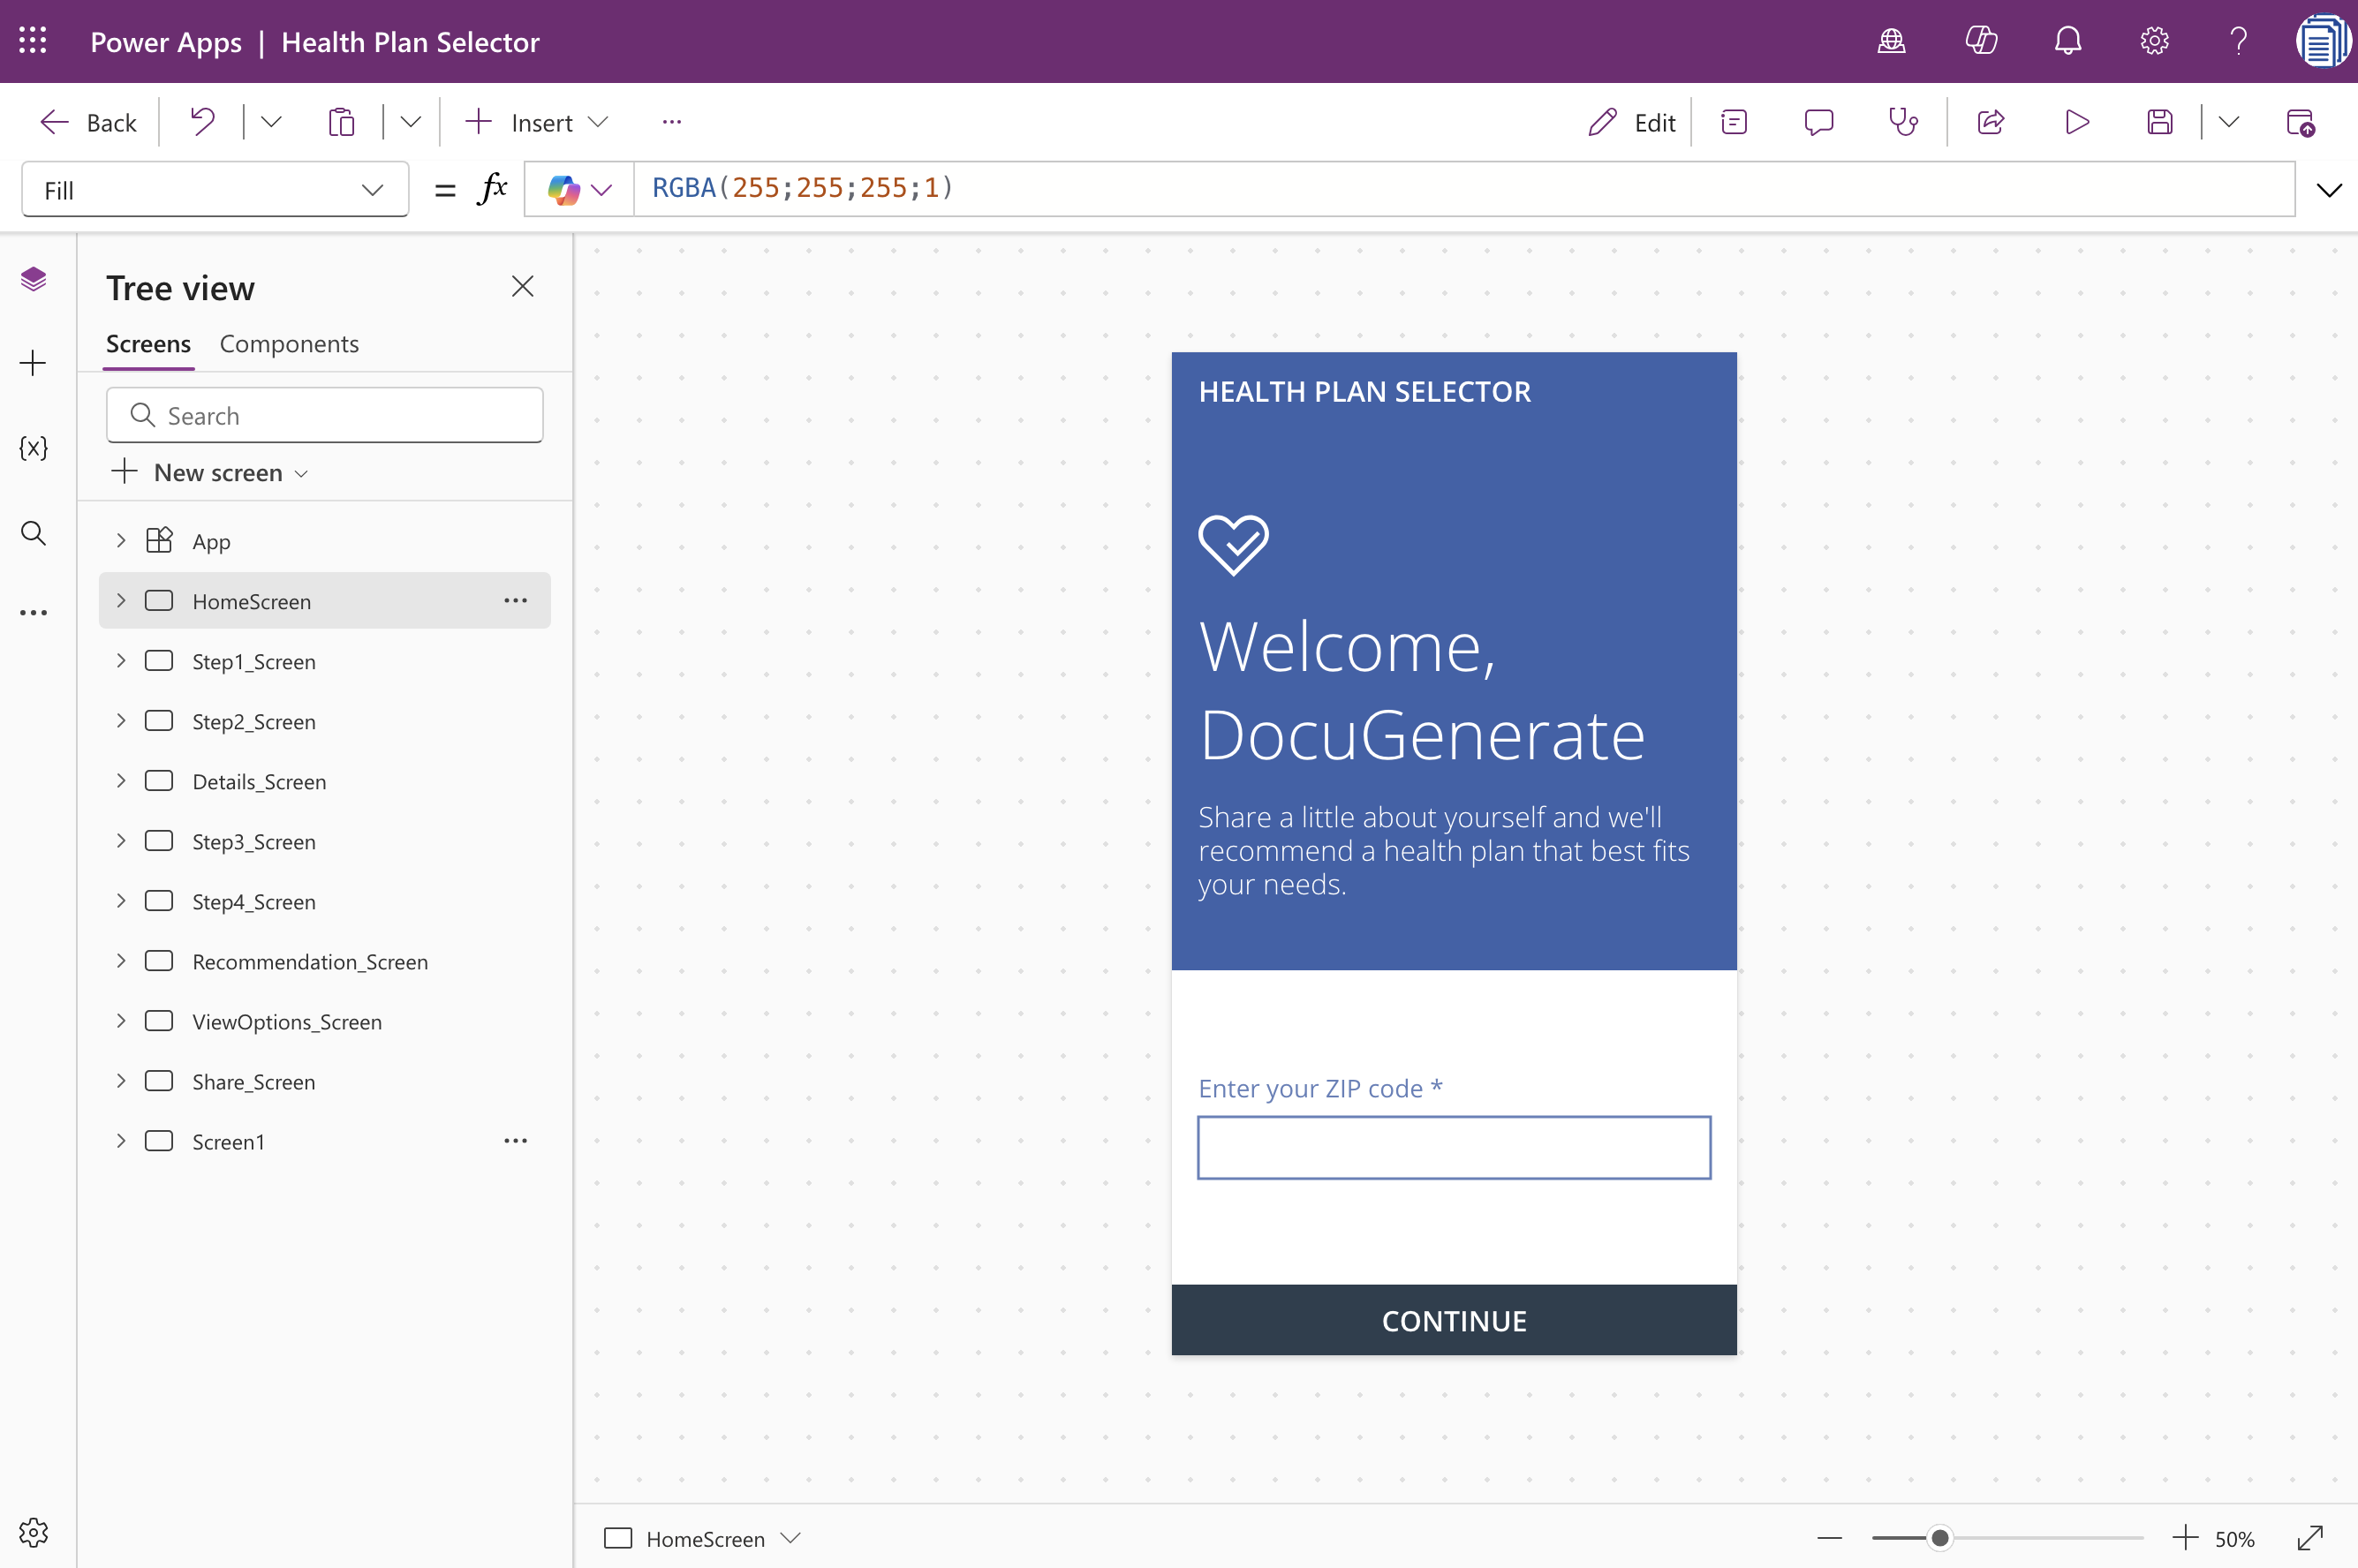
The app is built with multiple screens that represent different stages of the selection process. After creating the app from the template, you can view all screens in the Tree view panel, which shows screens like HomeScreen, Step1_Screen, Step2_Screen, Step3_Screen, Step4_Screen, Recommendation_Screen, ViewOptions_Screen, and Share_Screen.
Each screen contains various controls such as text inputs, radio buttons, checkboxes, galleries, and buttons that work together to collect user preferences and display recommendations.
Examining the Send Button Logic
For this tutorial, we’ll focus specifically on the Share_Screen, which is where users see their final plan recommendation and have the option to send the details to their email address. This is the screen we’ll modify to integrate document generation capabilities instead of the basic email functionality that currently exists.
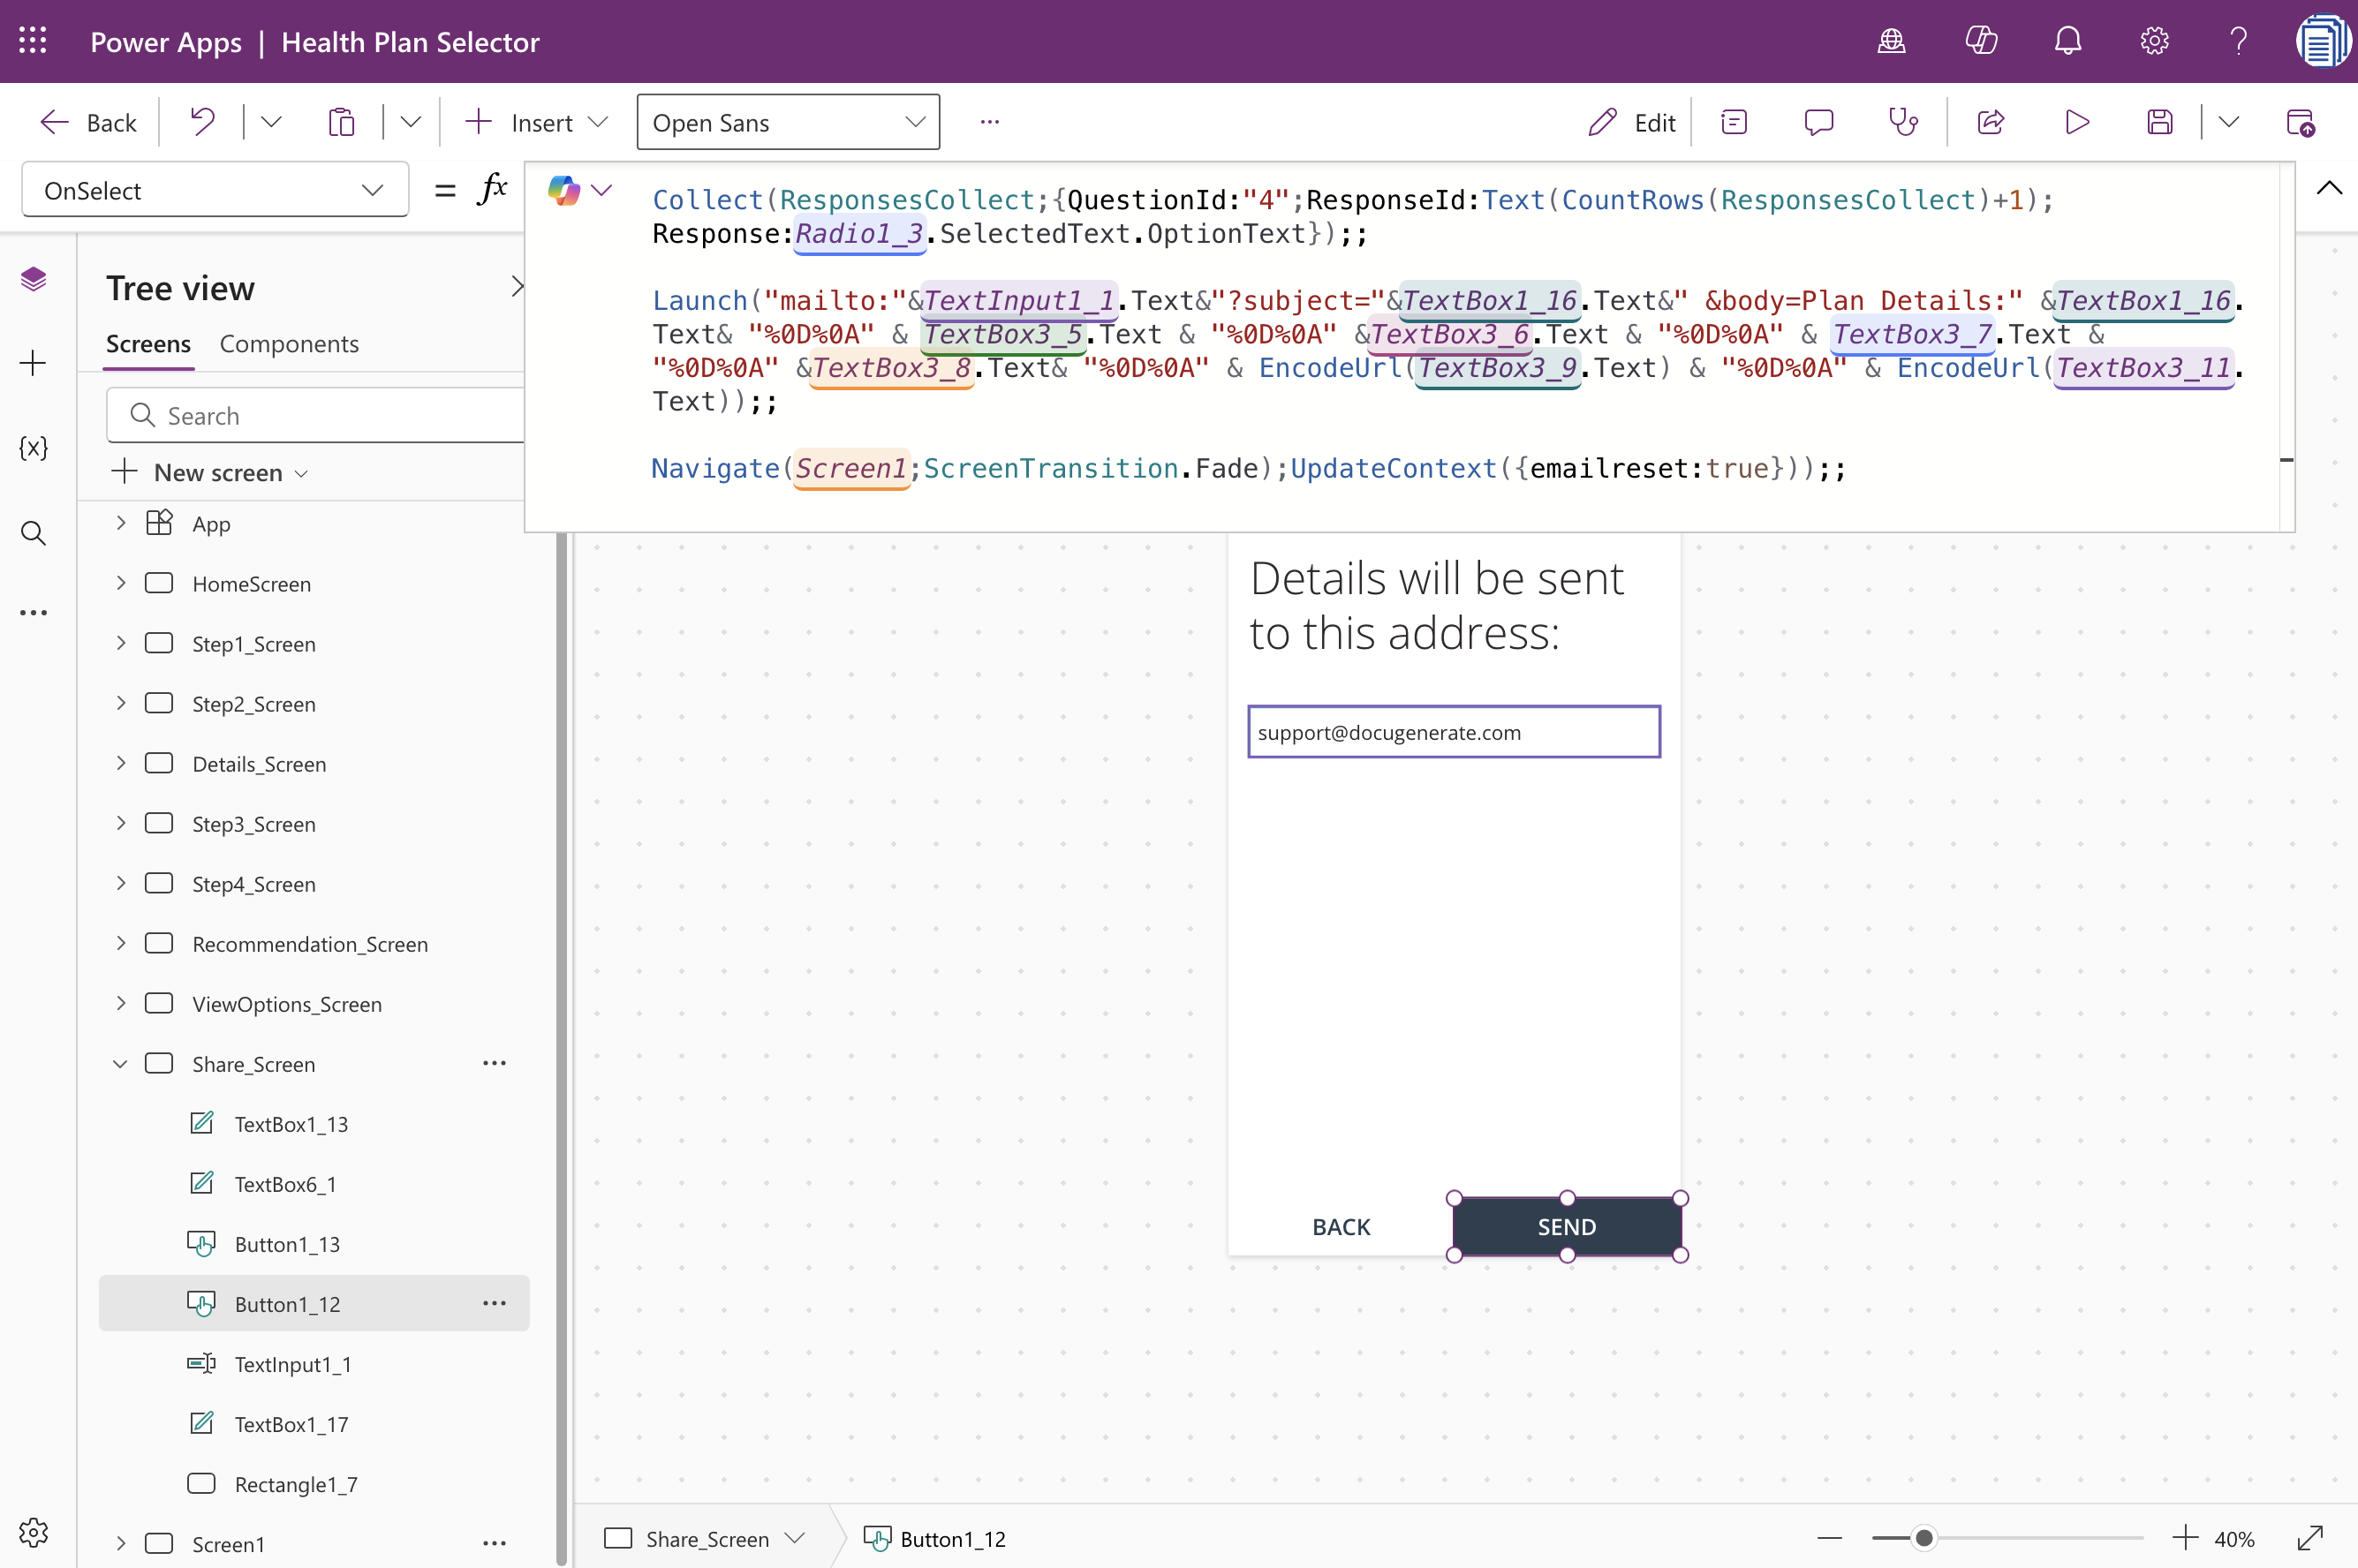
The Share_Screen includes a SEND button that currently triggers a mailto link to compose an email with the plan details. To understand what we need to replace, let’s examine the existing button logic. When you select the SEND button in the app designer, you can view its associated code in the formula bar.
The code uses the Launch function to open the user’s default email client with pre-populated subject and body content. This approach has several limitations. It requires the user to have a default email client configured, it opens the email in draft form requiring the user to manually click send, and the formatting is limited to plain text with URL-encoded line breaks.
The code also performs data collection operations to store the user’s responses in a collection called ResponsesCollect. Here’s the complete code from the original SEND button:
This code collects response data from various form controls and collections, then constructs a mailto URL with the email address from TextInput1_1.Text, the plan name from TextBox1_16.Text as the subject, and several other text box values concatenated into the body. We’ll replace the Launch function call with a call to a Power Automate flow that handles document generation and email delivery.
Modifying the Button to Call Power Automate
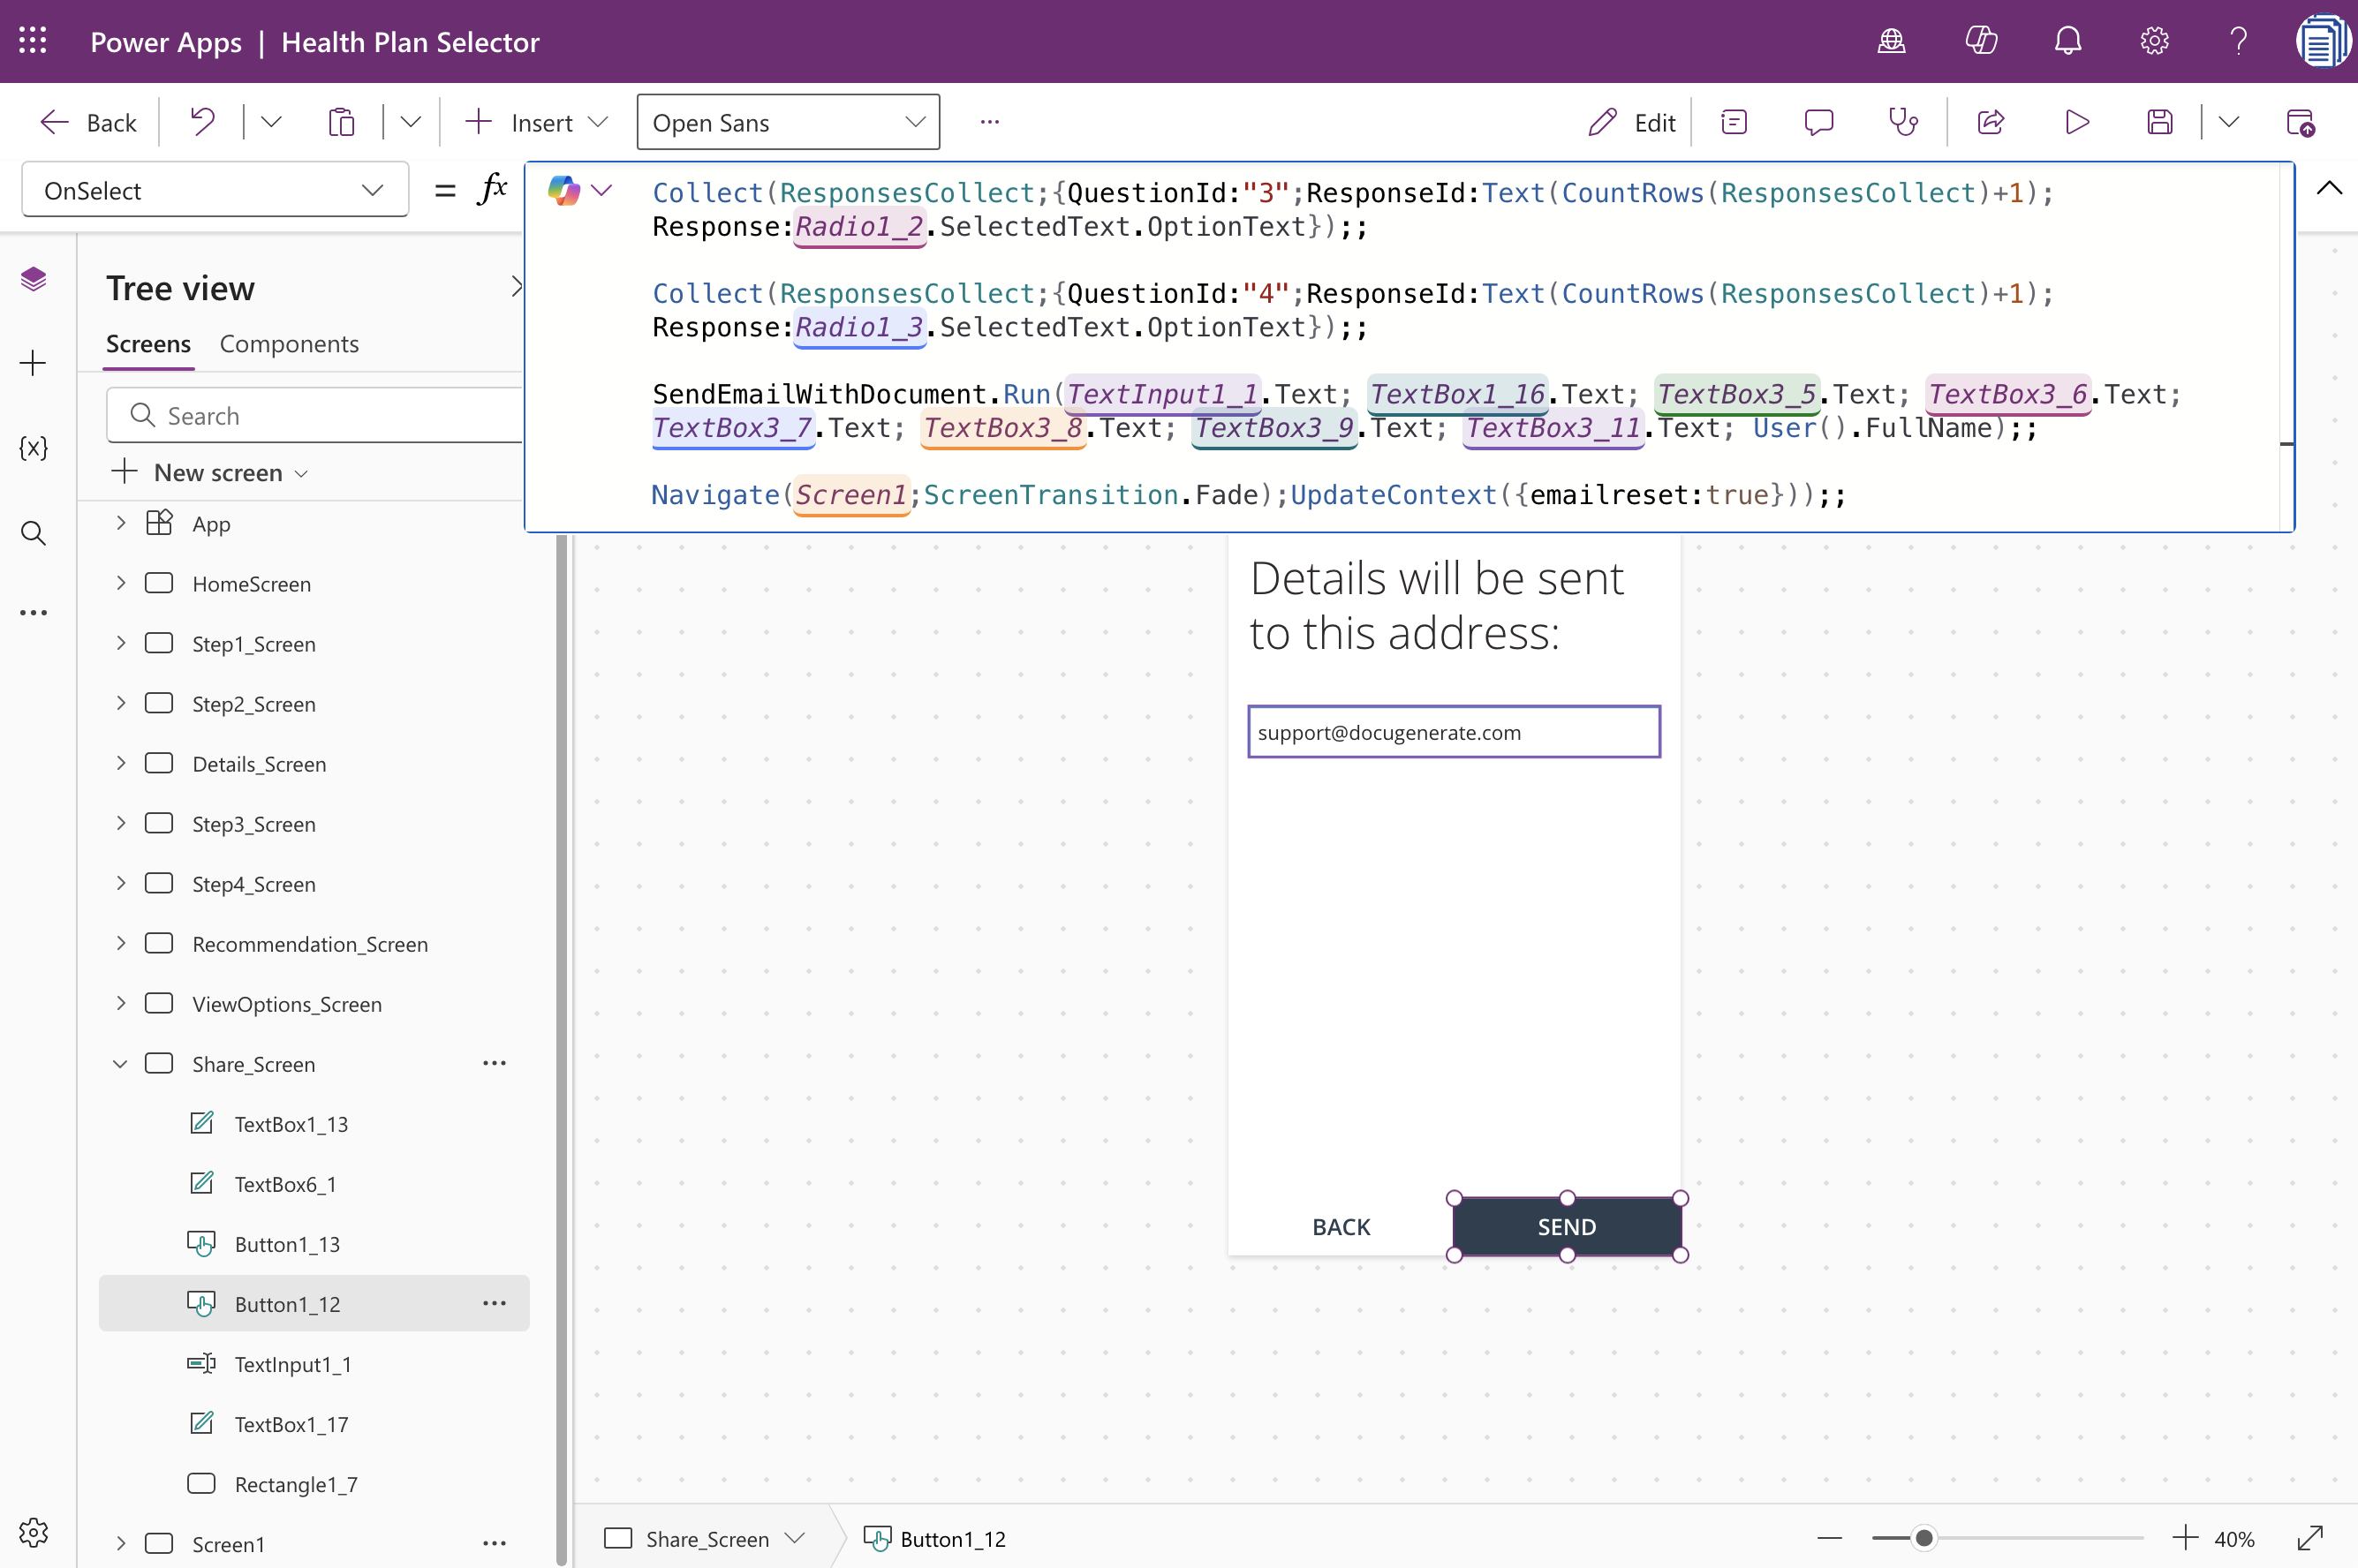
Instead of launching the email client, we’ll modify the SEND button to trigger a Power Automate flow. This flow will receive the plan details, generate a professional PDF document using DocuGenerate, and send it via email. Replace the entire Launch function call with the following code:
This modified code calls a Power Automate flow named SendEmailWithDocument and passes nine parameters: the email address, plan name, coverage details, price per month, price per individual, out-of-pocket limit, coinsurance percentage, additional services, and the current user’s full name.
The User().FullName function retrieves the authenticated user’s name from Azure Active Directory, which we can include in the personalized document. These parameters correspond to the data displayed on the Share_Screen and represent the information we want to include in the generated proposal document.
You’ll notice that Power Apps shows this flow reference in red initially because the flow doesn’t exist yet. We’ll create the flow in the next section, and once it’s connected to the app, the reference will resolve correctly.
Creating the Power Automate Flow
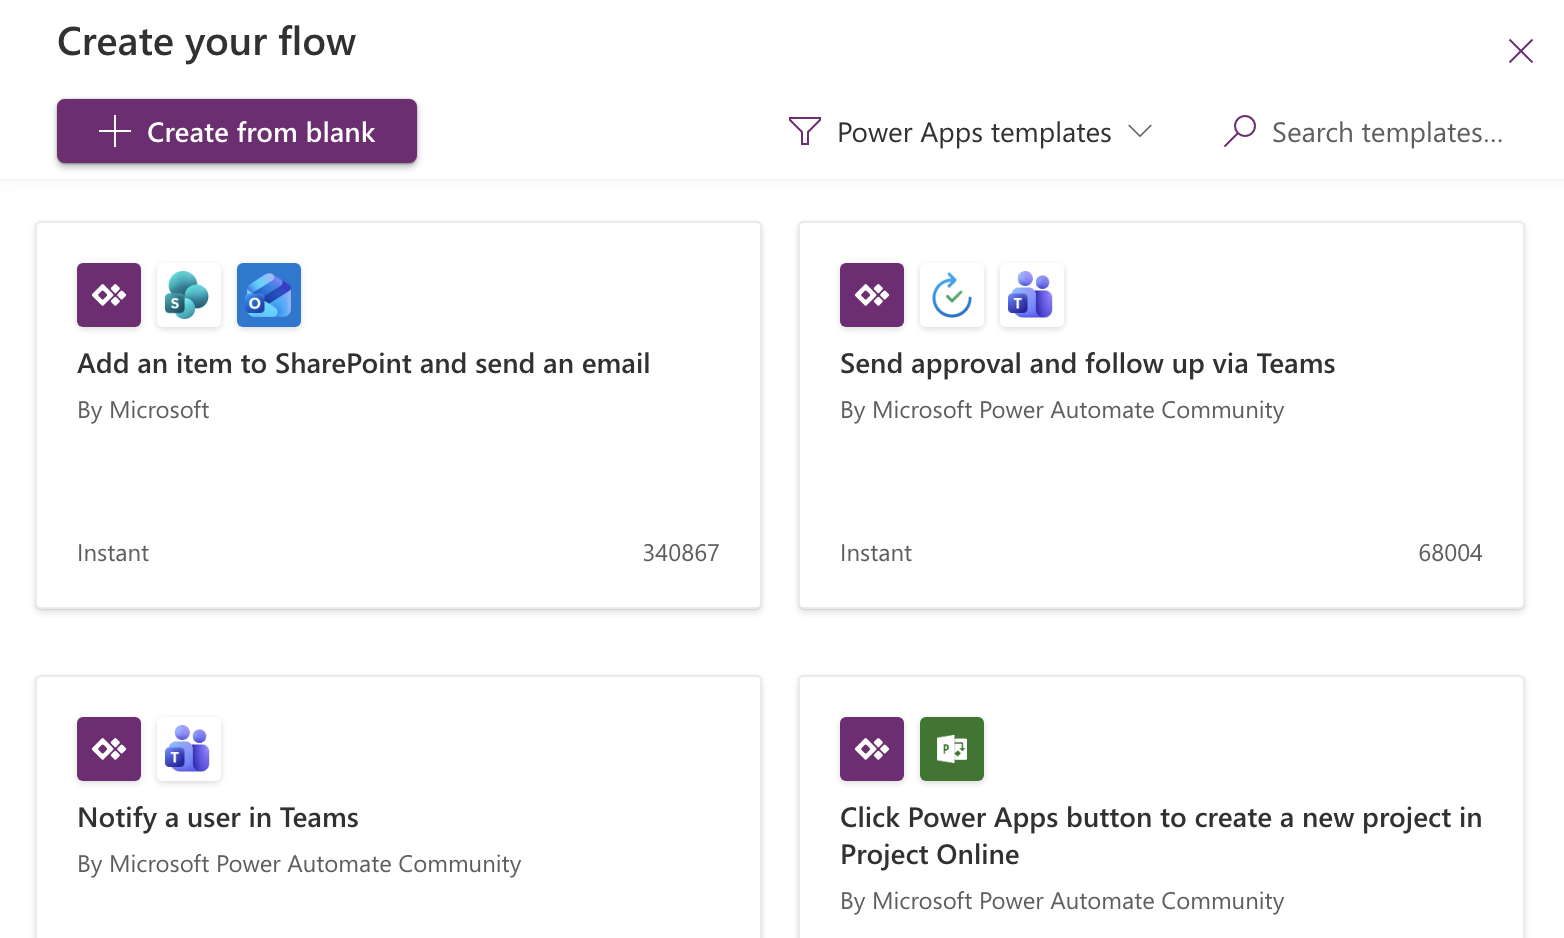
Now we’ll create the Power Automate flow that handles document generation and email delivery. In Power Apps, navigate to the Power Automate section from the left menu and click Create a new flow. Select Create from blank to start with an empty flow canvas.
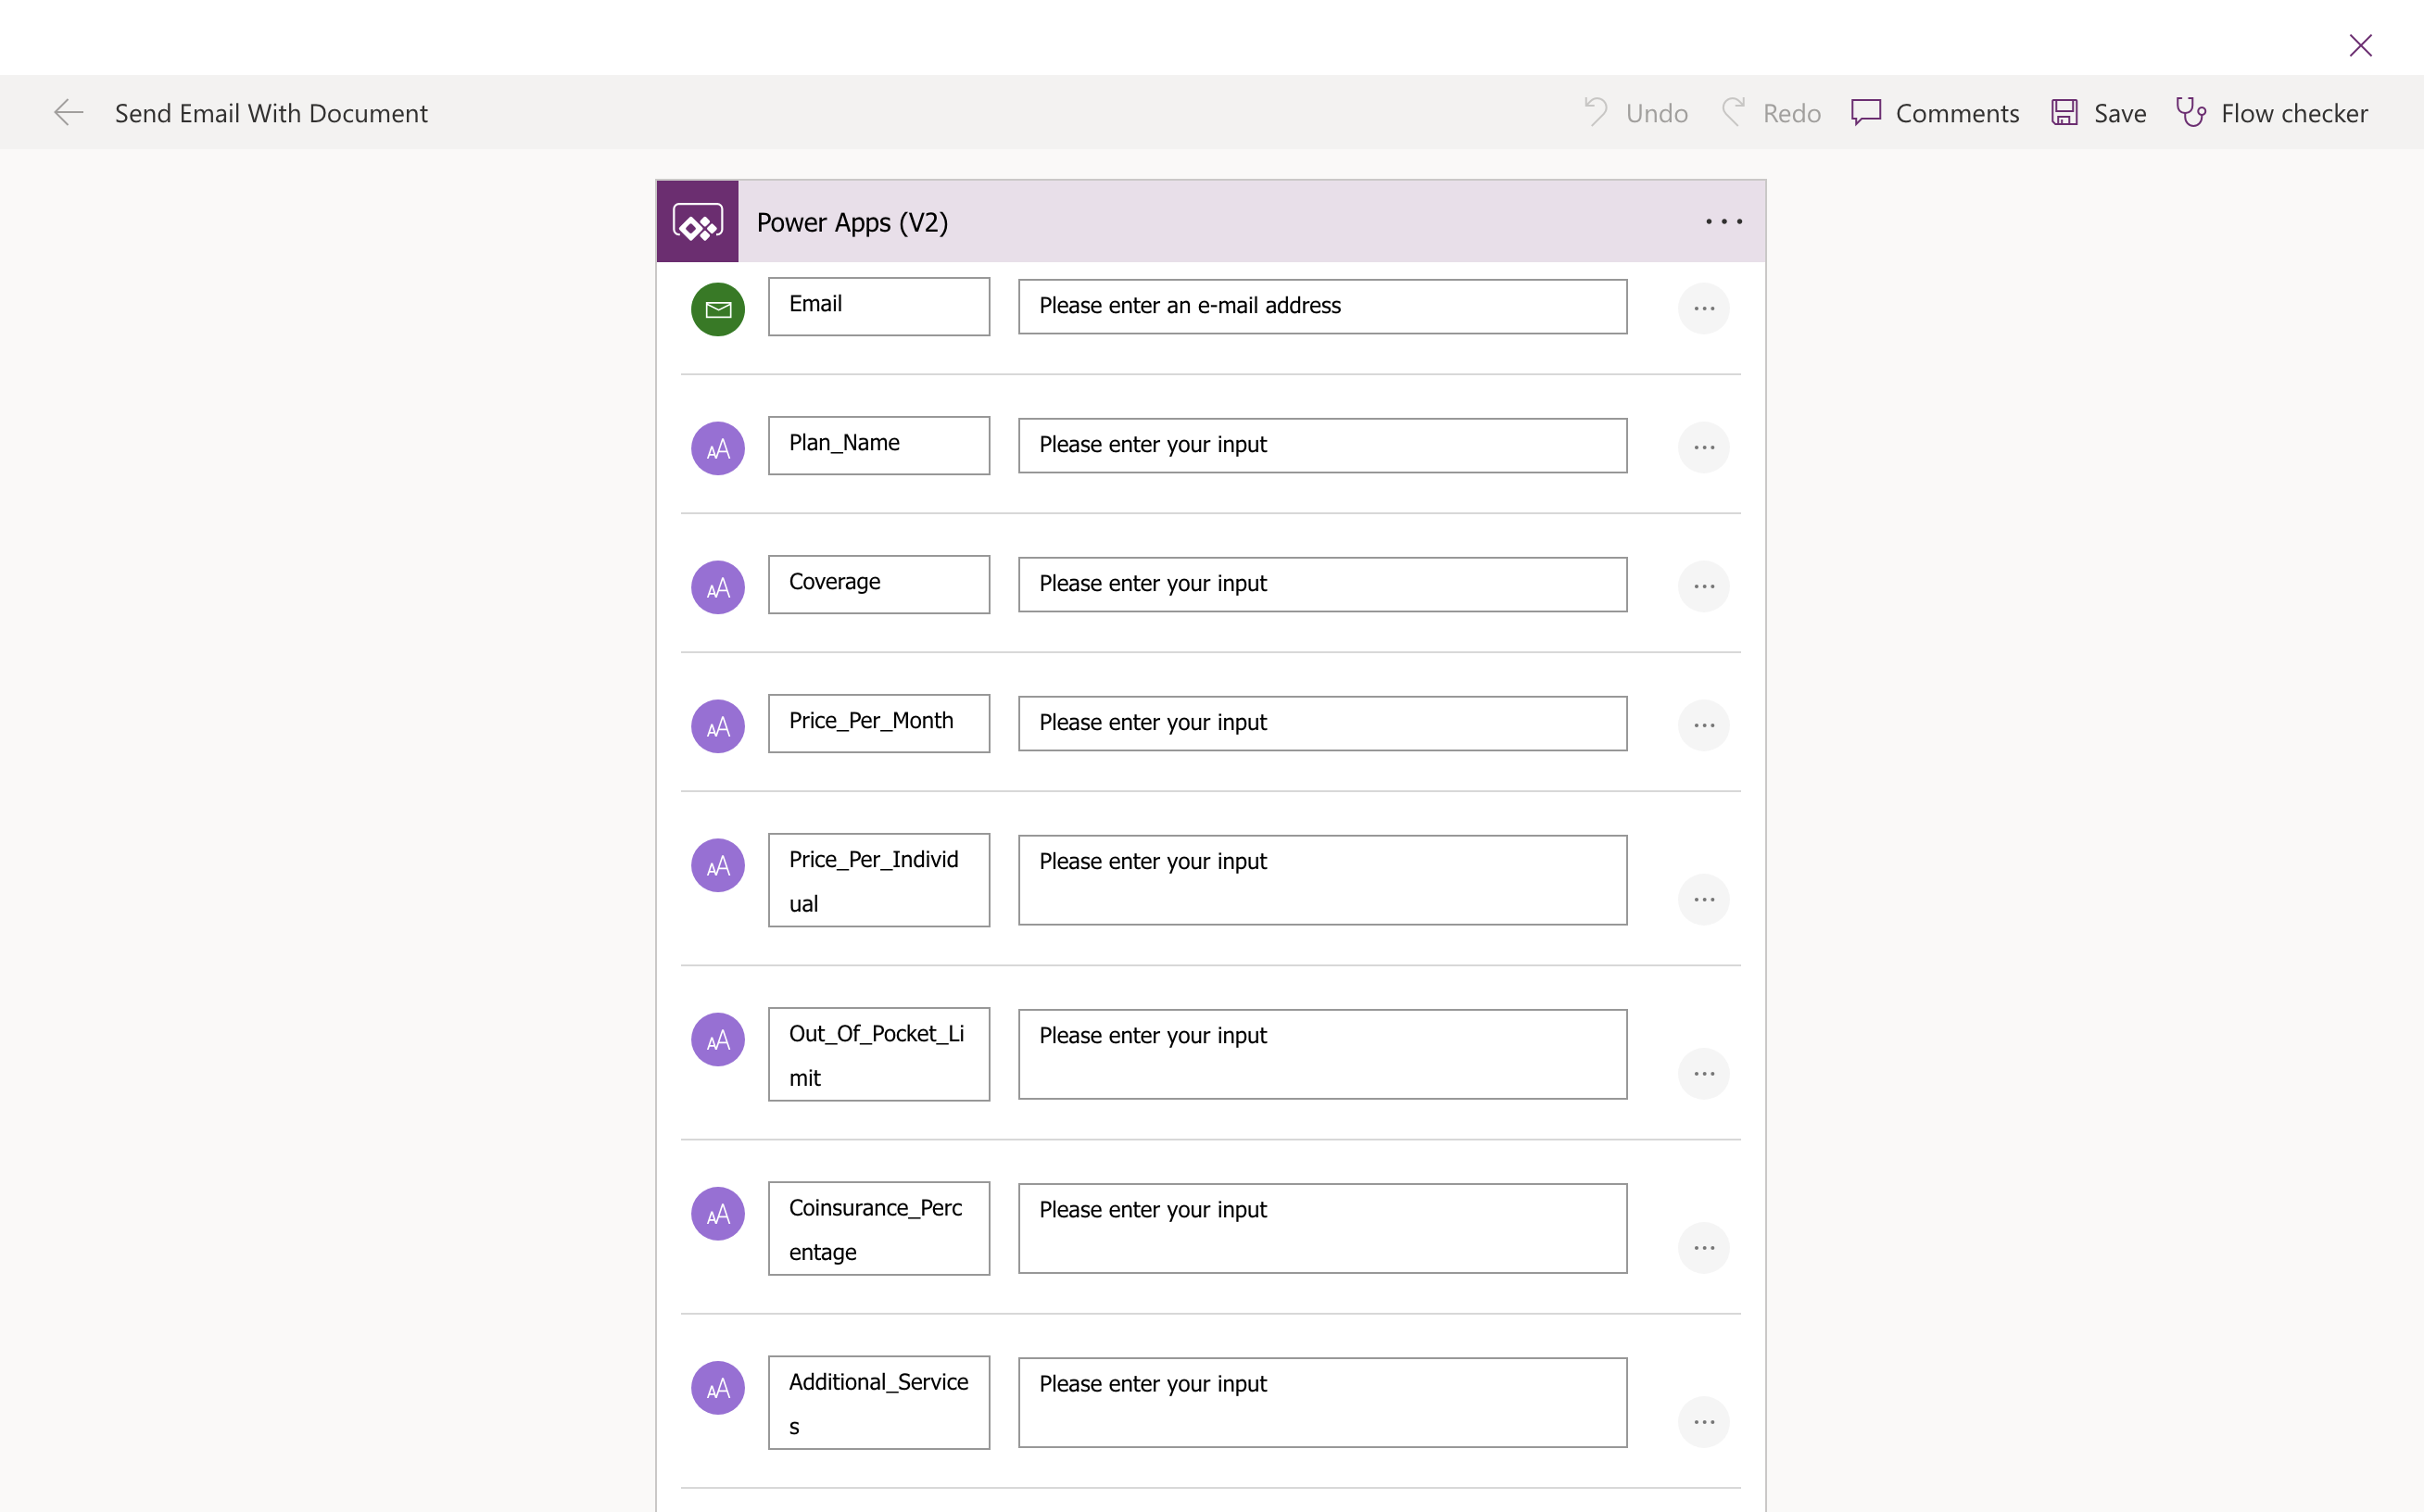
Name your flow SendEmailWithDocument to match the flow name we referenced in the button code. The first step in any Power Apps-triggered flow is the Power Apps (V2) trigger, which defines the parameters that the app will pass to the flow.
Click Add an input for each parameter you need to receive from Power Apps. The parameter types should match the data being passed (all text in this case). The table below shows how each flow parameter maps to the corresponding UI element:
Flow Parameter
UI Element
Description
Email
TextInput1_1.Text
Recipient email address
Plan_Name
TextBox1_16.Text
Name of the recommended health plan
Coverage
TextBox3_5.Text
Coverage level description
Price_Per_Month
TextBox3_6.Text
Monthly premium amount
Price_Per_Individual
TextBox3_7.Text
Individual coverage cost
Out_Of_Pocket_Limit
TextBox3_8.Text
Maximum out-of-pocket expenses
Coinsurance_Percentage
TextBox3_9.Text
Coinsurance percentage
Additional_Services
TextBox3_11.Text
List of additional covered services
Name
User().FullName
Employee name from Azure Active Directory
Preparing the DocuGenerate Template
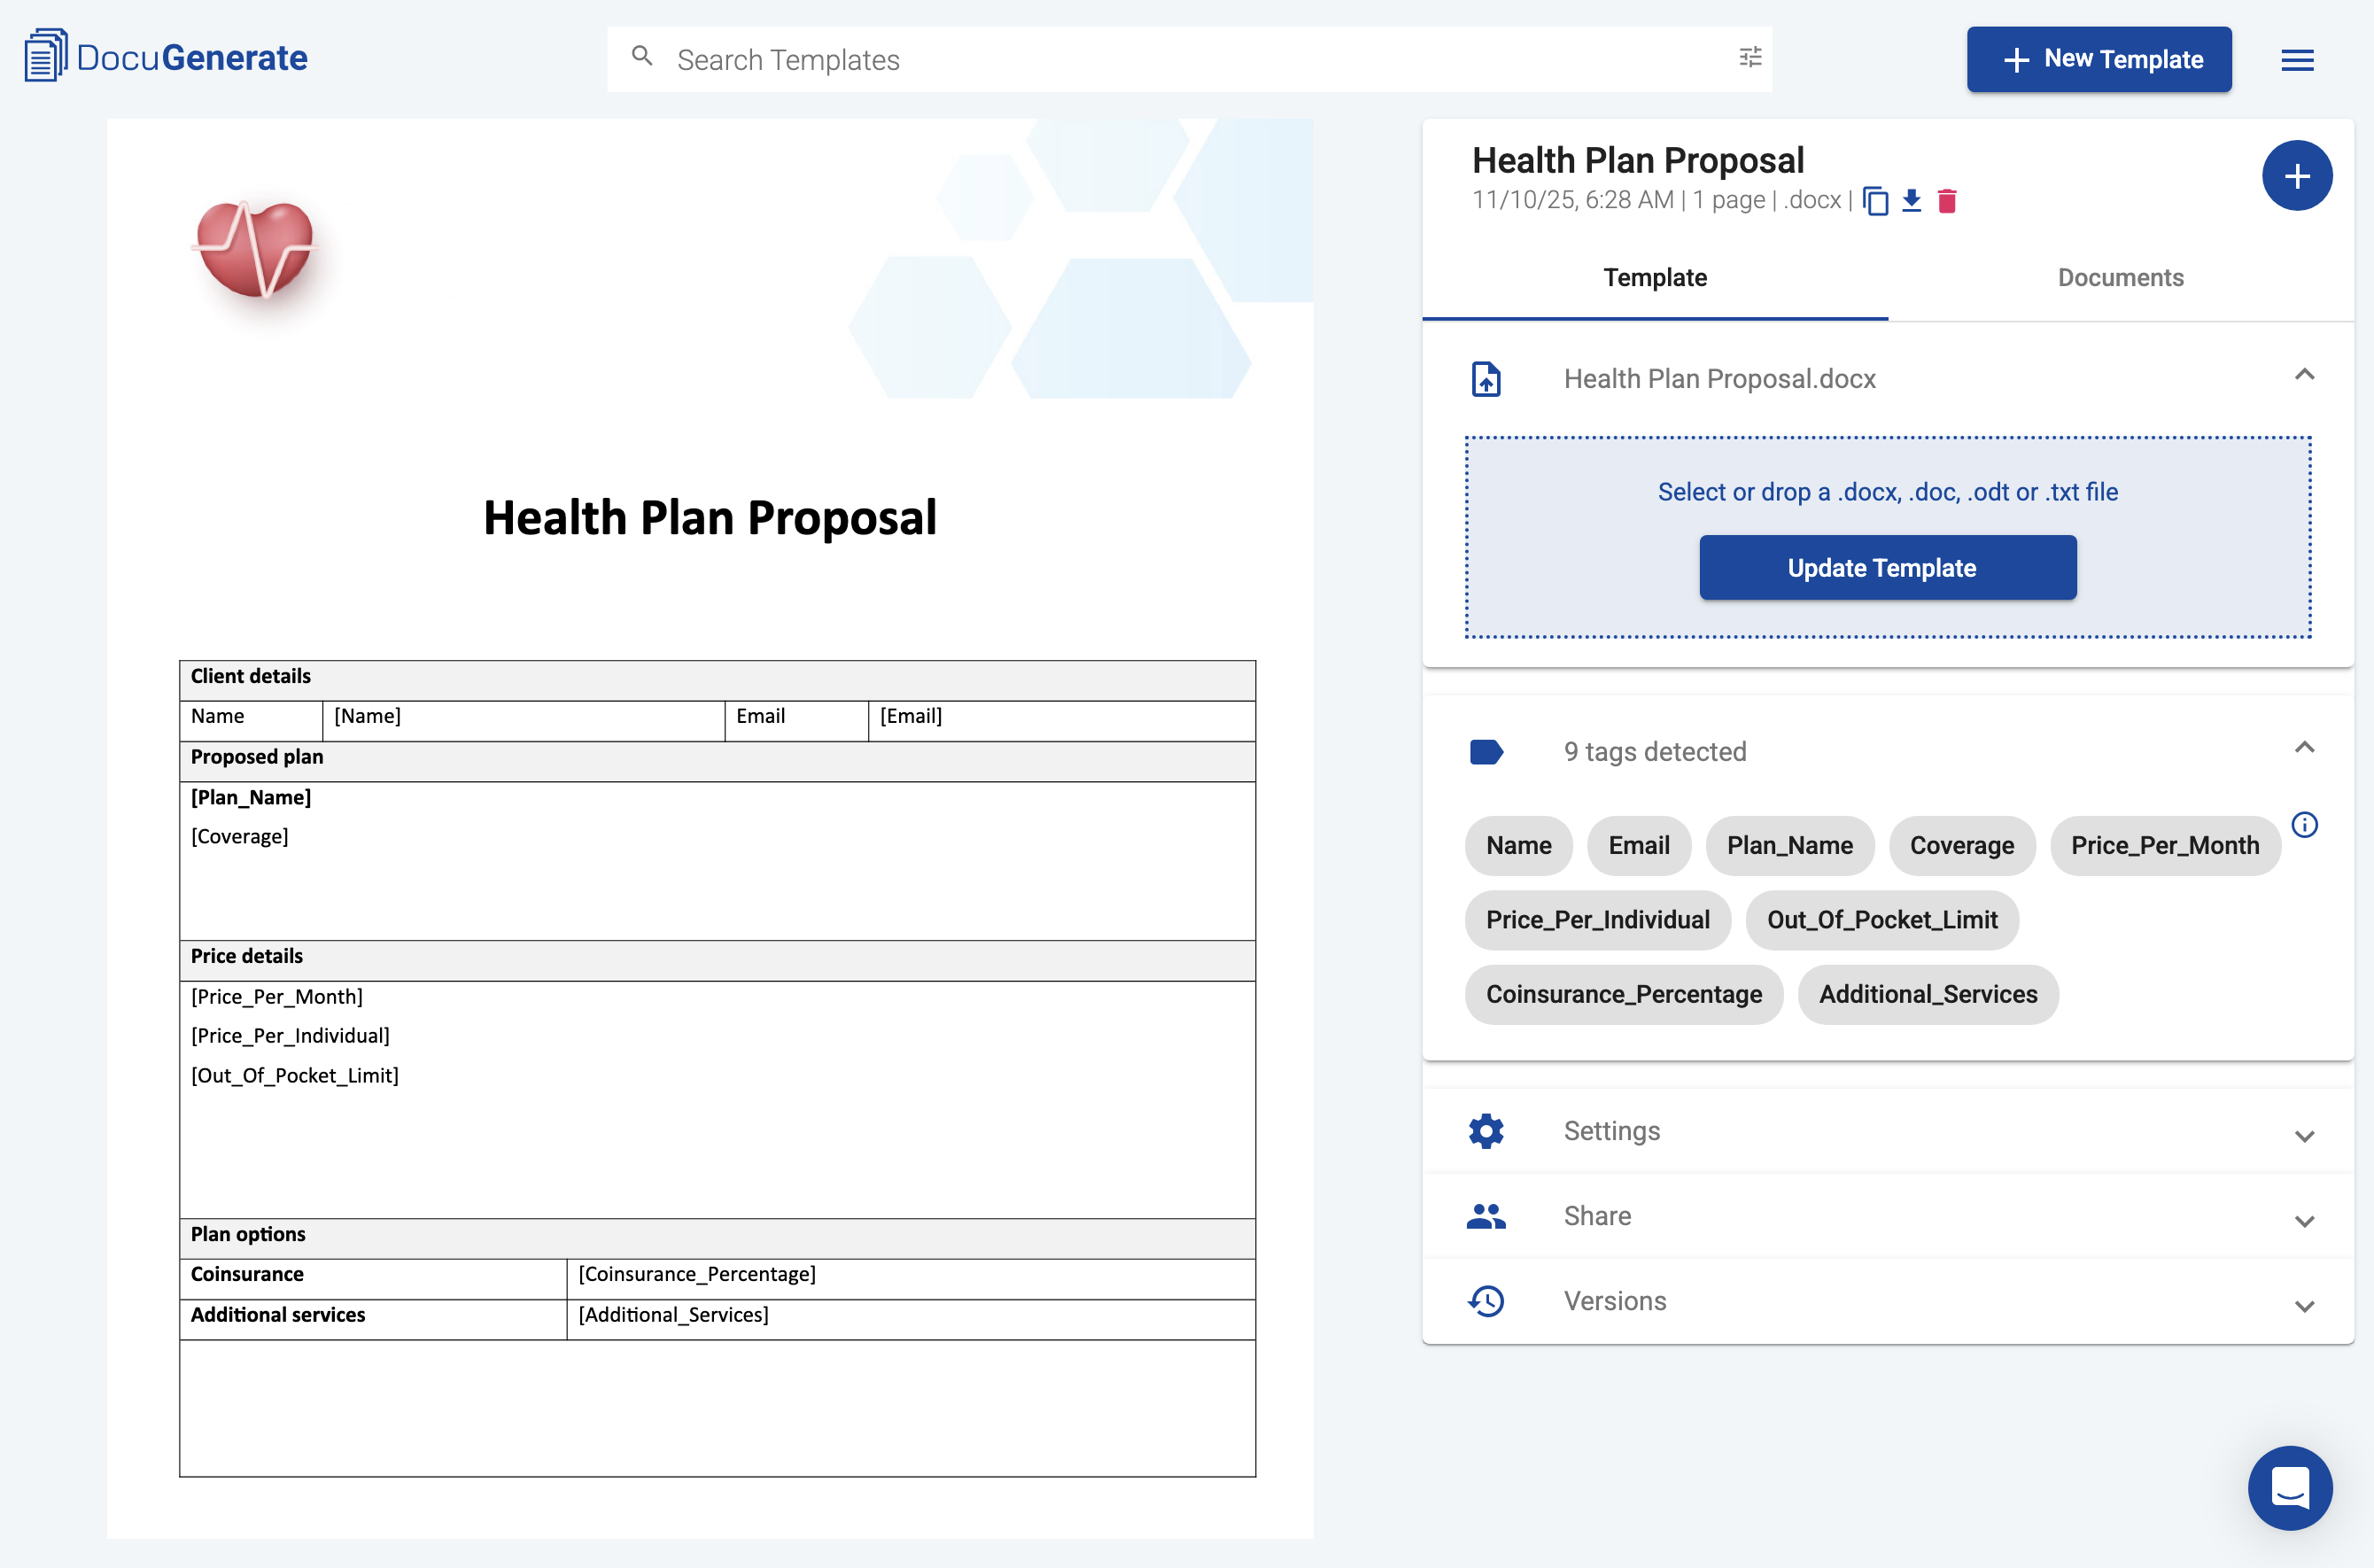
Before adding the document generation step to our flow, we need to create a Word template in DocuGenerate that defines the structure and formatting of our health plan proposal. The template uses merge tags that correspond to the parameter names we defined in Power Automate, which will be replaced with the actual values from the flow.
The Word document includes company branding, a clear header, sections for plan details, and additional information that should appear on every proposal. It has merge tags for all nine parameters: [Name], [Email], [Plan_Name], [Coverage], [Price_Per_Month], [Price_Per_Individual], [Out_Of_Pocket_Limit], [Coinsurance_Percentage], and [Additional_Services].
Once your template is ready, upload it to your DocuGenerate account and name it Health Plan Proposal. You can download a copy of the template used in this tutorial here.
Adding the Document Generation Step
To use DocuGenerate from Power Automate, you need to install the custom connector in your Power Platform environment. The first time you use it, you’ll need to authenticate with your DocuGenerate API Key, which you can find in your DocuGenerate account settings. This creates a connection that can be reused across multiple flows in your environment.
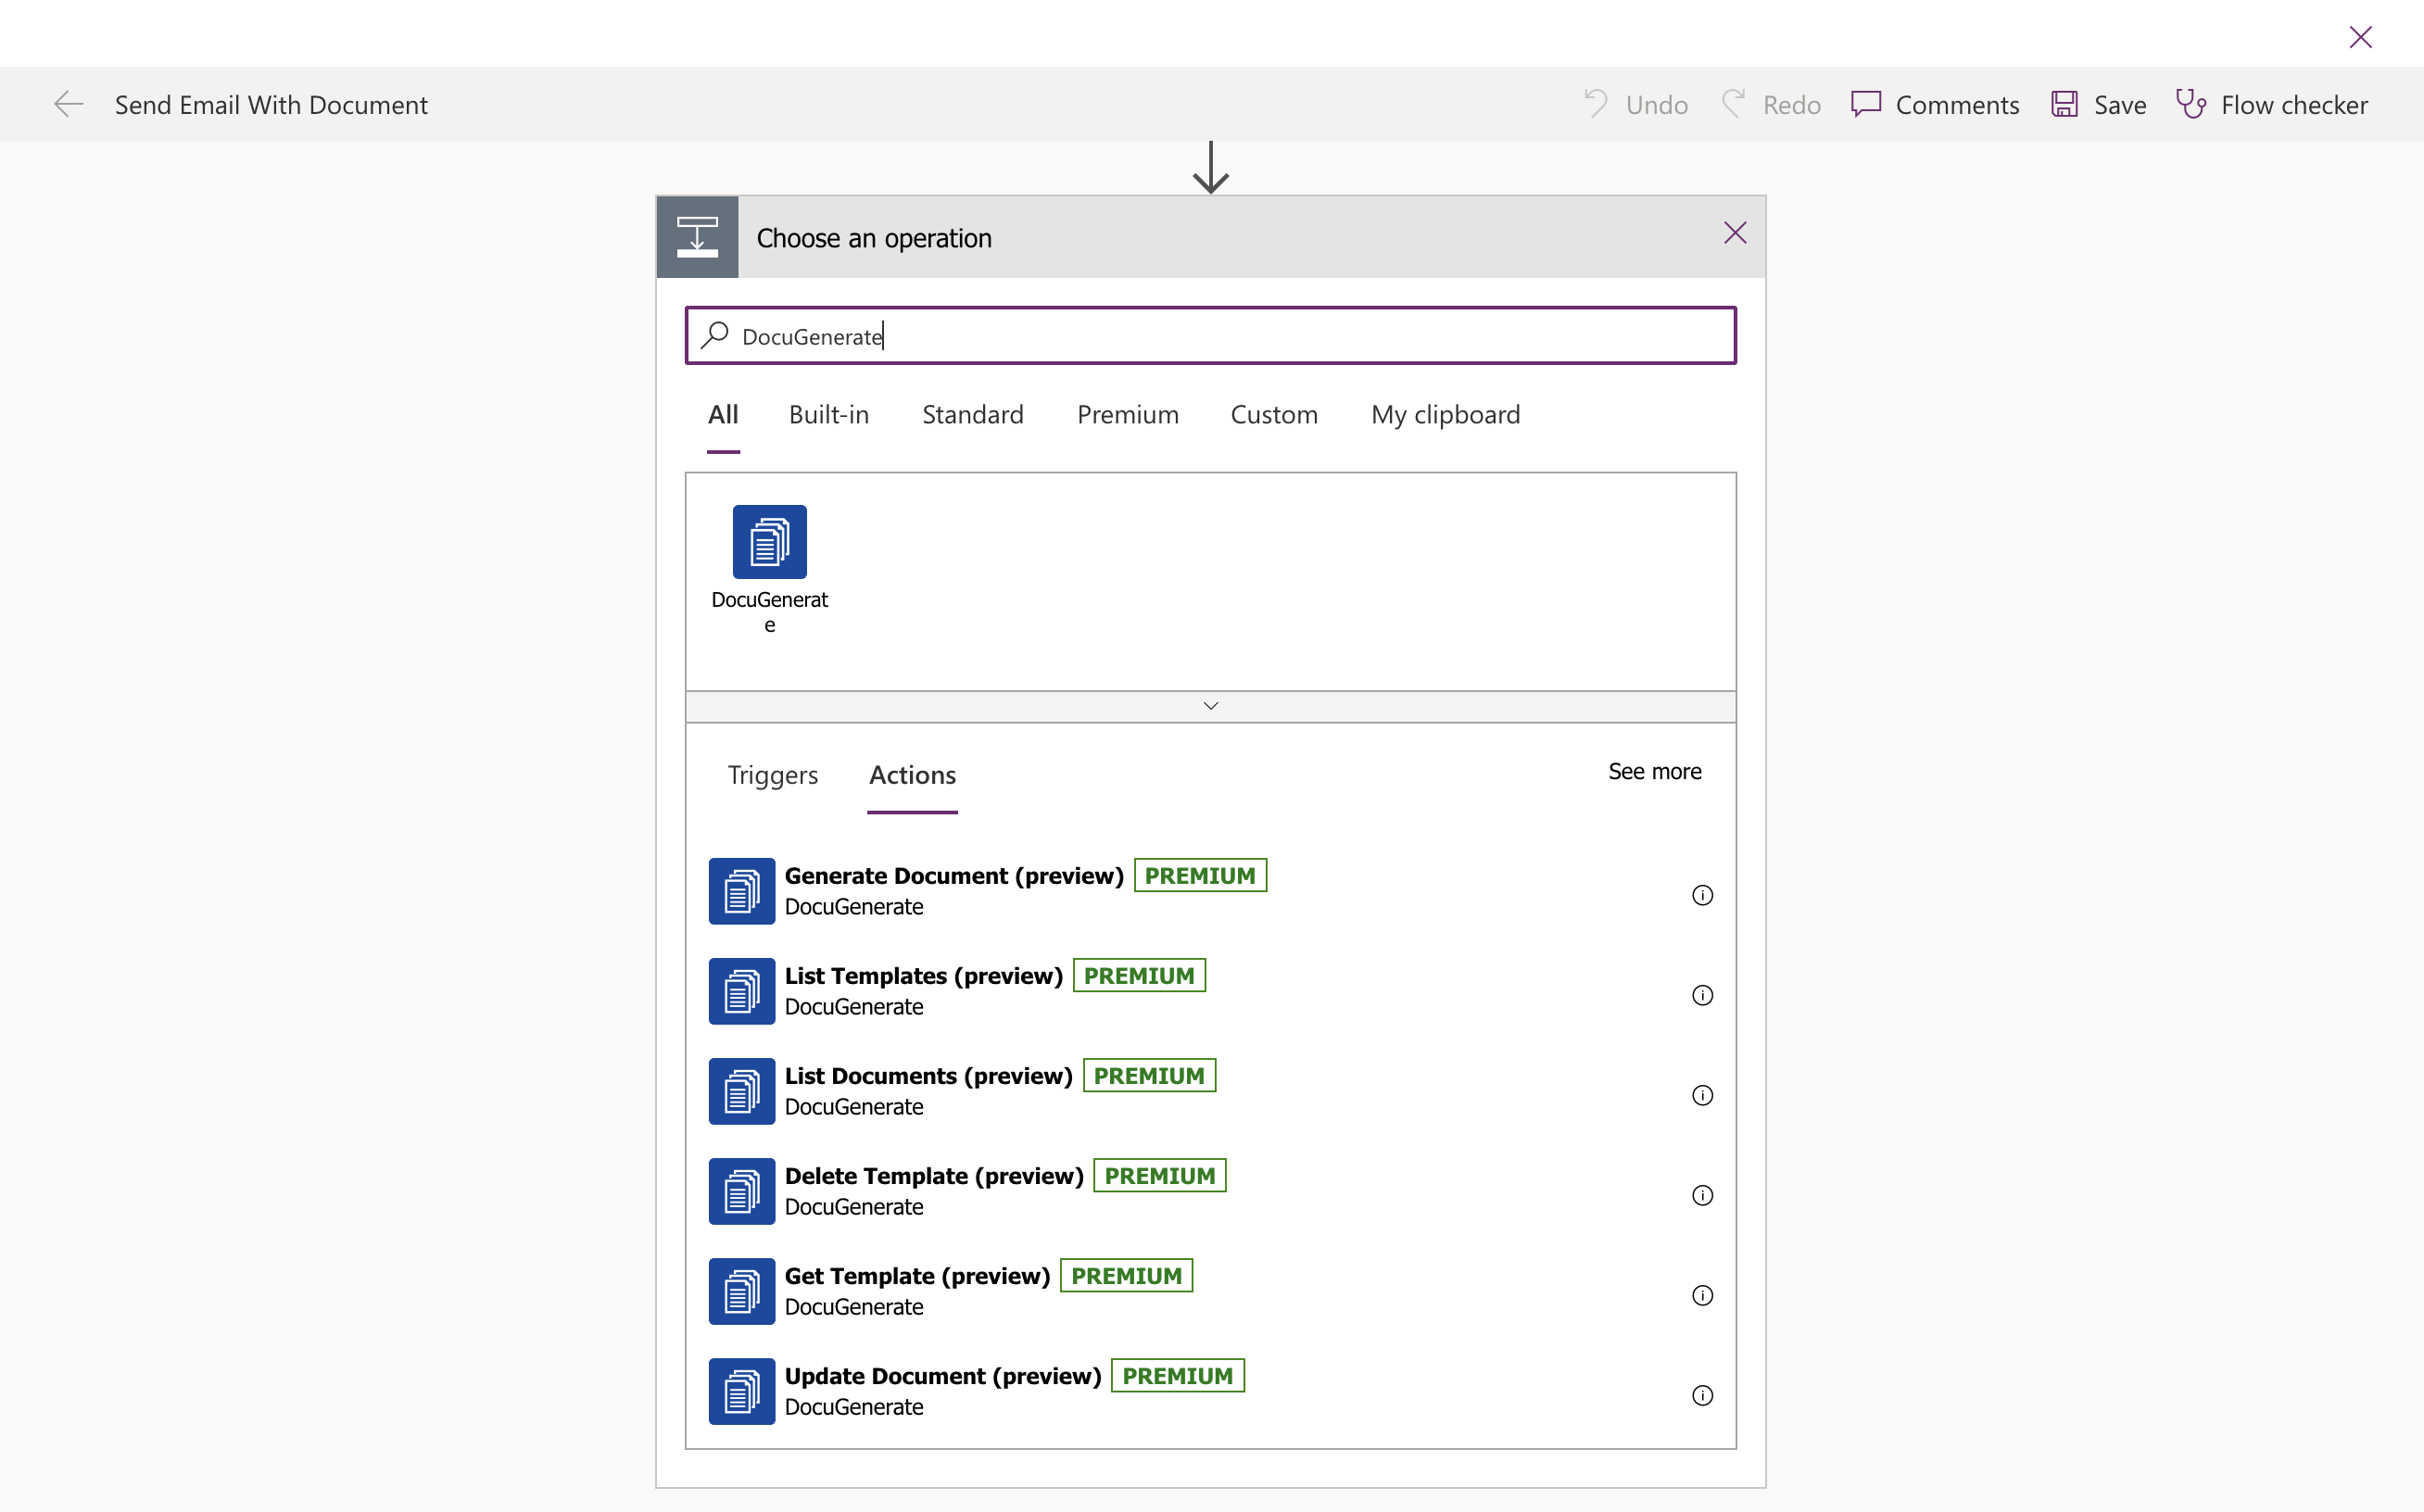
With the template created and the connector available, we can now add the document generation step to our flow. Click New step in your flow and search for “DocuGenerate”. Select the Generate Document action from the list of available operations.
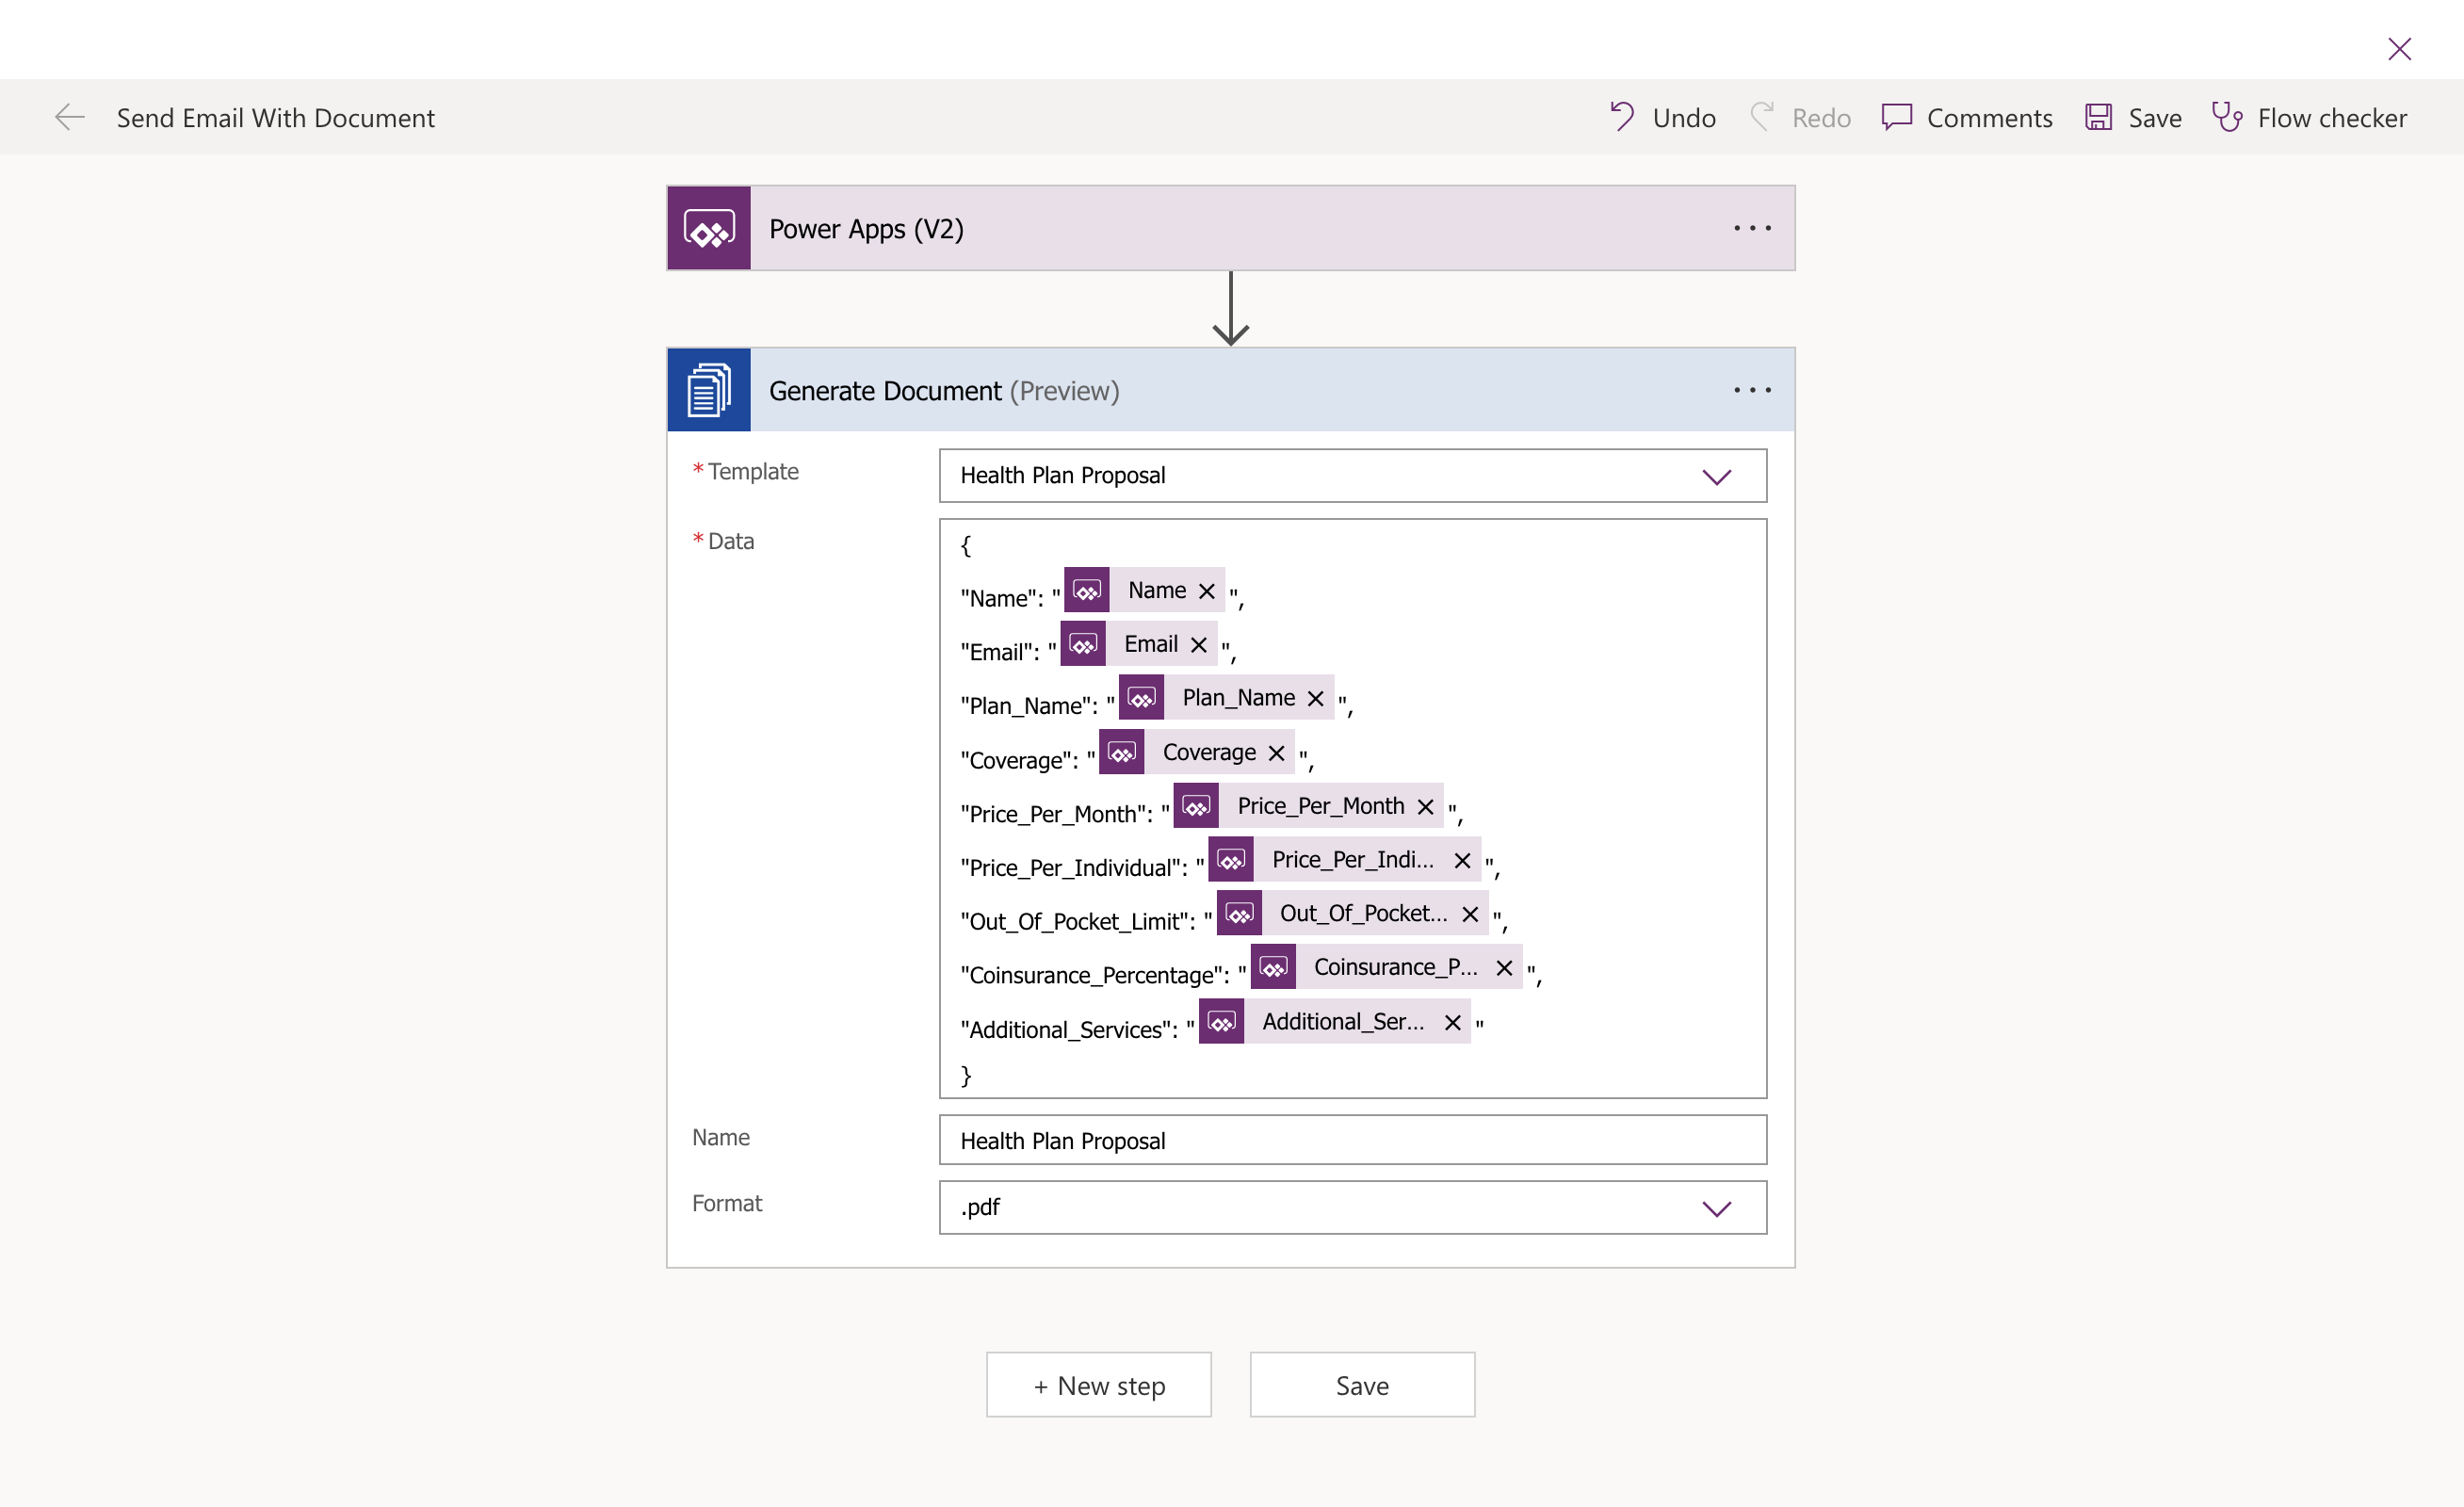
To configure the action, select your template from the Template dropdown. If you uploaded your template with the name “Health Plan Proposal,” you should see it in the list. Next, set the Name parameter to specify what the generated document should be called. Select .pdf as the Format so that the generated document is delivered as a professional PDF rather than an editable Word file.
For the Data parameter, you need to provide a JSON object that contains all the values for the merge tags in your template. Replace each empty string with the appropriate dynamic content from the trigger step. Power Automate will display these as tokens in the expression rather than literal strings.
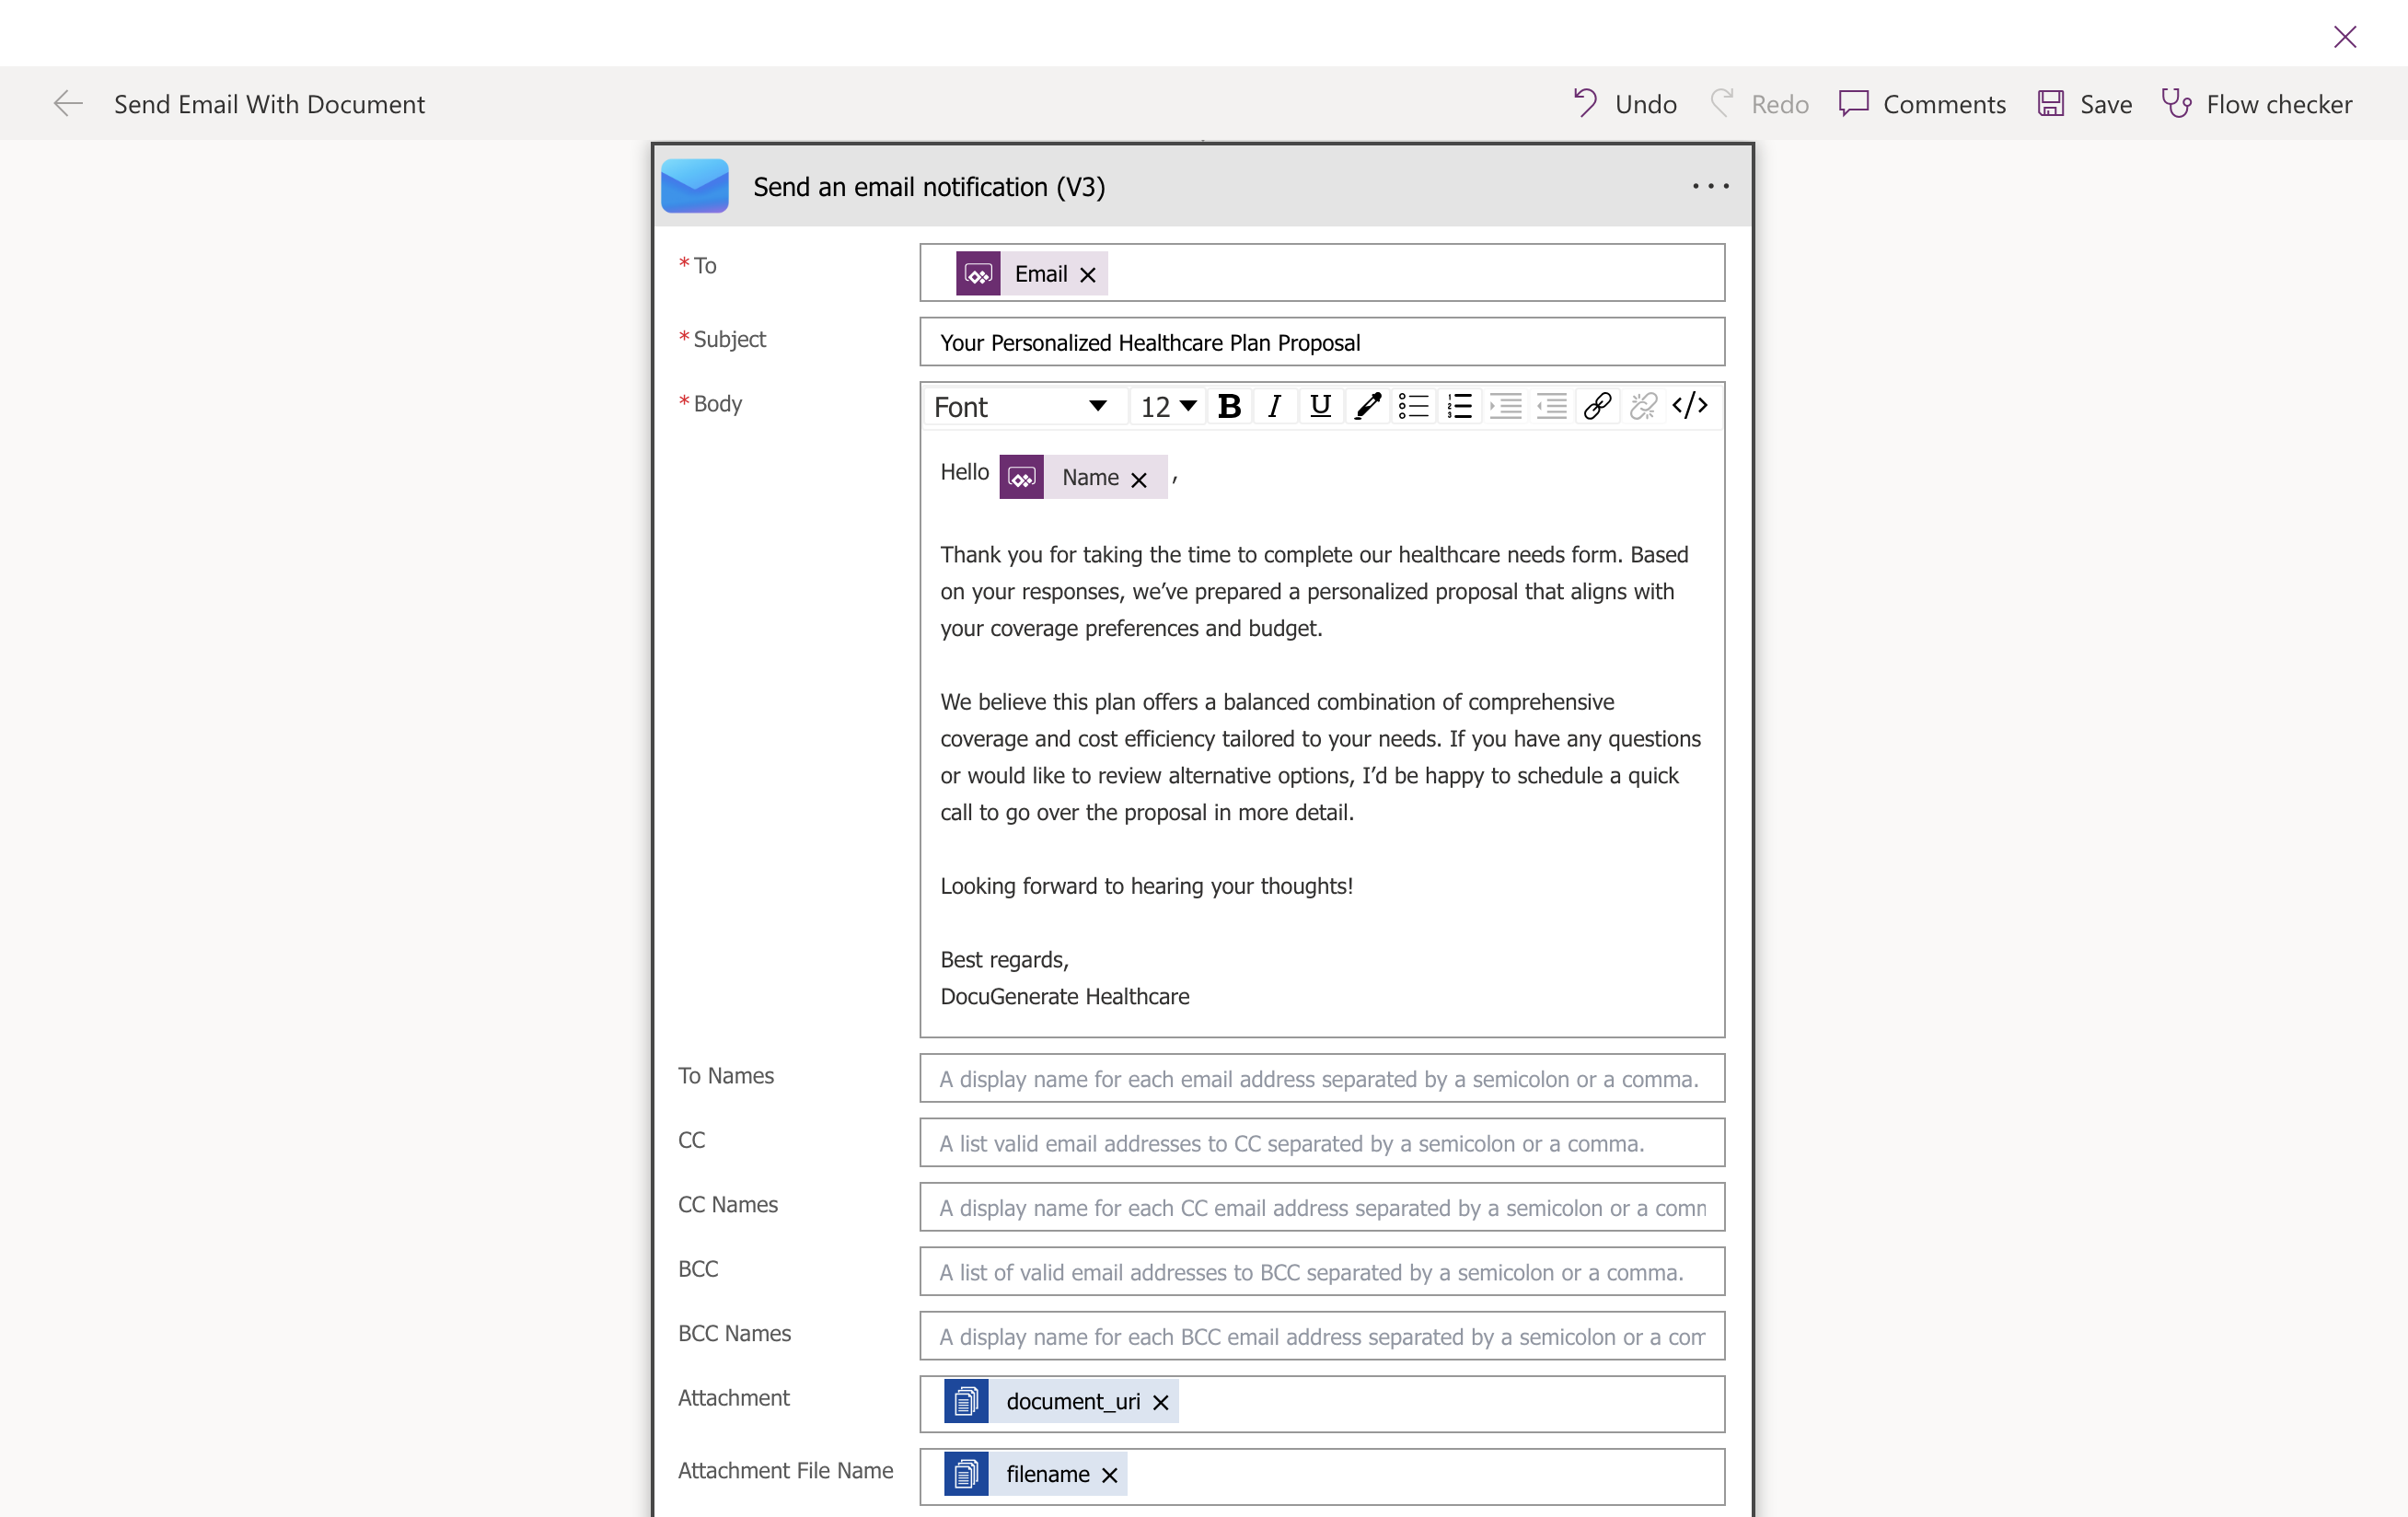
The final step in our flow sends an email to the employee with the generated PDF proposal attached. Add a new step and search for the Send an email notification (V3) action.
Configure the email parameters as follows. Set the To field to the Email value from the Power Apps trigger, which is the address the employee entered in the app. For the Subject, use something descriptive like Your Personalized Healthcare Plan Proposal. In the Body field, compose a friendly message that explains what the attachment contains and provides any next steps the employee should take.
The most important configuration is the attachments section. This is where you connect the generated PDF to the email. For the Attachment parameter, select the document_uri output from the Generate Document step. For the Attachment File Name parameter, select the filename output from the same step. This ensures that the email includes the actual PDF document with the correct filename.
With this final step configured, save your flow and test it to ensure everything works correctly.
Testing the Complete Integration
Now that both the Power Apps app and the Power Automate flow are configured, it’s time to test the complete integration. Run the app in preview mode and go through the health plan selection process. Answer the questions about coverage needs, desired services, and budget preferences. When you reach the confirmation screen, enter your email address and click the SEND button. If everything is configured correctly, the button will trigger the Power Automate flow, which generates the PDF and sends the email.
The document contains all the plan details with the merge tags replaced by actual values from the app, and the formatting matches the professional template design.
If you encounter any issues, check the flow run history in Power Automate to see where the process might have failed. Common issues include incorrect parameter mappings, or authentication problems with any of the connectors. The flow run history provides detailed information about each step, including the data that was passed and any error messages that occurred.
Benefits of This Approach
Replacing the basic email sending functionality with automated document generation and email delivery offers several advantages for both HR teams and employees. The automated workflow ensures consistency in how health plan information is presented to all employees, eliminating variations that can occur when individuals compose emails manually. The generated PDF serves as a formal document that employees can save, print, and reference throughout the enrollment period, making it easier to compare options or discuss plans with family members.
From an operational perspective, this integration reduces the manual effort required from HR staff. Instead of having to help employees compose emails or prepare plan summaries individually, the system handles this automatically based on the recommendations generated by the app. This frees up HR time for more valuable activities like answering specific questions or helping employees with complex situations.
The approach also creates better documentation for compliance purposes. Each generated proposal is a record of what information was provided to the employee, which can be important for regulatory compliance or if questions arise later about what was communicated during the enrollment process. You could extend the workflow further by adding a step that saves each generated proposal to SharePoint or another document management system for centralized record-keeping.
Conclusion
Enhancing Power Apps applications with automated document generation capabilities demonstrates the power of the Microsoft Power Platform ecosystem when combined with specialized services like DocuGenerate. The integration we’ve built transforms a simple health plan selector app into a complete onboarding solution that guides employees through plan selection and automatically delivers professional proposal documents.
This tutorial focused on health plan proposals, but the same integration pattern can be applied to many other Power Apps scenarios. Any time your app collects data that needs to be formatted as a formal document and delivered to users or stored for records, this approach of using Power Automate to orchestrate document generation and distribution can add significant value. Whether you’re generating employment contracts, offer letters, training certificates, or custom reports, the combination of Power Apps for data collection, Power Automate for workflow orchestration, and DocuGenerate for document generation provides a powerful and flexible solution.
The no-code nature of this integration makes it accessible to business analysts and power users who may not have traditional development skills. By leveraging pre-built connectors and visual workflow designers, you can create sophisticated document automation solutions without writing custom code or managing complex infrastructure.
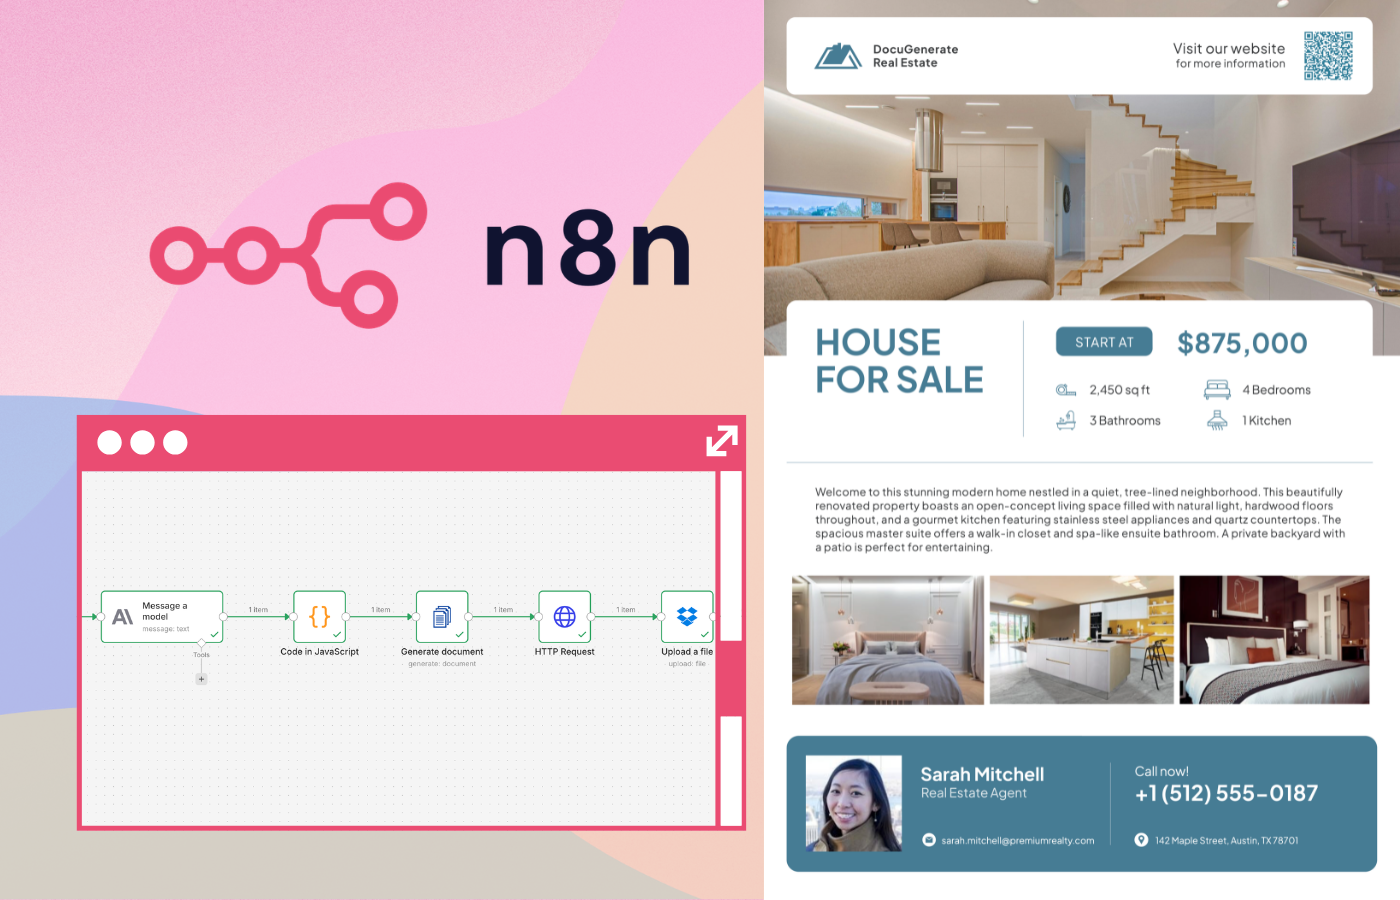
Learn how to build an automated property listing workflow with n8n, Claude, and DocuGenerate. Use Claude to generate realistic listing data on demand, merge it into a professionally designed Word template, and save the resulting PDF directly to Dropbox.
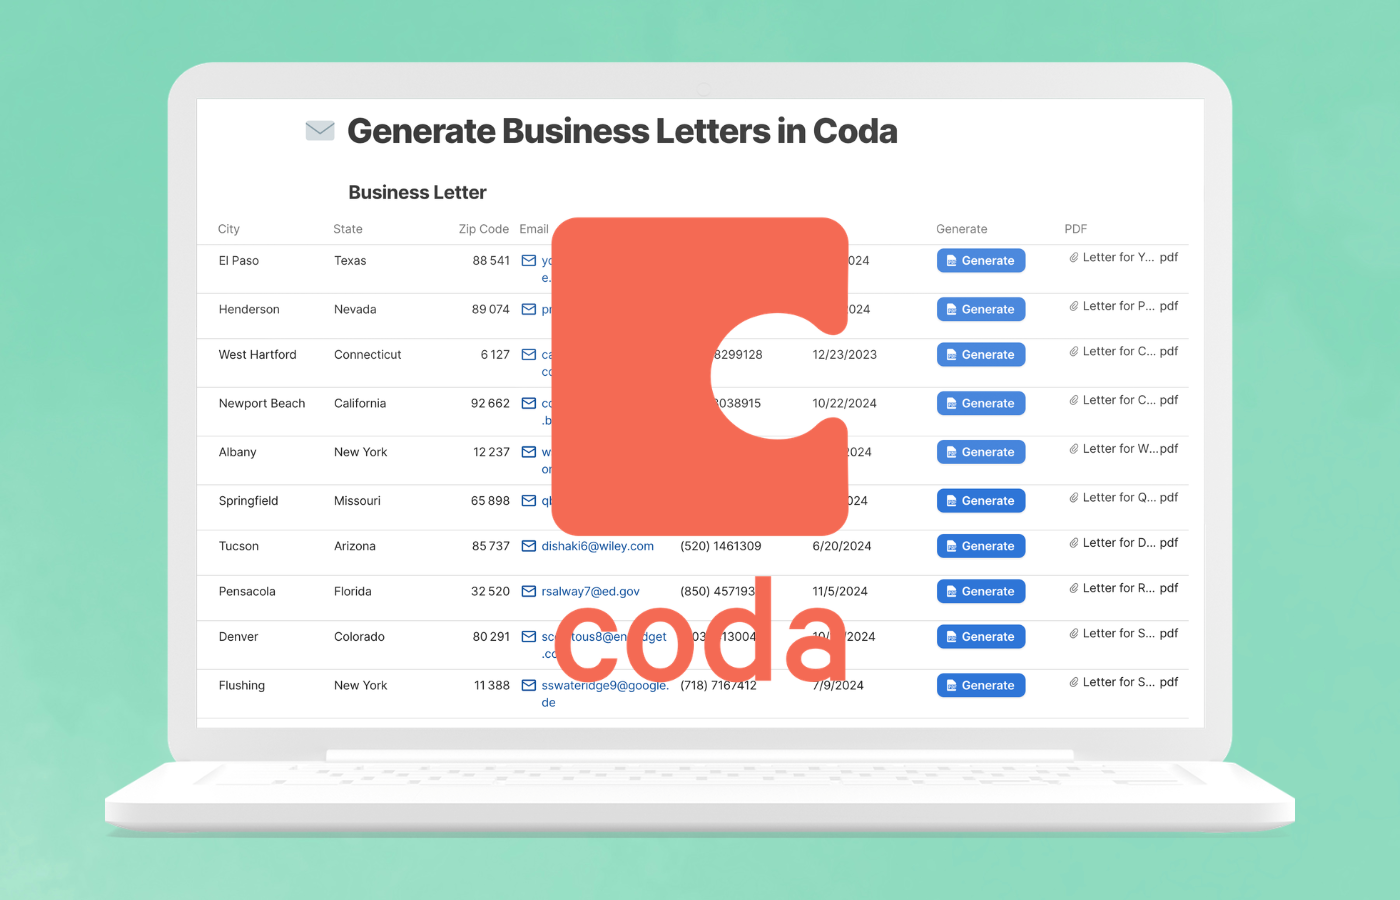
Generate personalized PDF business letters directly from a Coda table using the DocuGenerate Pack. This tutorial walks through importing table data, setting up a button to create documents, and saving generated files into a column with a single click per row.
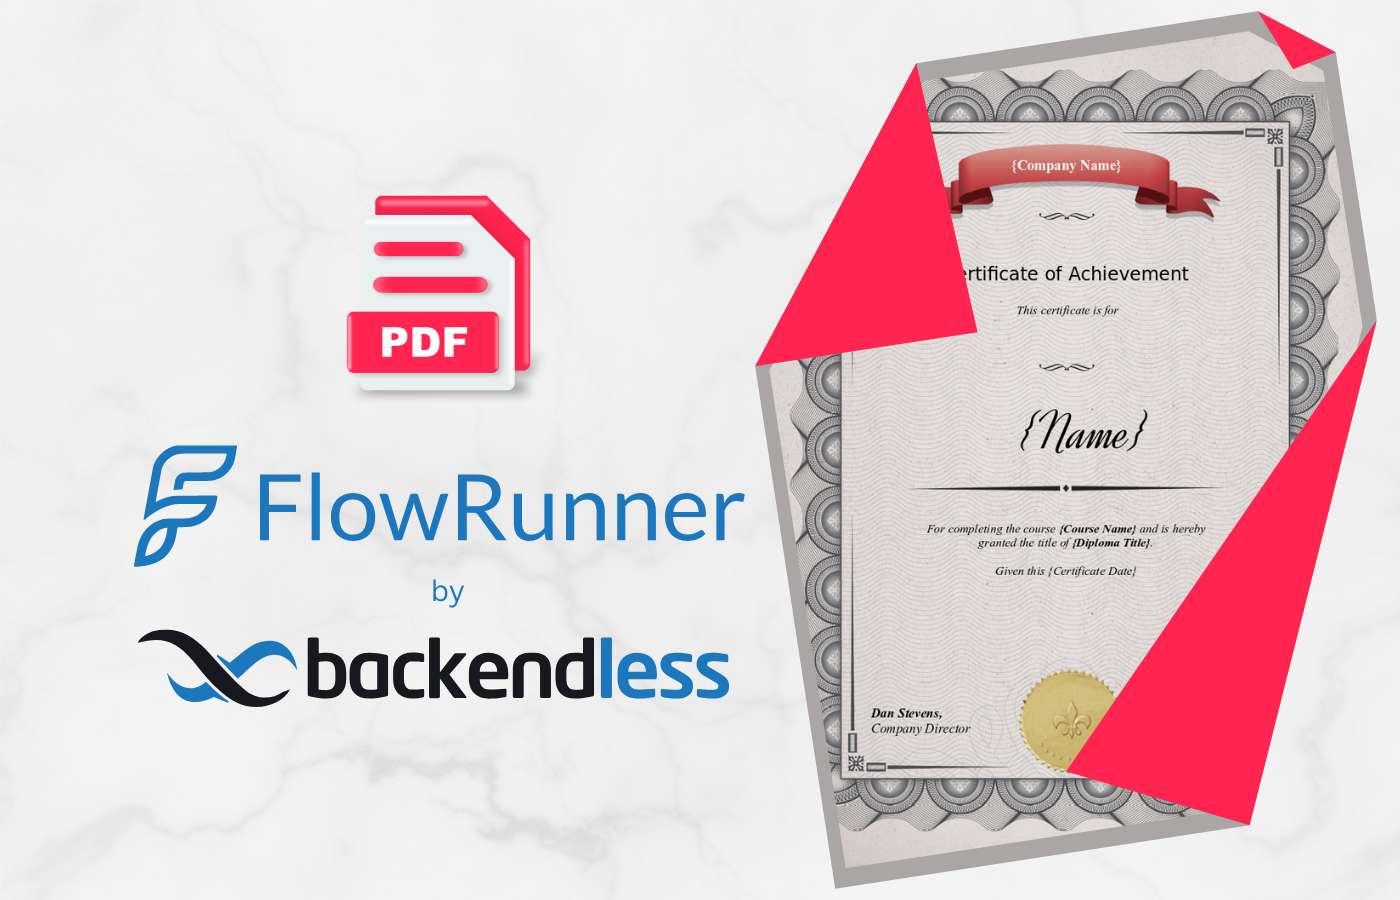
Learn how to build an automated certificate generation workflow with FlowRunner and DocuGenerate. Create a flow that generates PDF certificates from database records, saves them to file storage, and updates each record with a link to the generated file.